


From Tinker Bell to Titania: A Fairy Doll Transformation
Customizing the live-action 2023 movie doll into the Queen of the Fairies


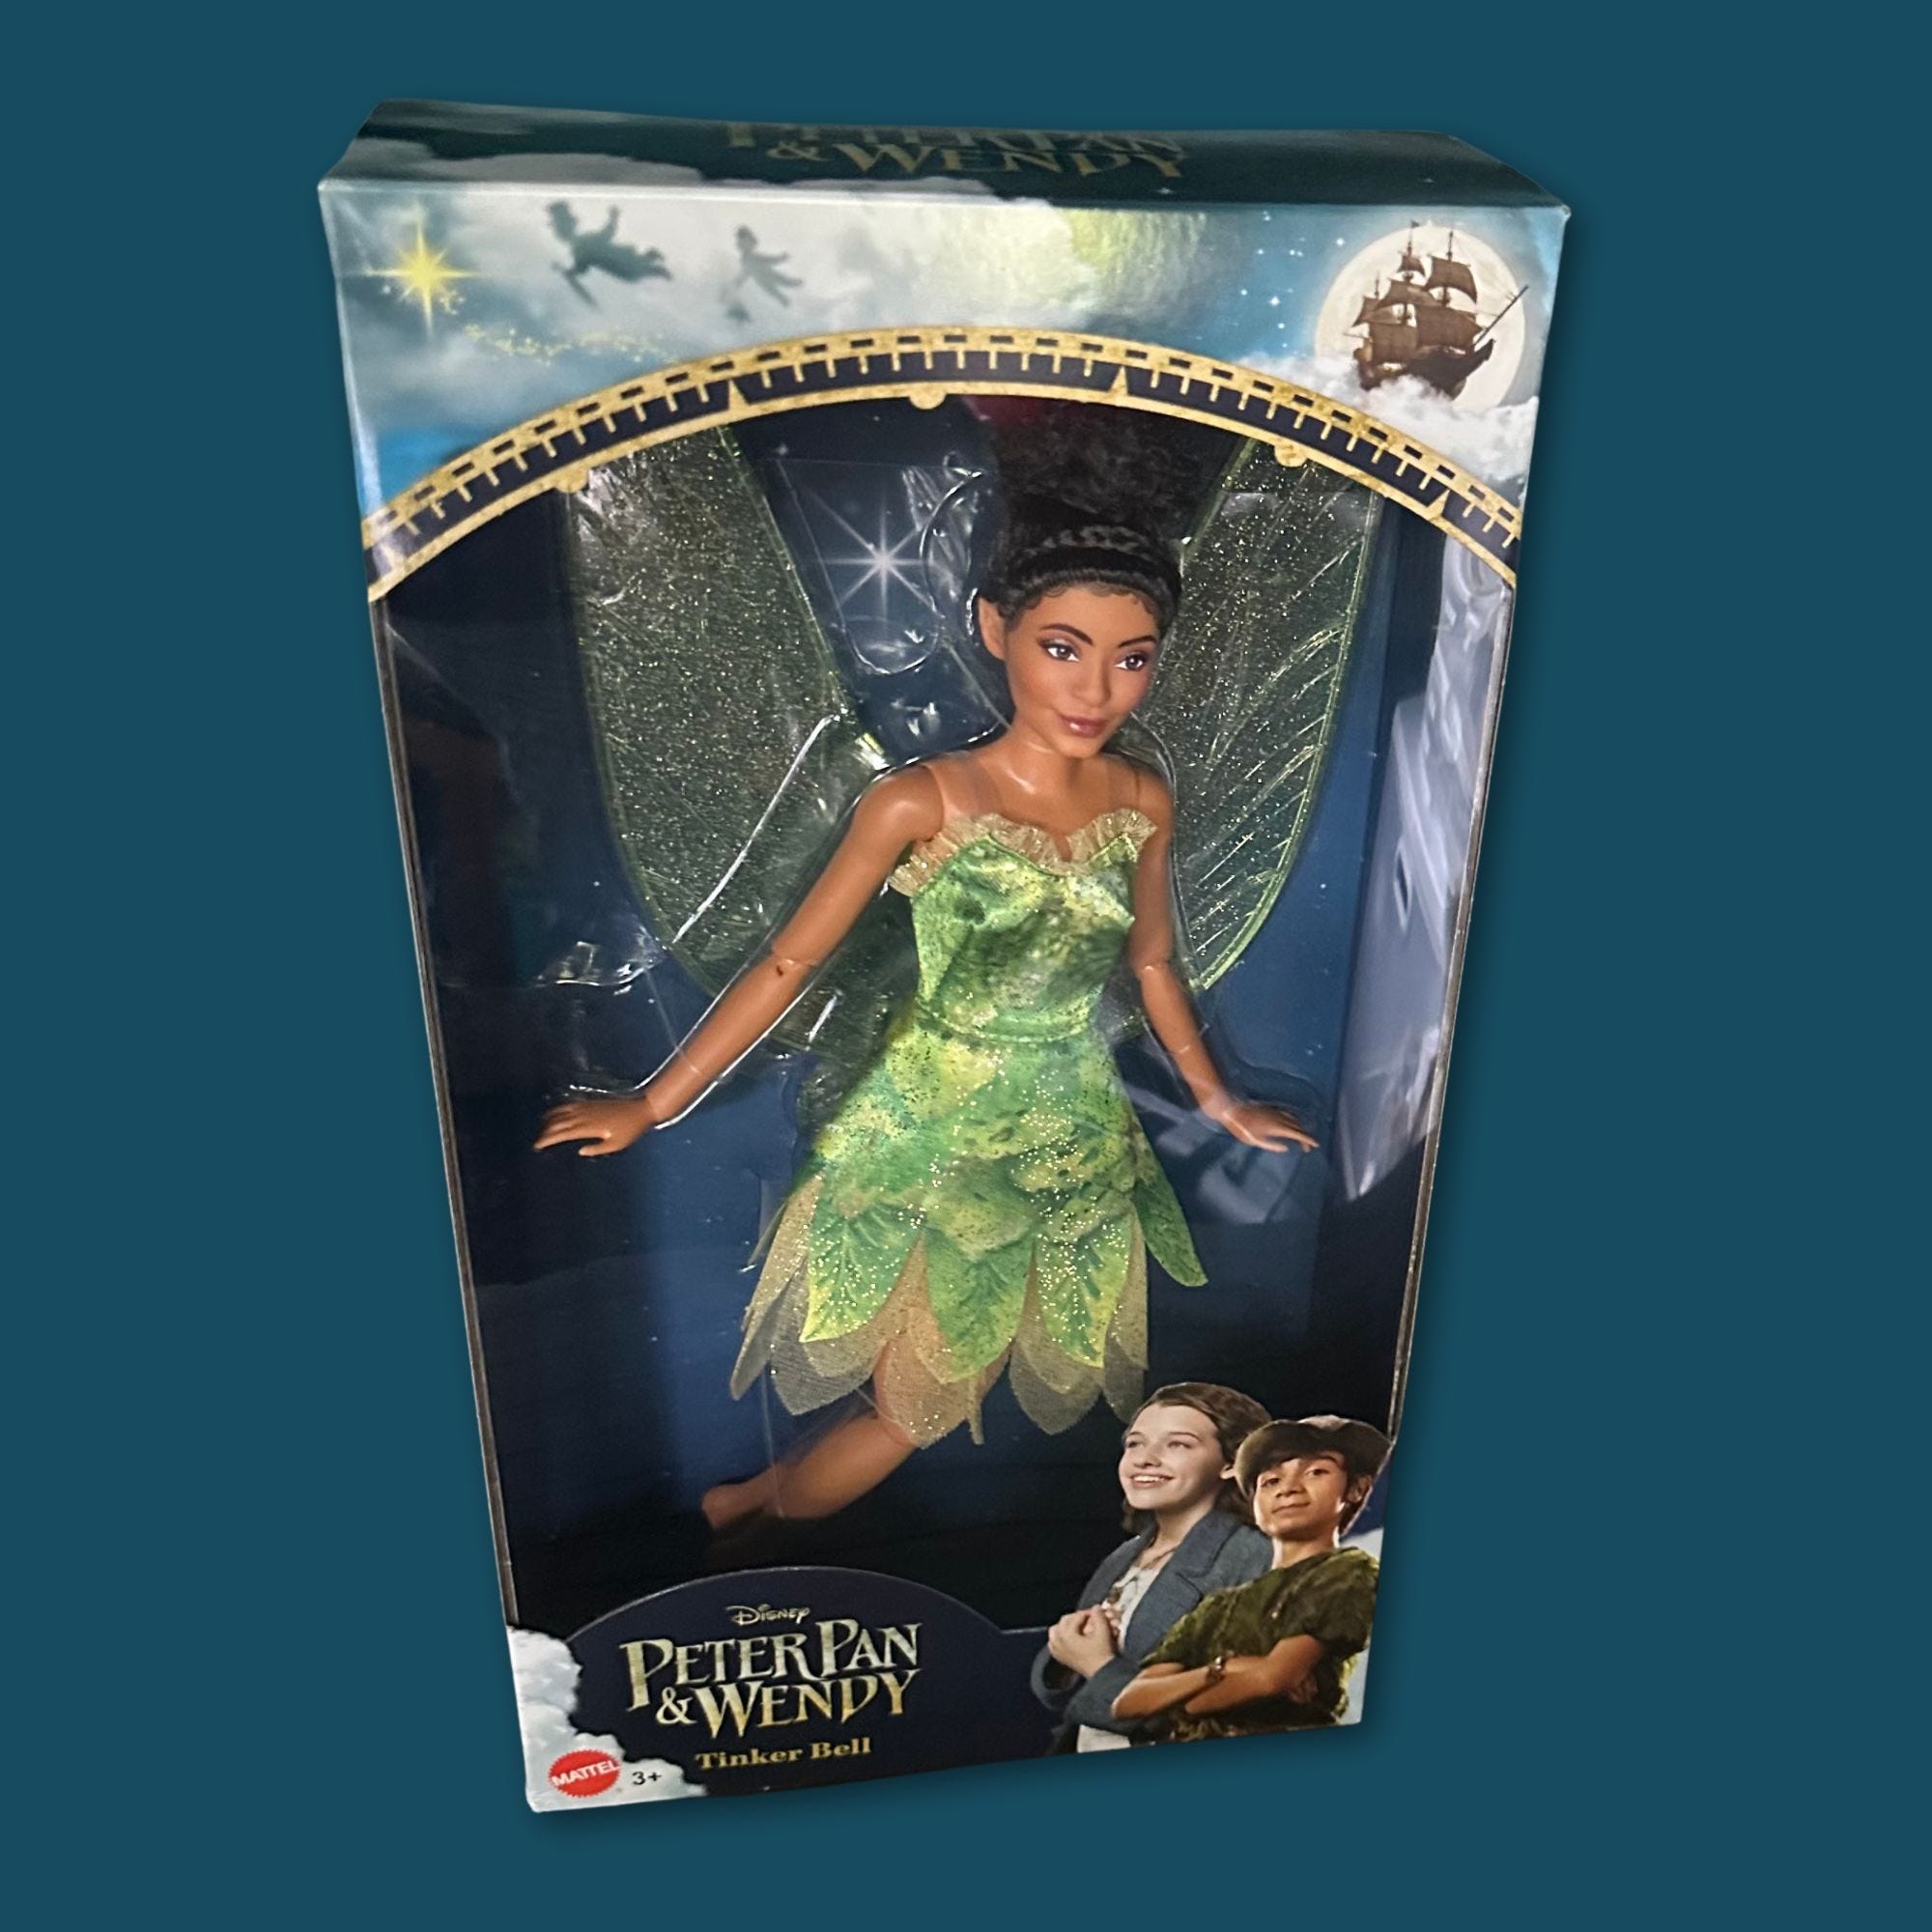
My crafting theme for July is “A Midsummer Night’s Dream” comprising of two distinct projects. First, in this blog, I will describe my process for customizing the Tinker Bell movie doll into Titania, Queen of the Fairies, from Shakespeare’s “A Midsummer Night’s Dream”. The actress that the doll is modeled after is the gorgeous Yara Shahidi. She played Tinker Bell in the live-action 2023 Disney movie Peter Pan and Wendy. For this project, I created her floral crown, fairy wings, and a scepter. The second project will be Titania’s throne room broken up into several parts.
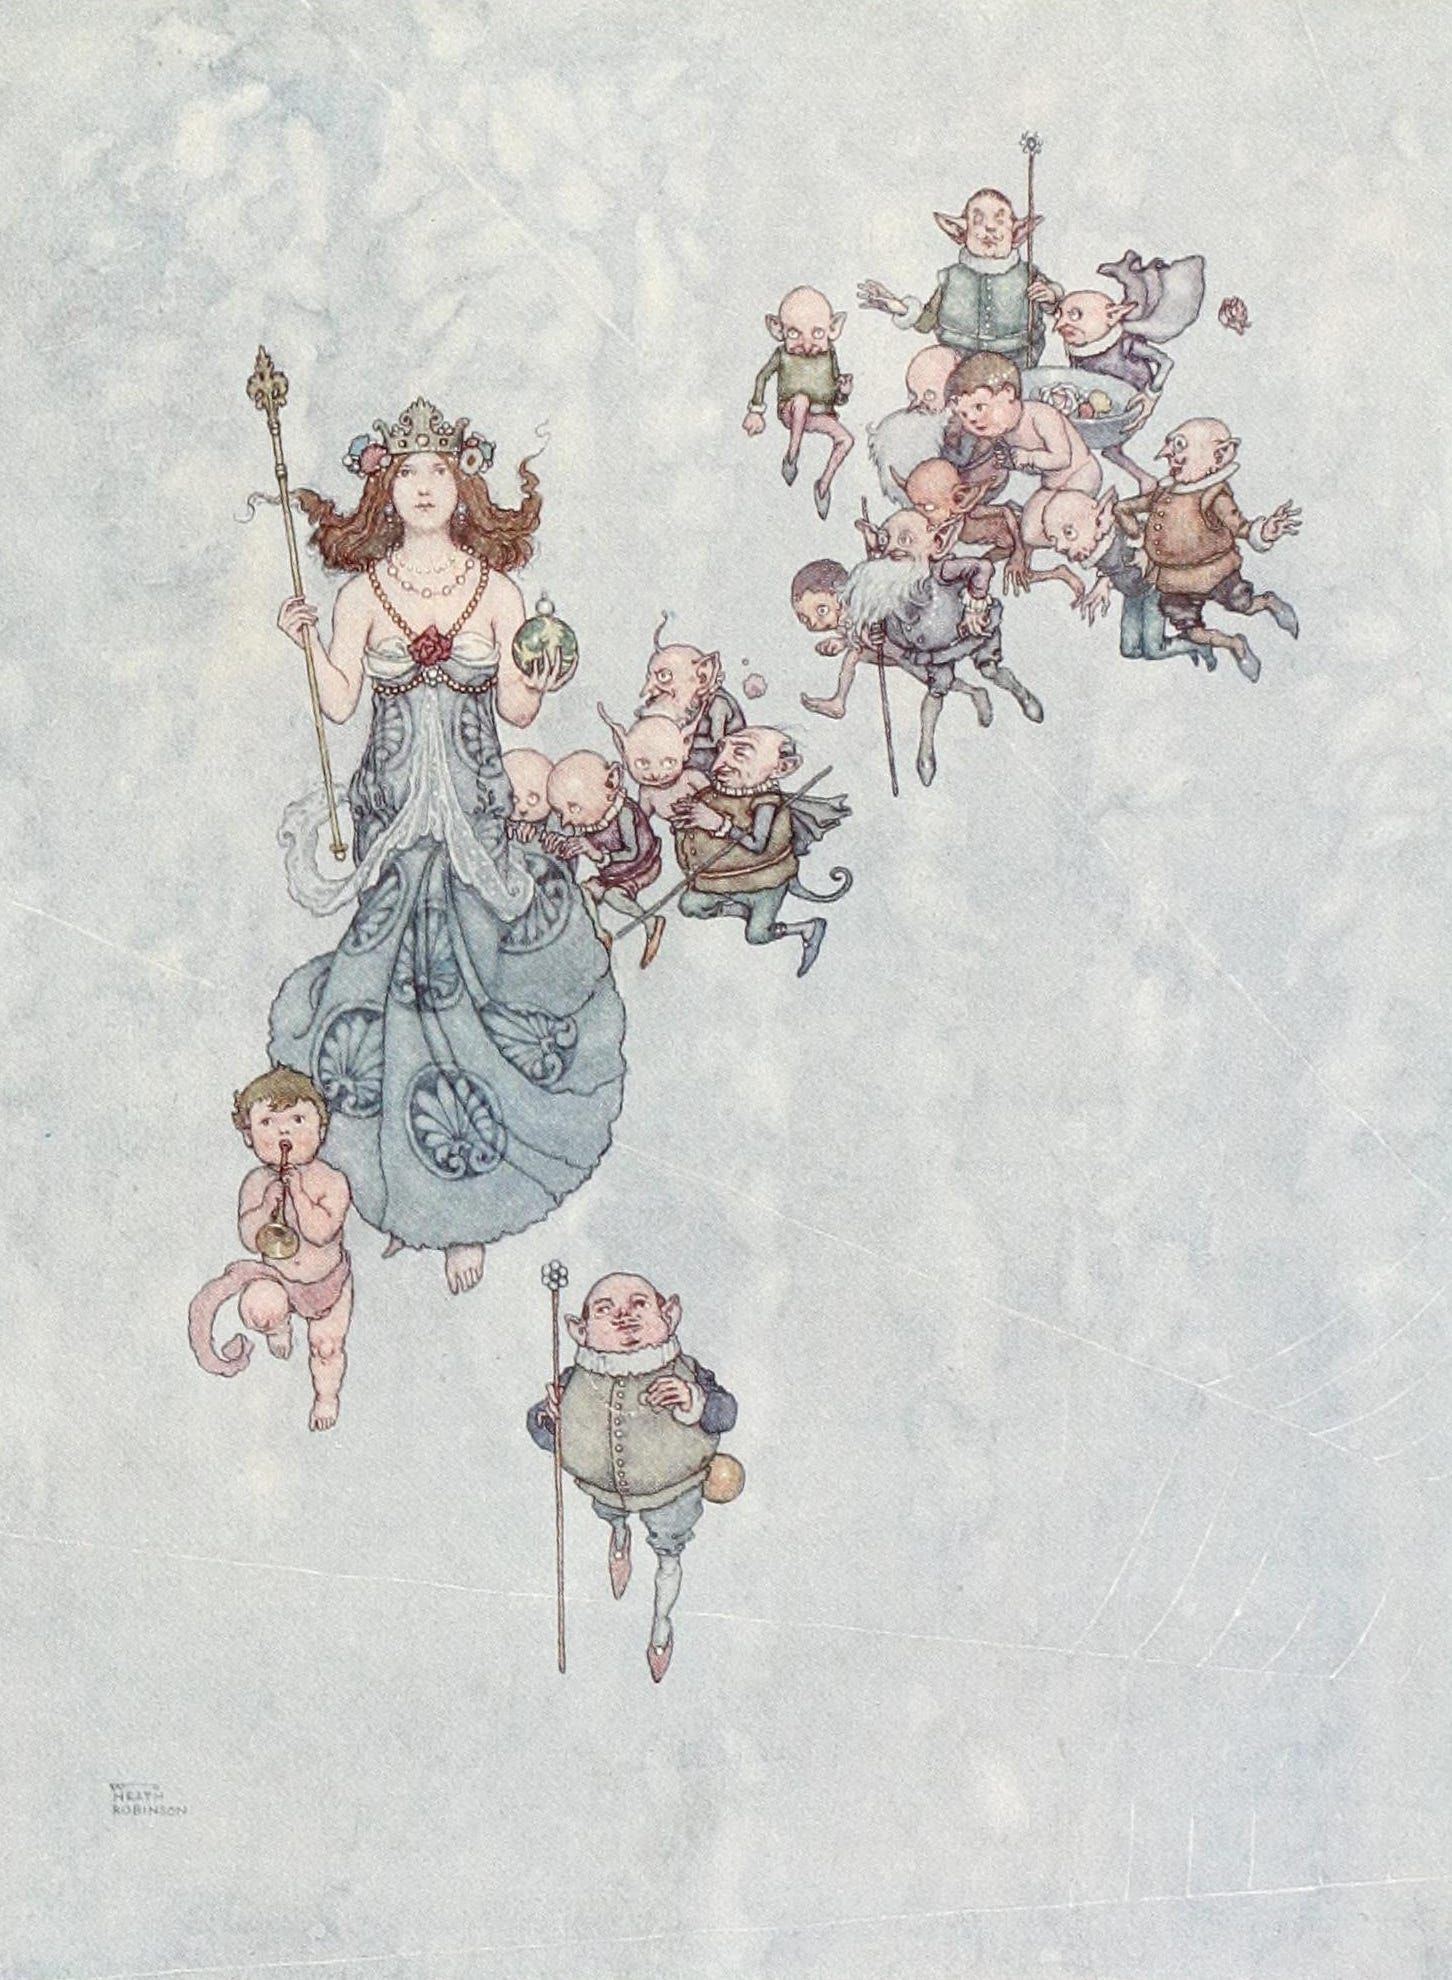
As background, Titania is the Queen of the Fairies in Shakespeare’s play, “A Midsummer Night’s Dream”. There are fairy queens throughout myth and lore, however, as a named character, Titania is purely Shakespeare’s creation. There aren’t any physical descriptions of Titania— just verses regarding her regal presence and comparisons to moonlight. That little bit dictated my color palette to pale blue, white, and metallics. I am not a face-up artist so I did not repaint the doll’s face. This customization was purely styling and creating props. Initially, I had only planned to create a fairy-themed diorama but I couldn’t create a diorama without a model. So here we are!
PROJECTS
#1 - Fairy Wings:
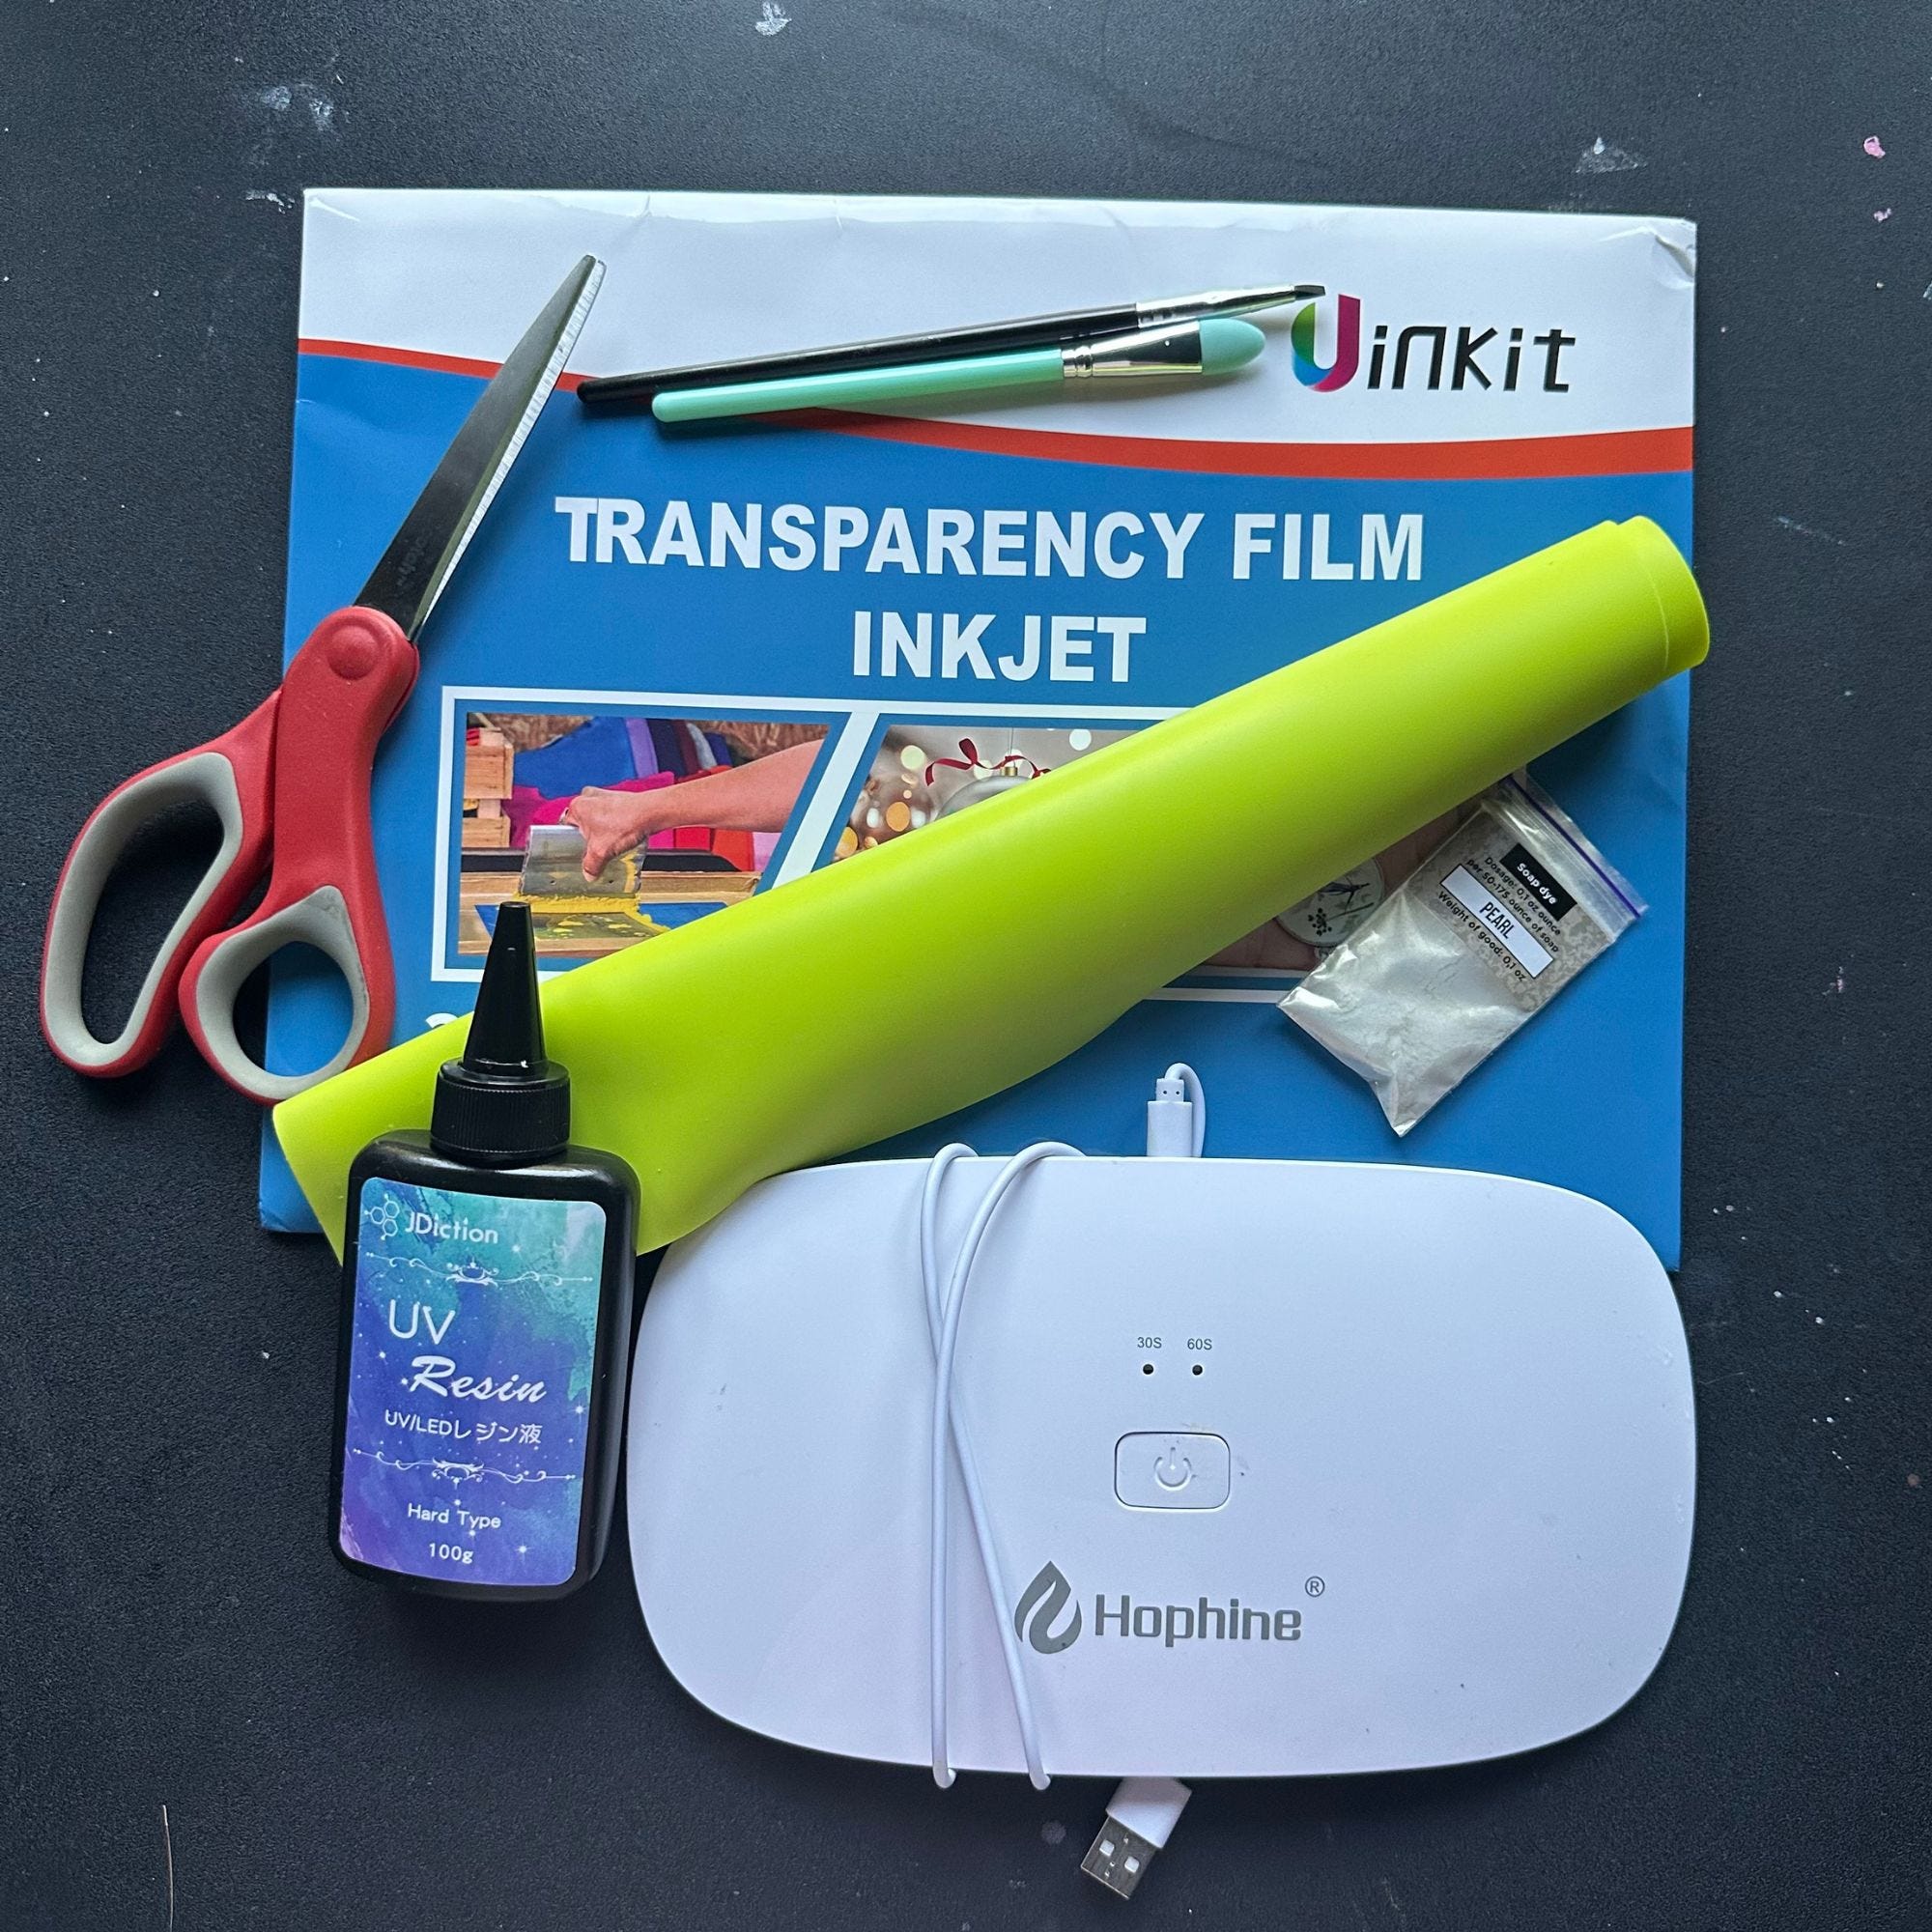
SUPPLIES
Transparency Film for Inkjet Printers
Silicone Mat and Silicone Tools
Pearlescent Mica Powder
UV Resin Glue
UV Light
Scissors


First, print the fairy wings onto transparency film using an inkjet printer (as opposed to a laser printer). Make sure to follow the manufacturer’s instructions because there is a right and wrong printing side. Let the ink dry for a few minutes. If you’d like to “craft-a-long”, then you can download my fairy wings printable here for free.
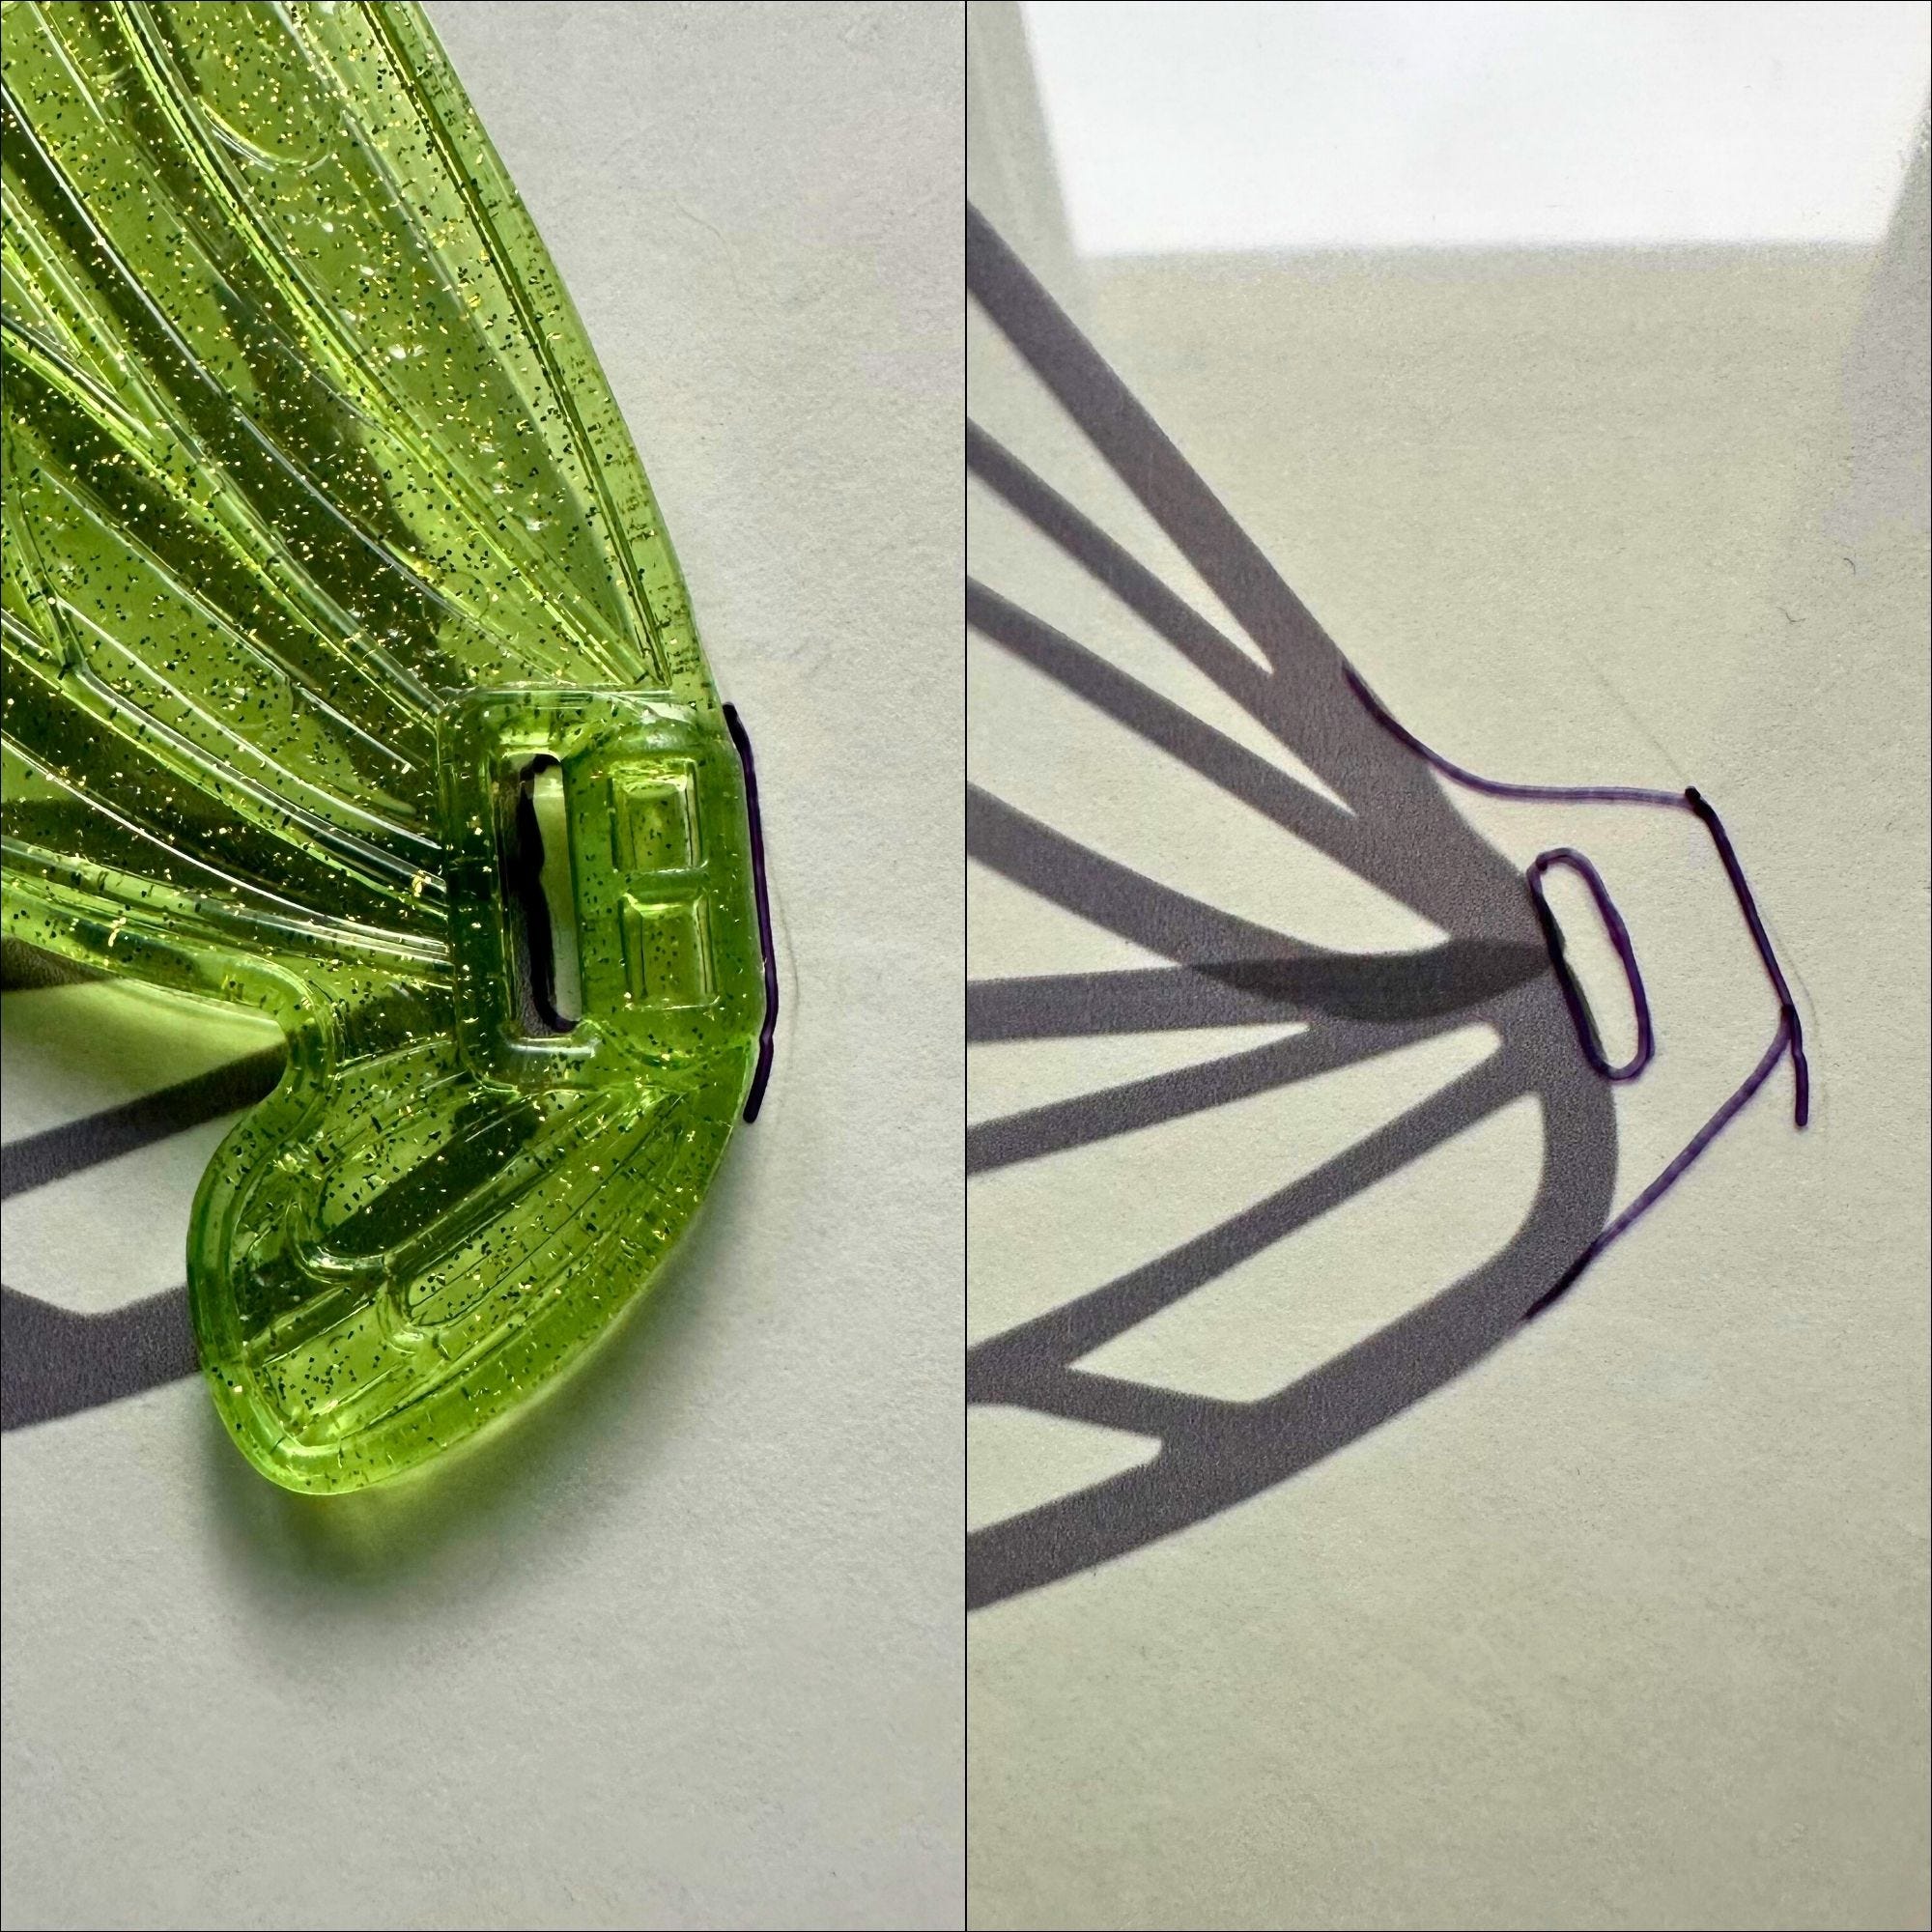
Since, I used the Tinker Bell doll with wing prongs, I traced the notches from her original wings so that I could use the same mechanism. At this point, future me says to cut the hole in the transparency film now because if you wait until you finish the project, you will be very sad… and maybe even cry :) Once cut, check to see if it fits the prongs and trim as necessary. I did not do this during my first run so my wings don’t fit properly and I cannot reposition them for various poses. I will probably make them again at a later date…
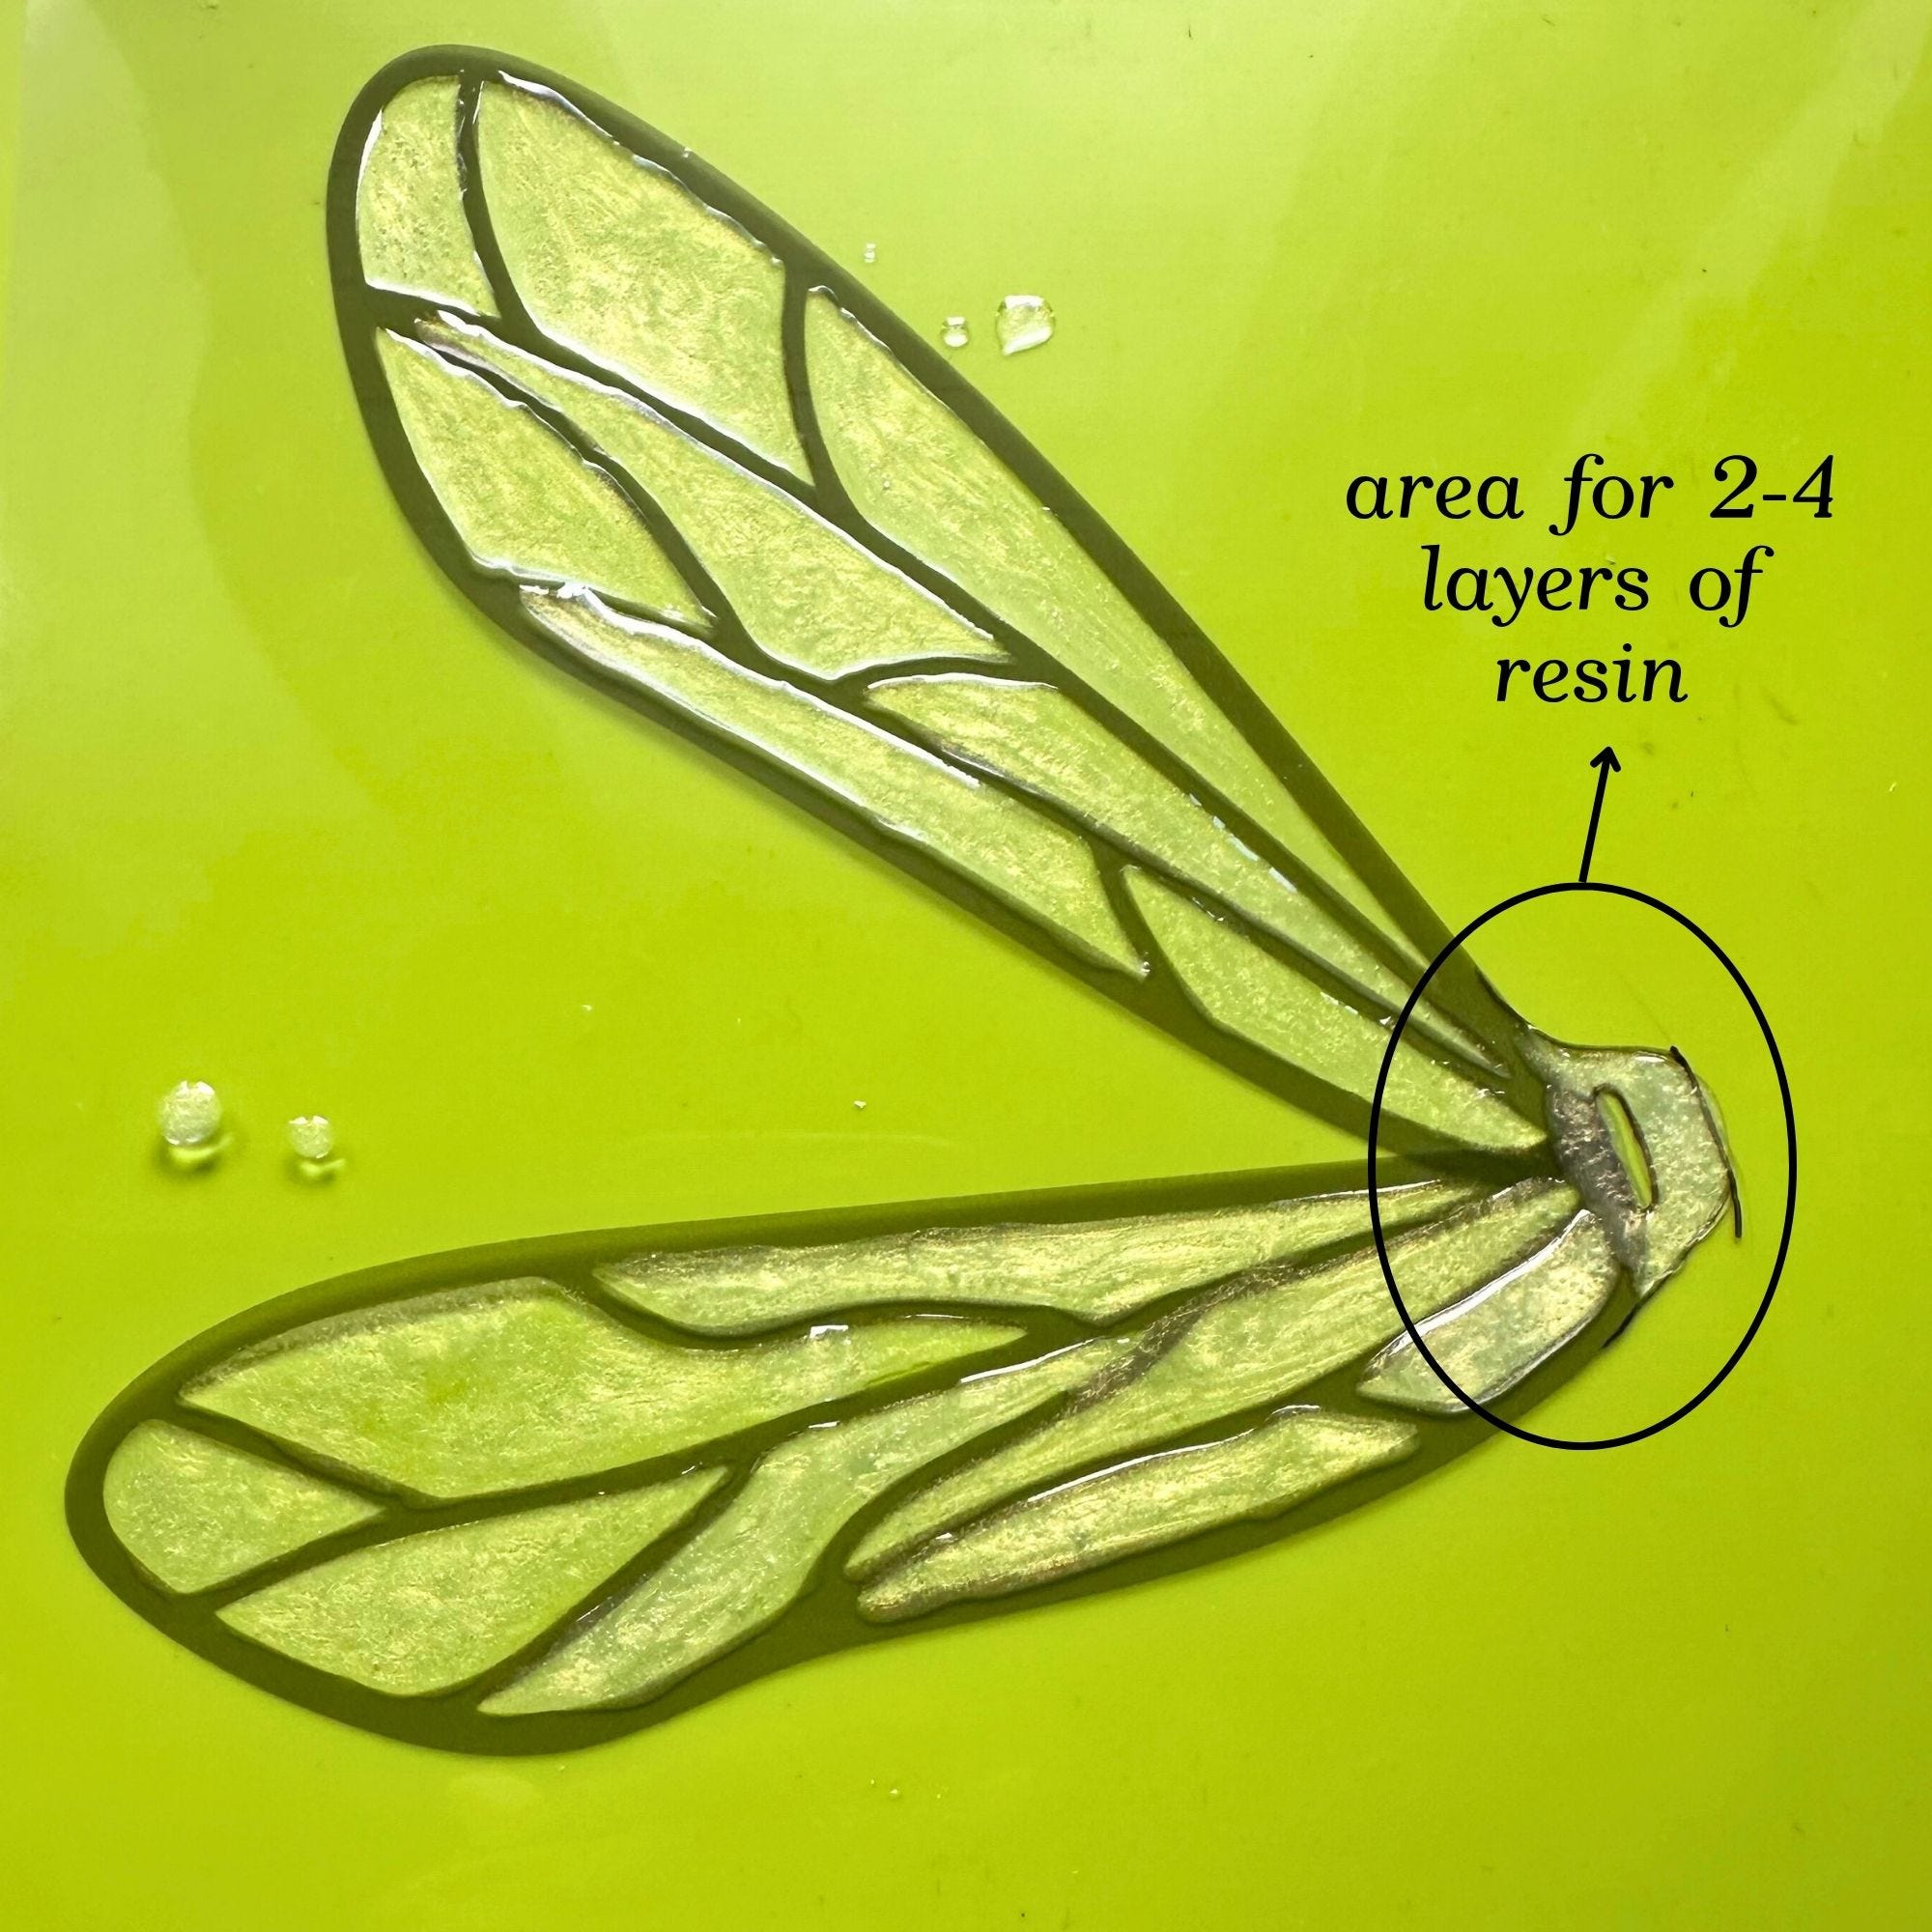
Next, apply UV resin to the transparency film to make the wings look more realistic. I mixed a small batch of resin and mica powder to create a shimmery translucency. Working from top to bottom, apply 1-2 thin layers of UV Resin Glue with a silicone tool to a few transparent sections (not the vein outline). Cure for a couple of minutes under the UV light for each layer. Repeat until each section has been sufficiently cured. Repeat for the other wing. Future me says to apply 2-4 thin layers of resin to the notches and the surrounding base area or else the wing will unpleasantly flop about and you’ll have to fix it later.
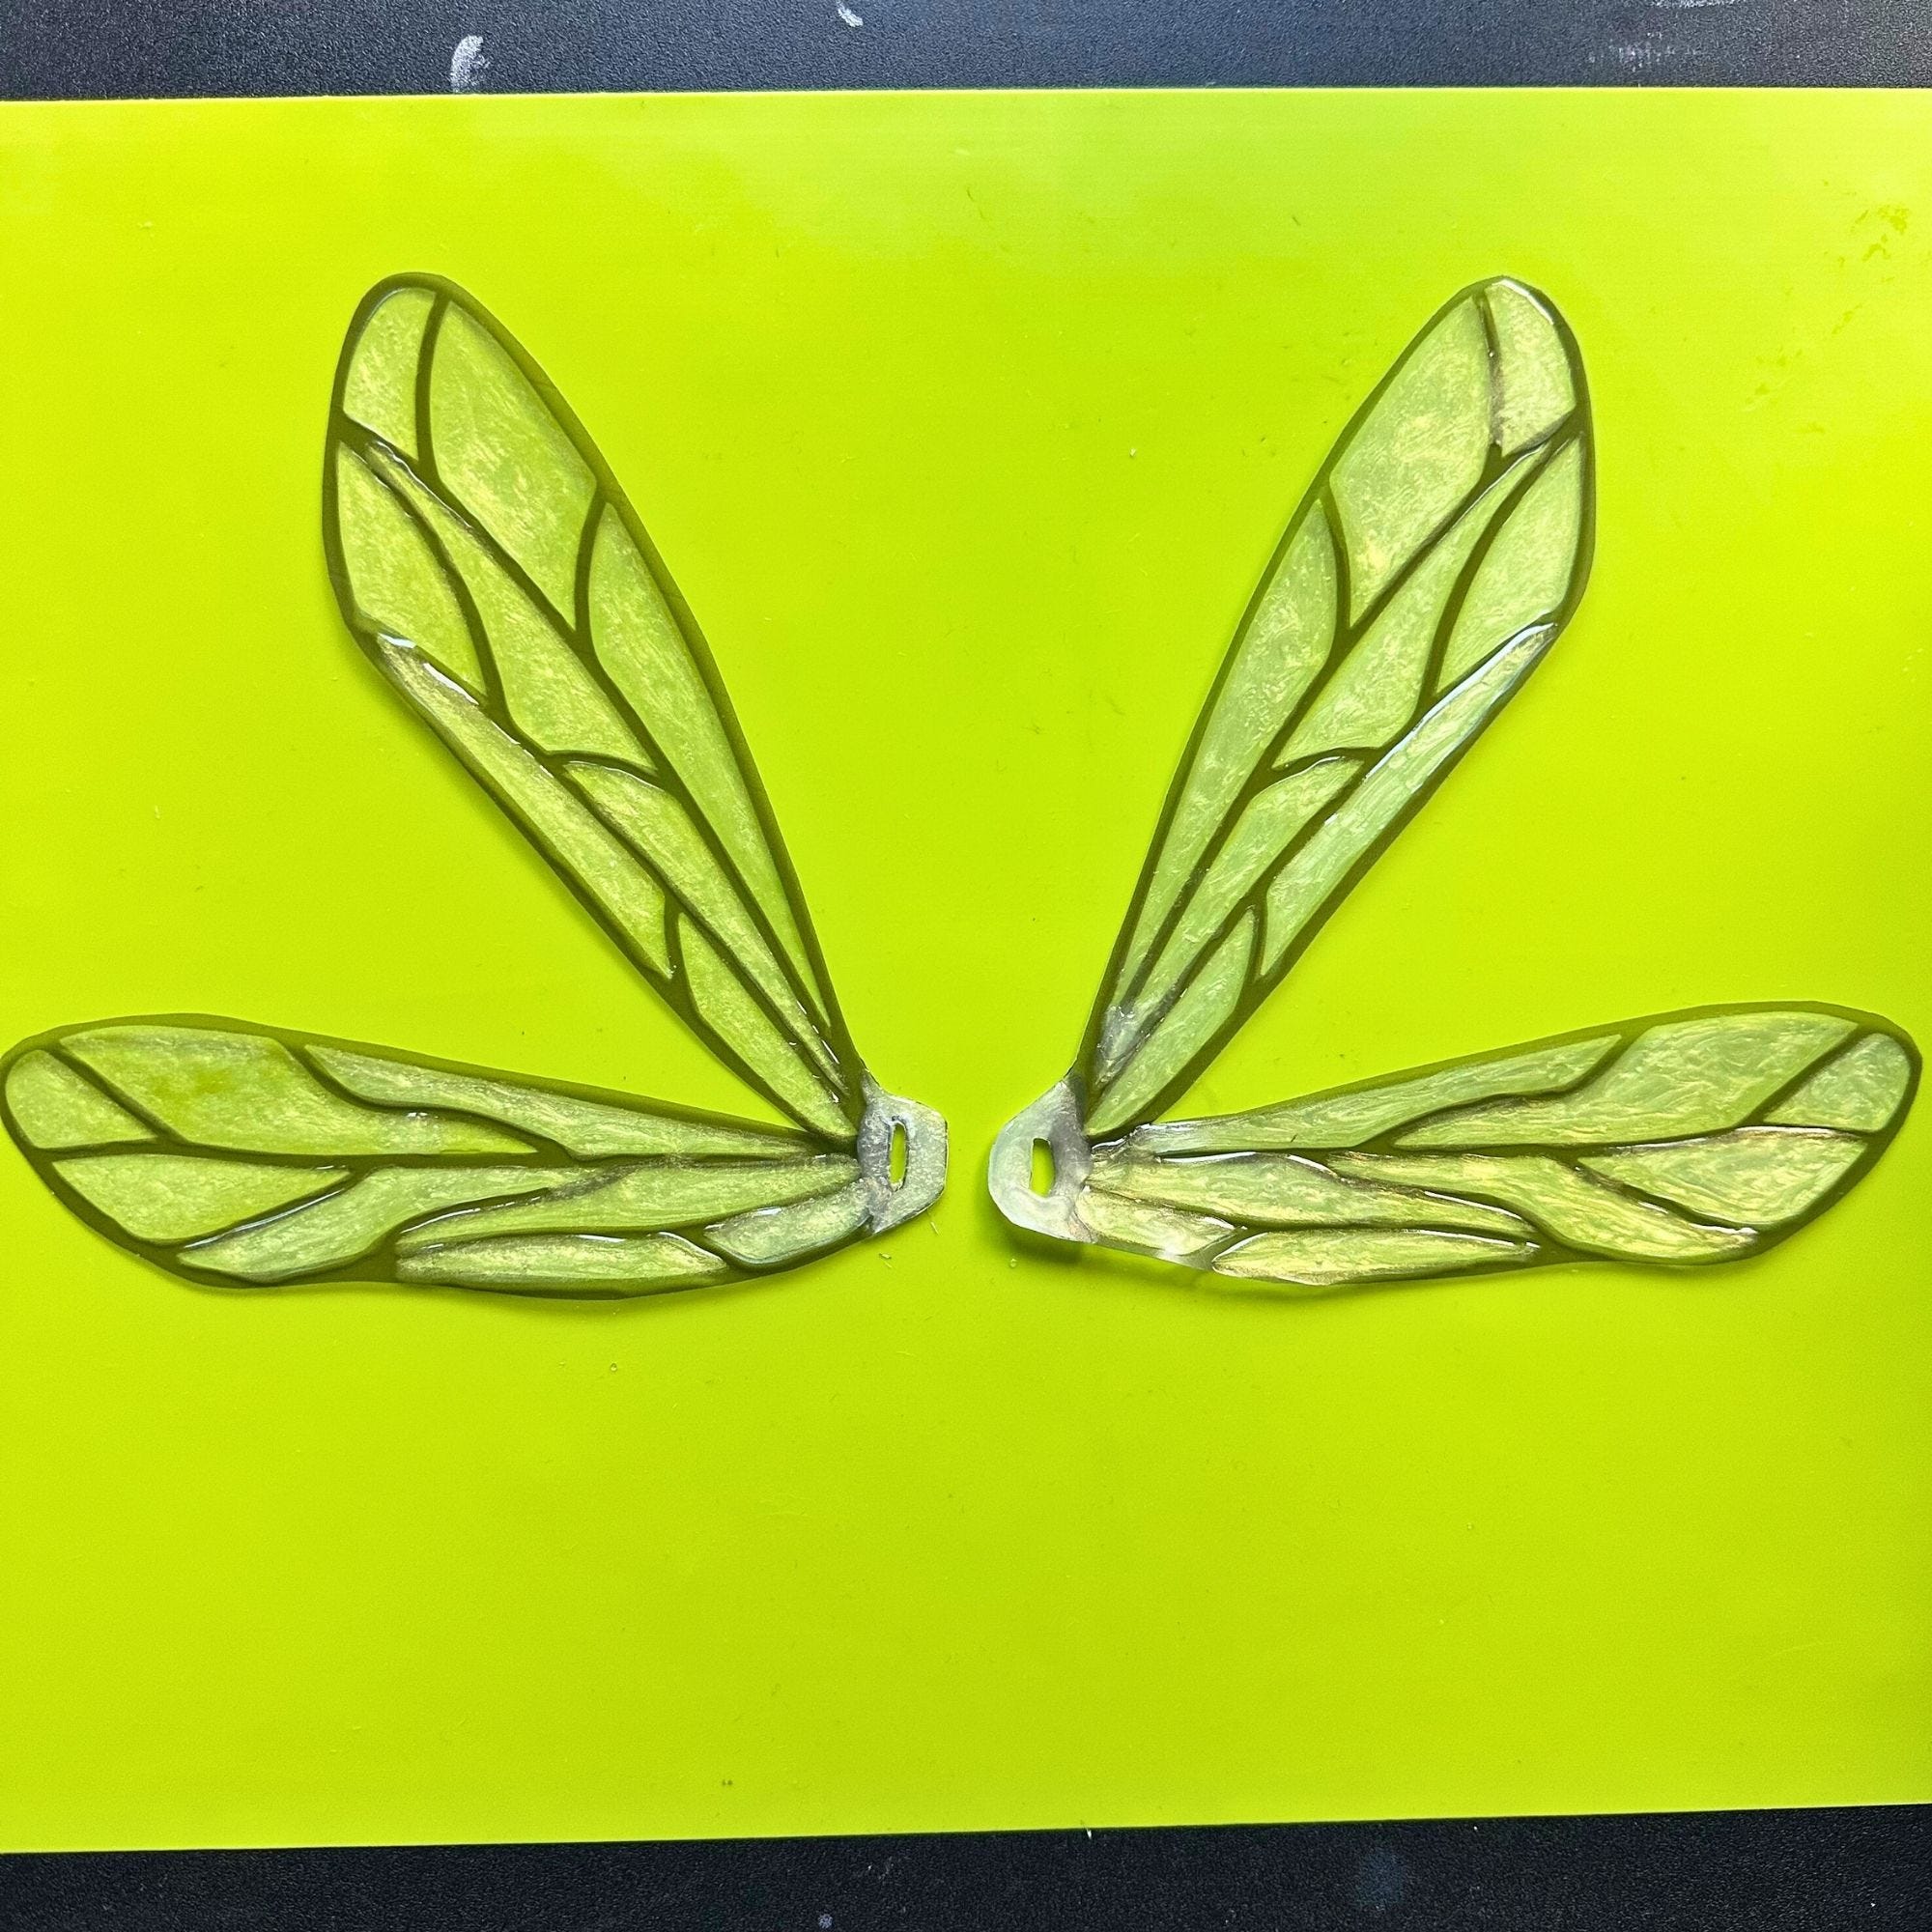
Cut the wings from the transparency film and slightly trim the outer vein.
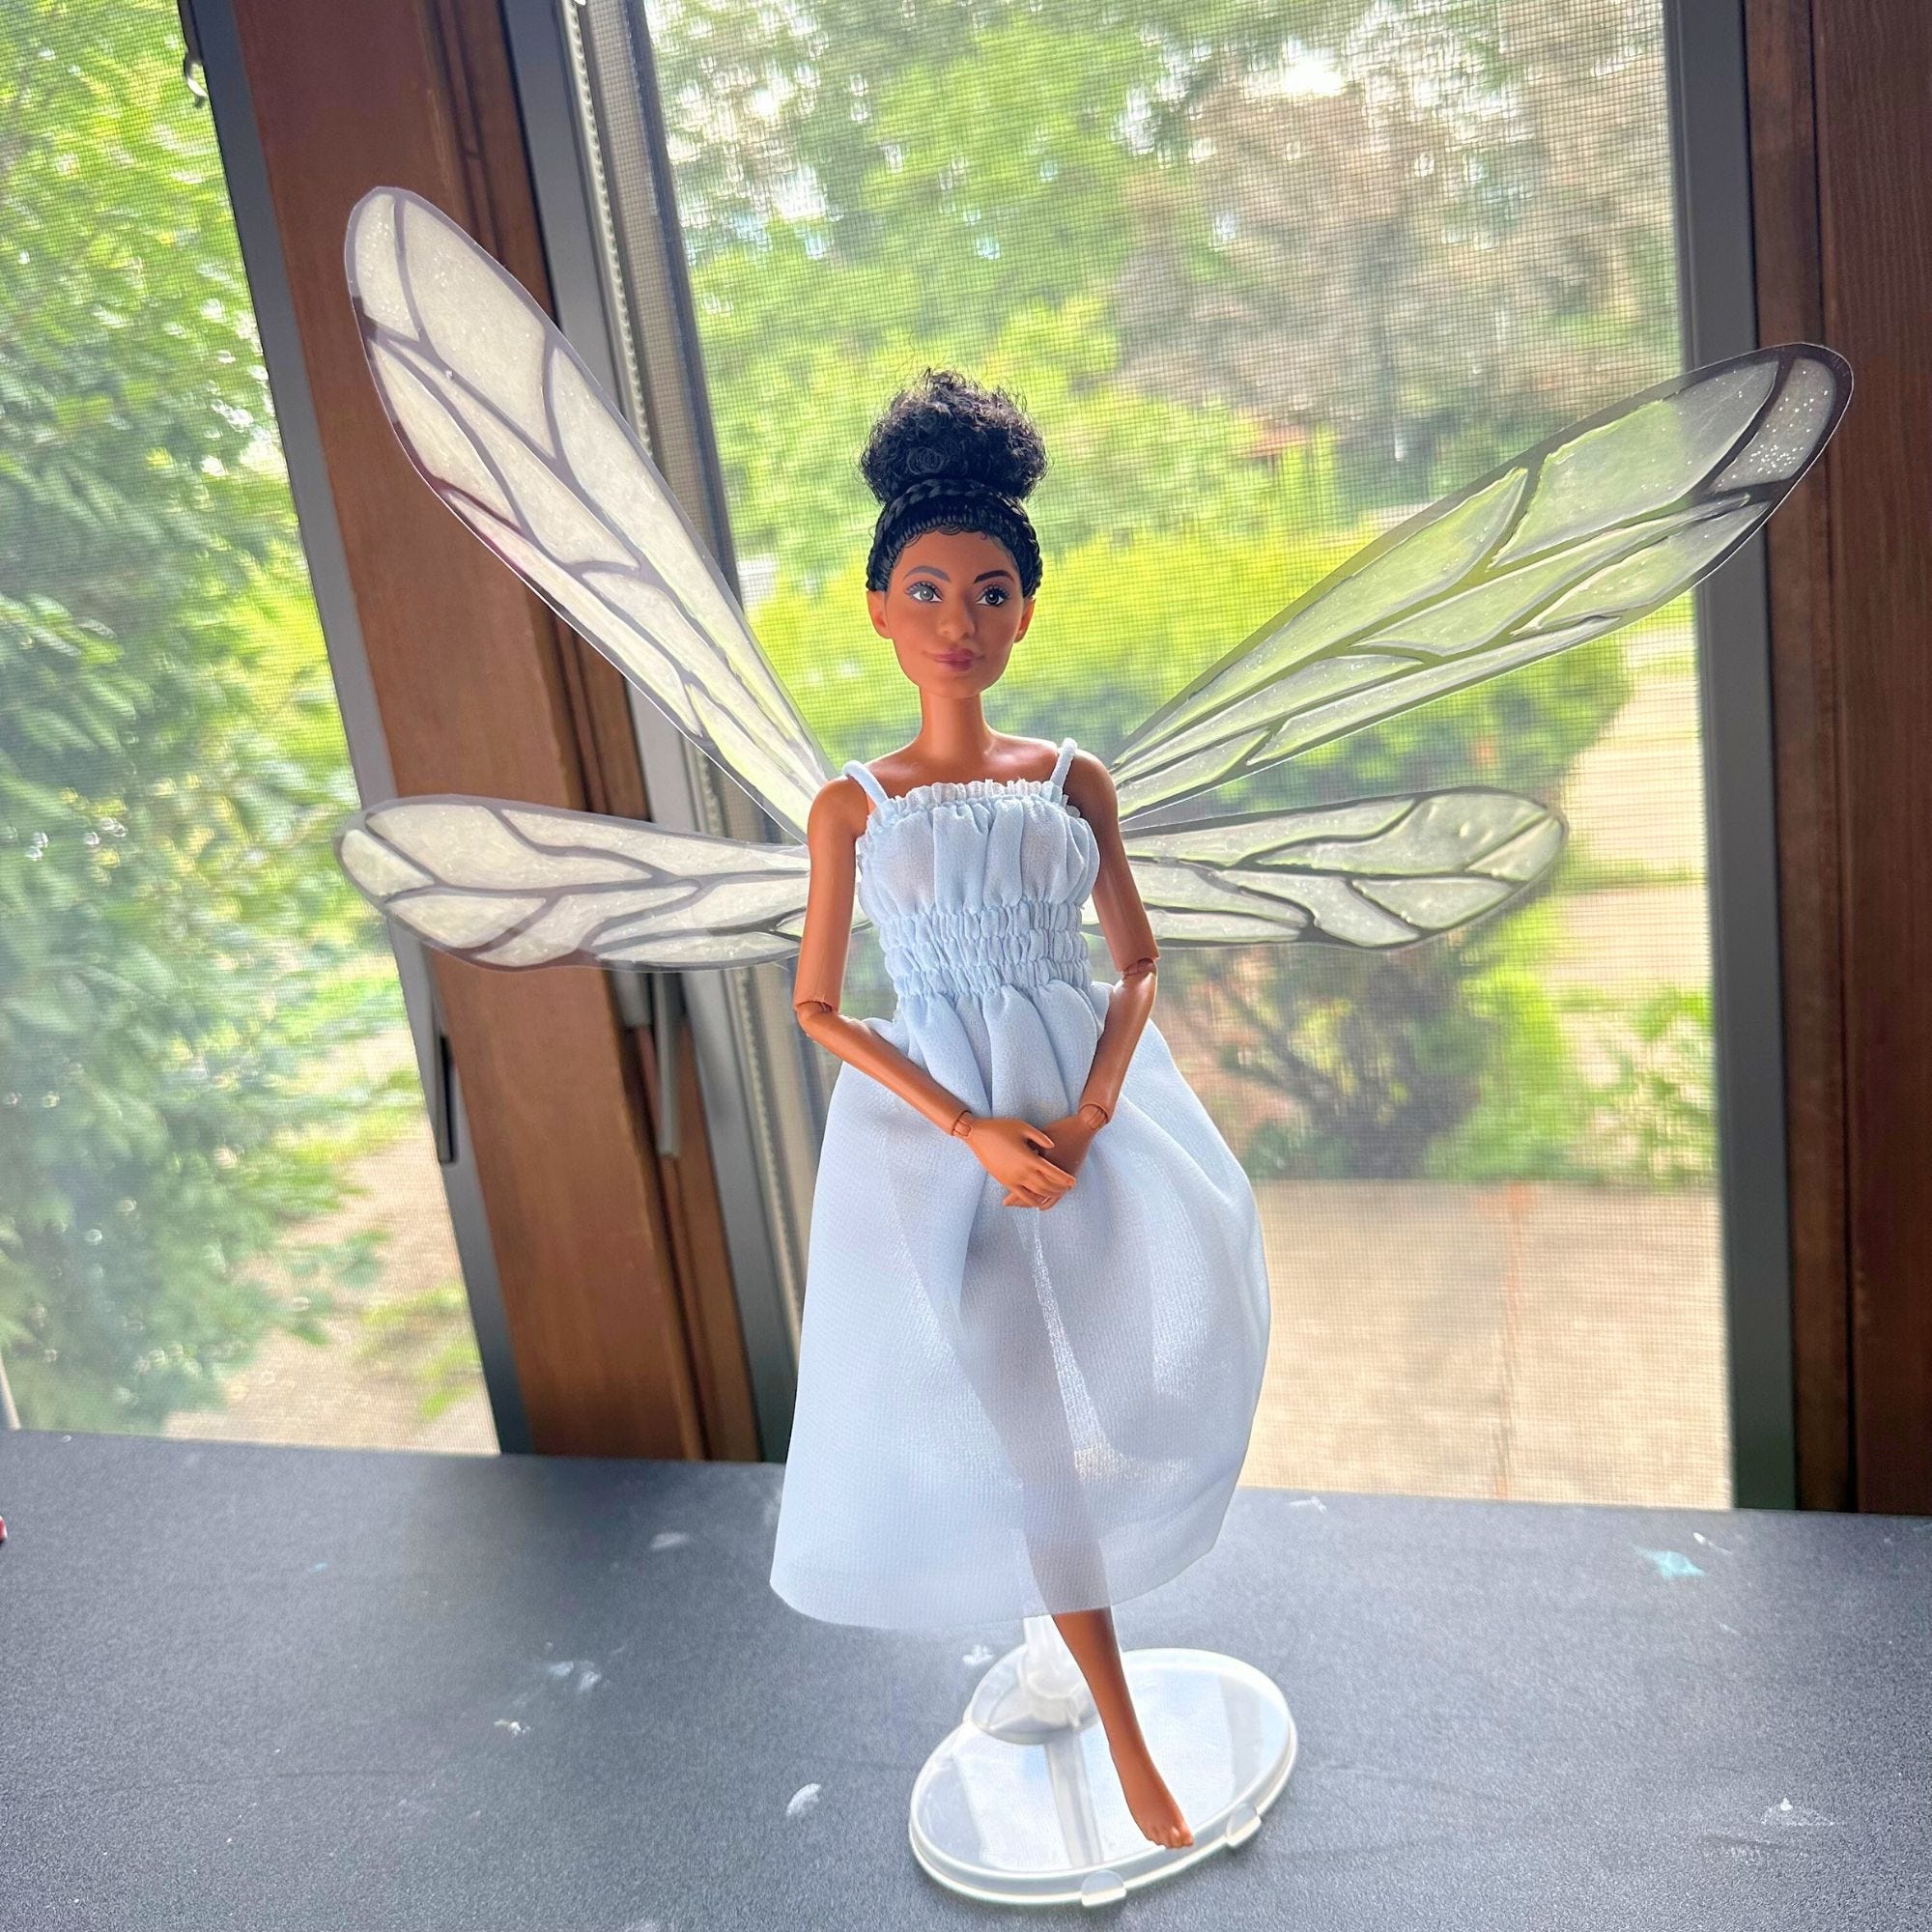
Fit and position the wings on your model. I am extremely pleased with how this project turned out! These wings look great using either the resin side or the back side as the front. It’s your preference.
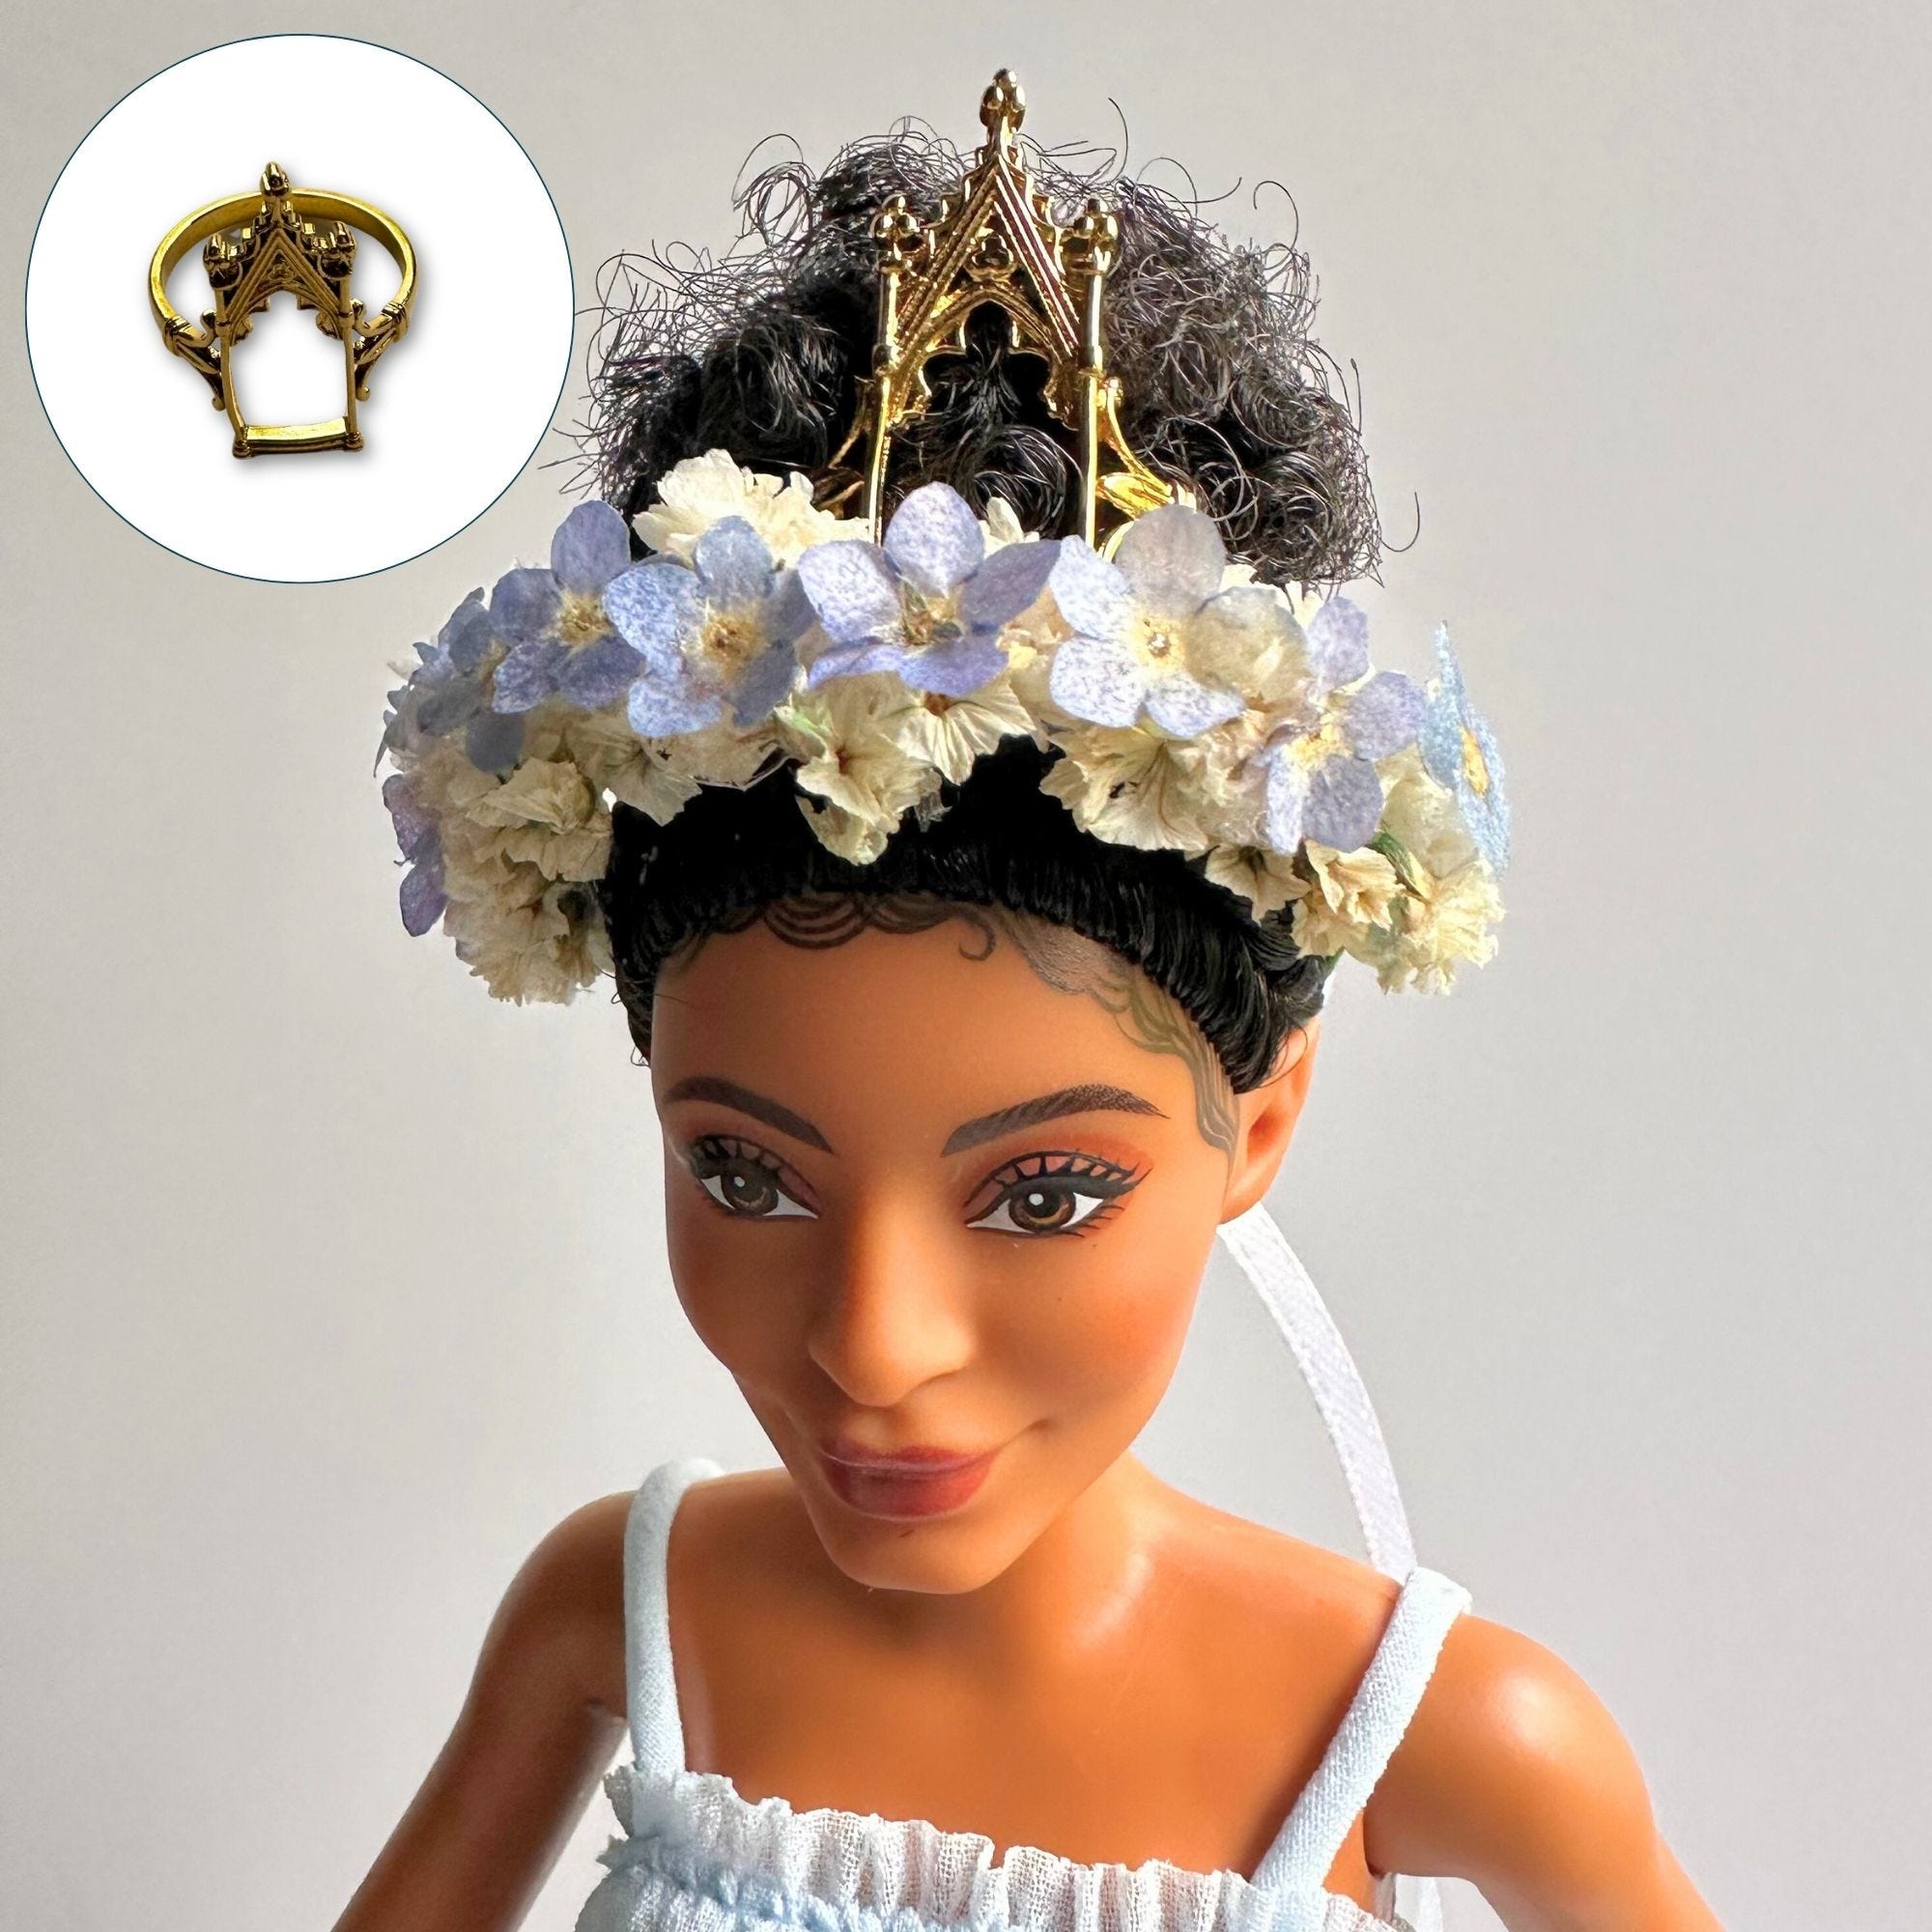
#2 - Floral Crown:
SUPPLIES
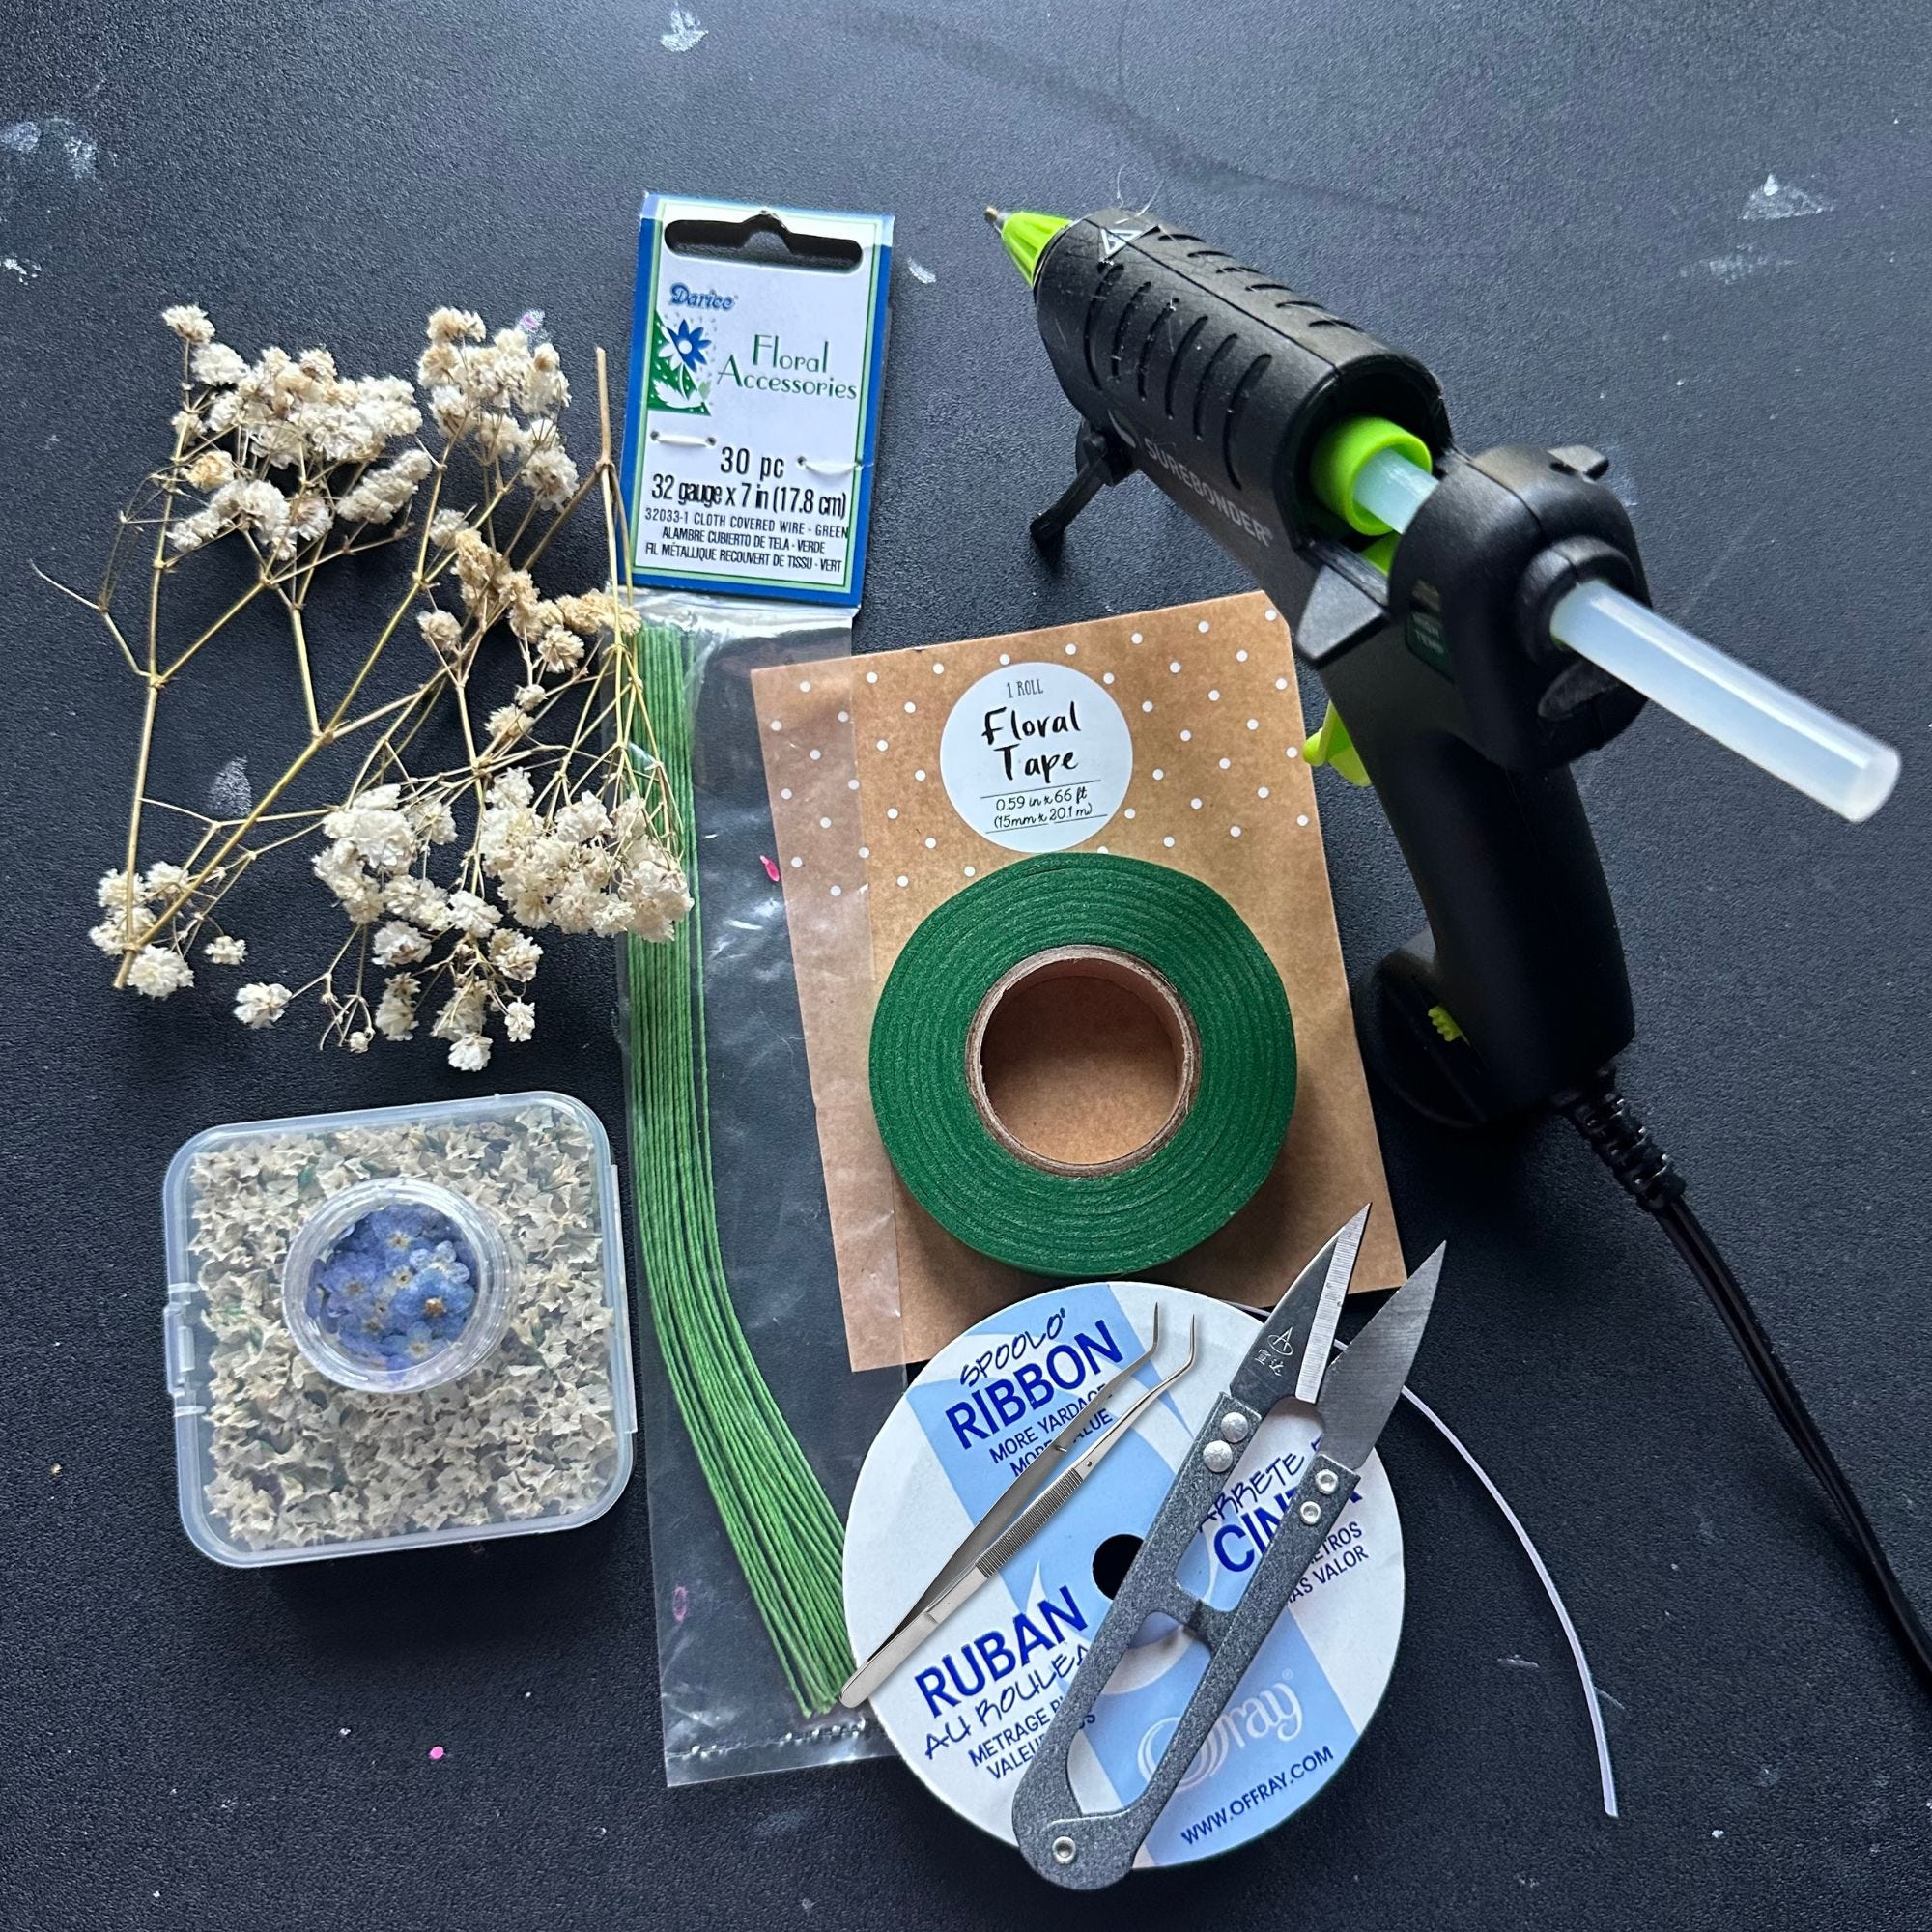
Fine Gauge Wire or Floral Wire (32 gauge pictured)
Floral Tape
Ribbon
Tiny dried or artificial flowers
Tweezers
Snips
Hot Glue Gun & Glue Sticks
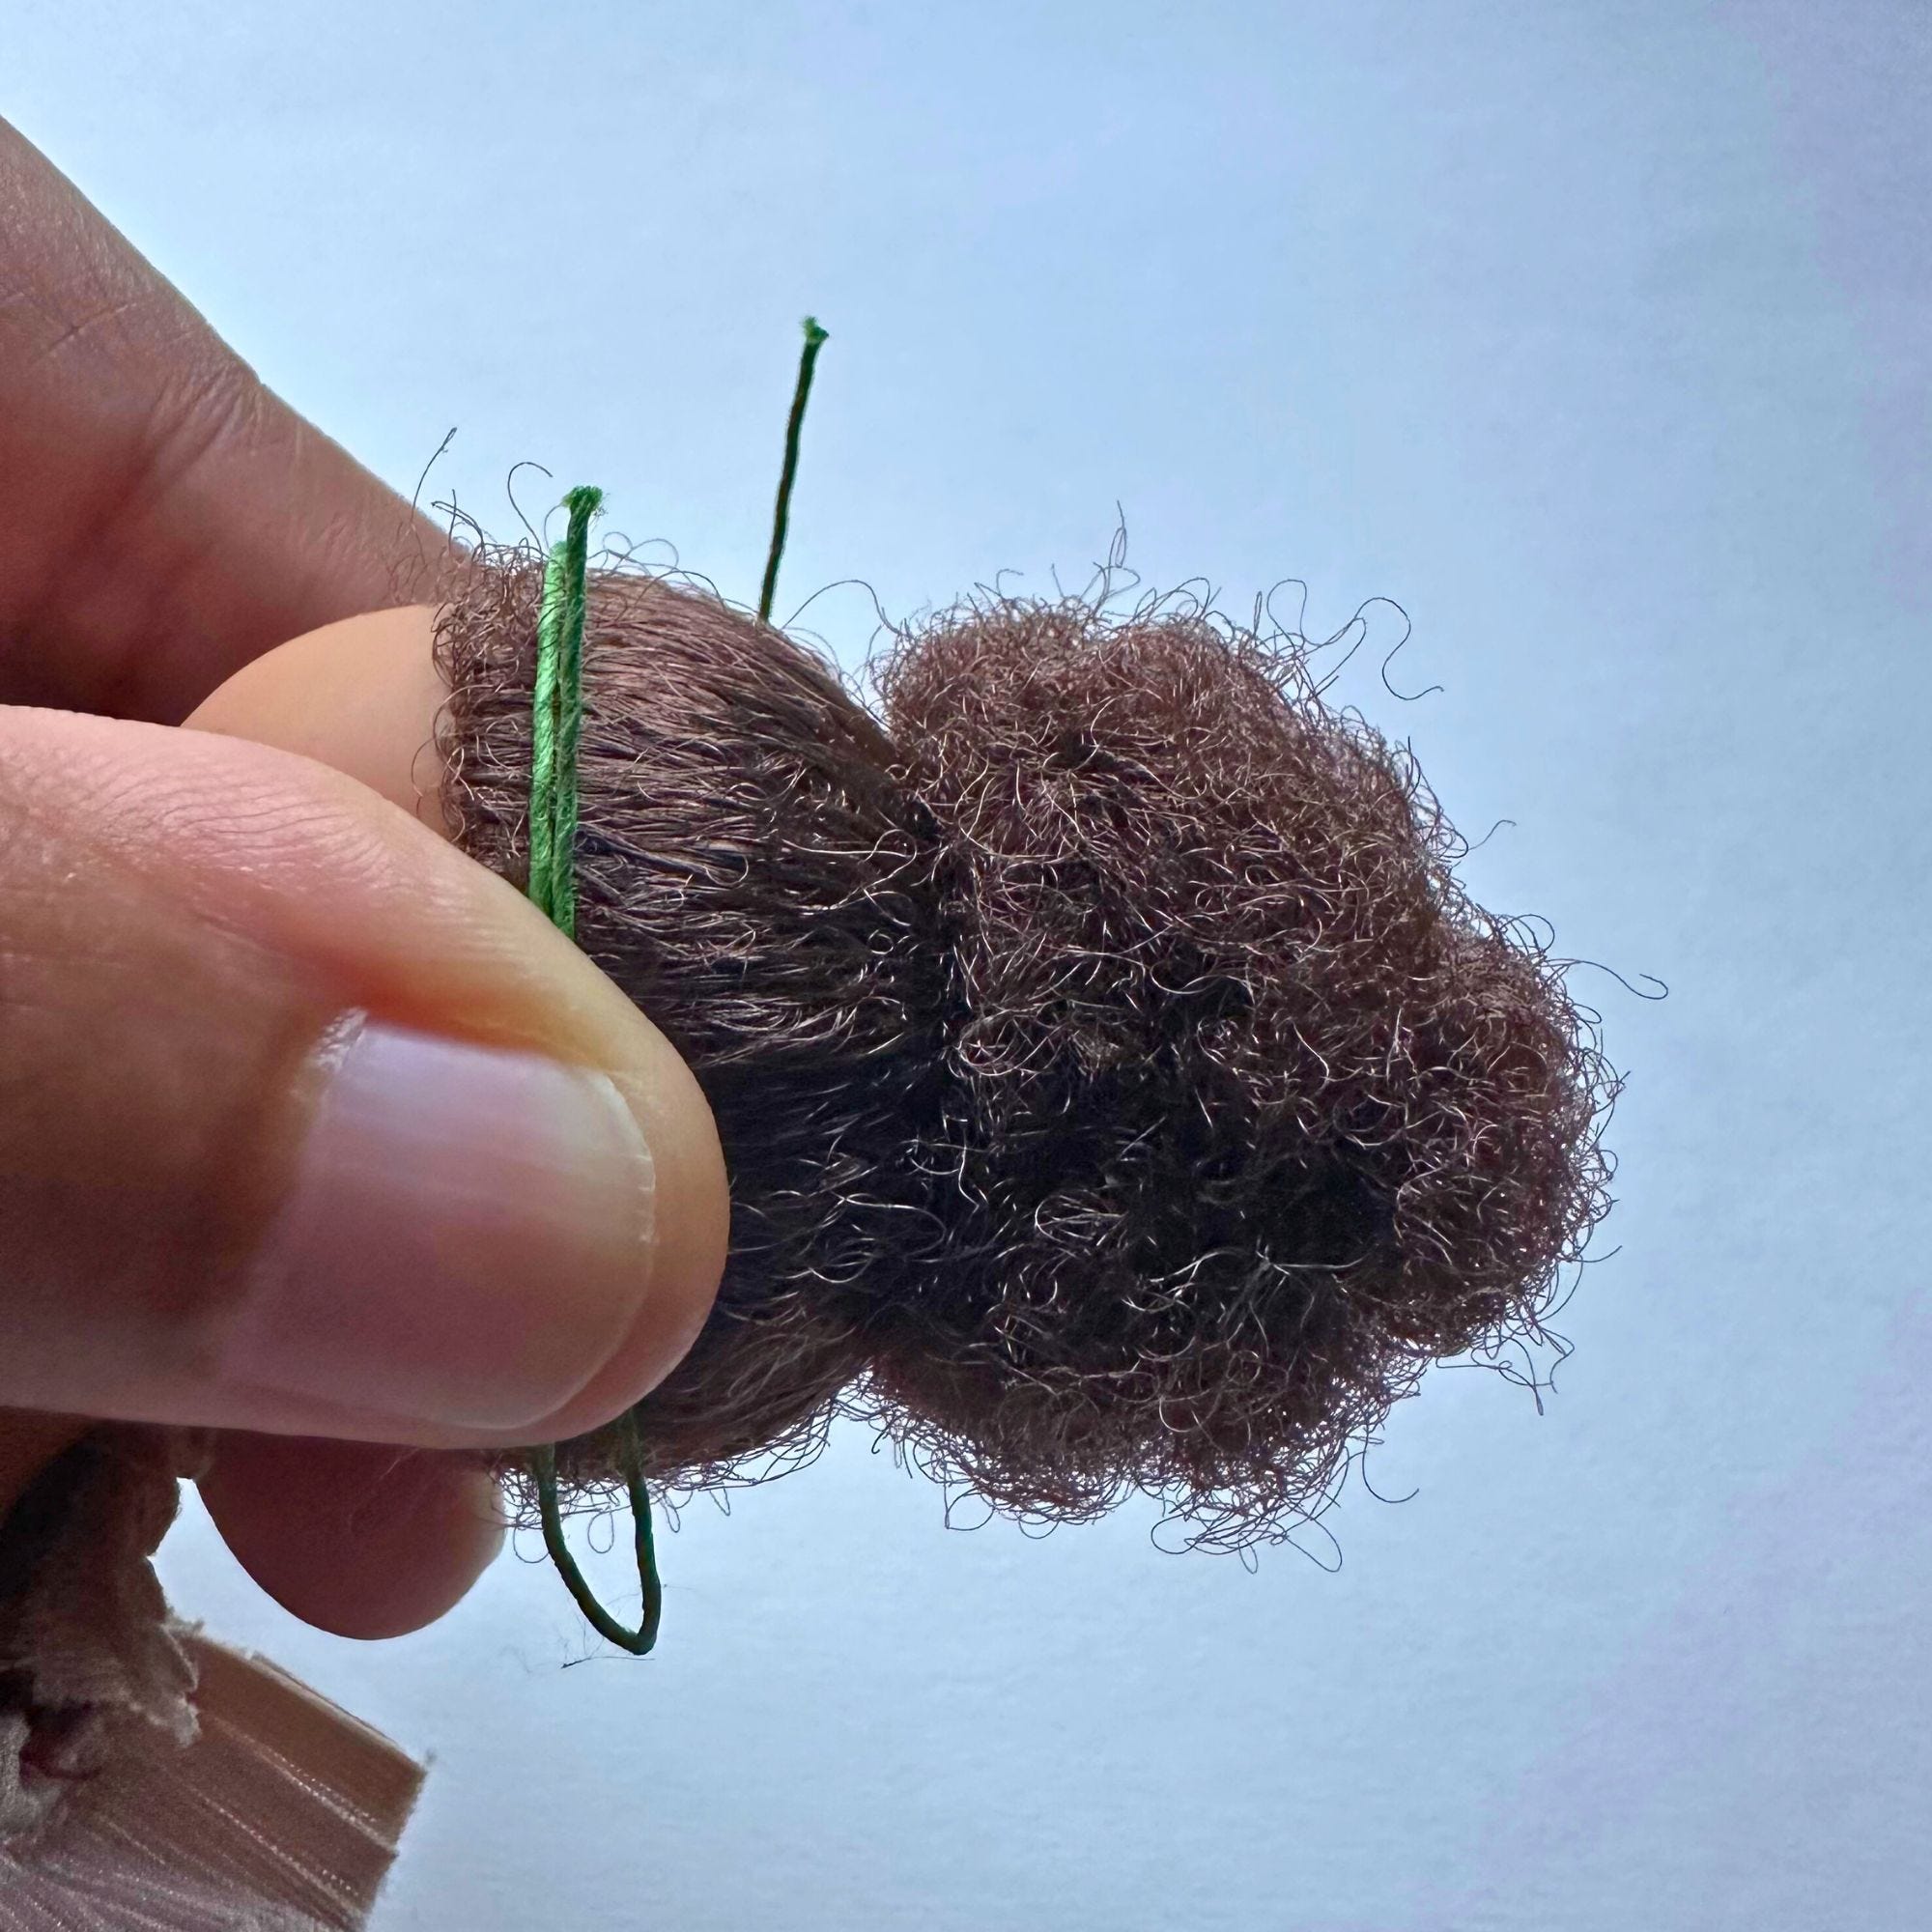
First, center the floral wire to the model’s head and conform the wire to 2/3rds of the head. Turn up the ends, creating a loop that the ribbon will later be attached to.
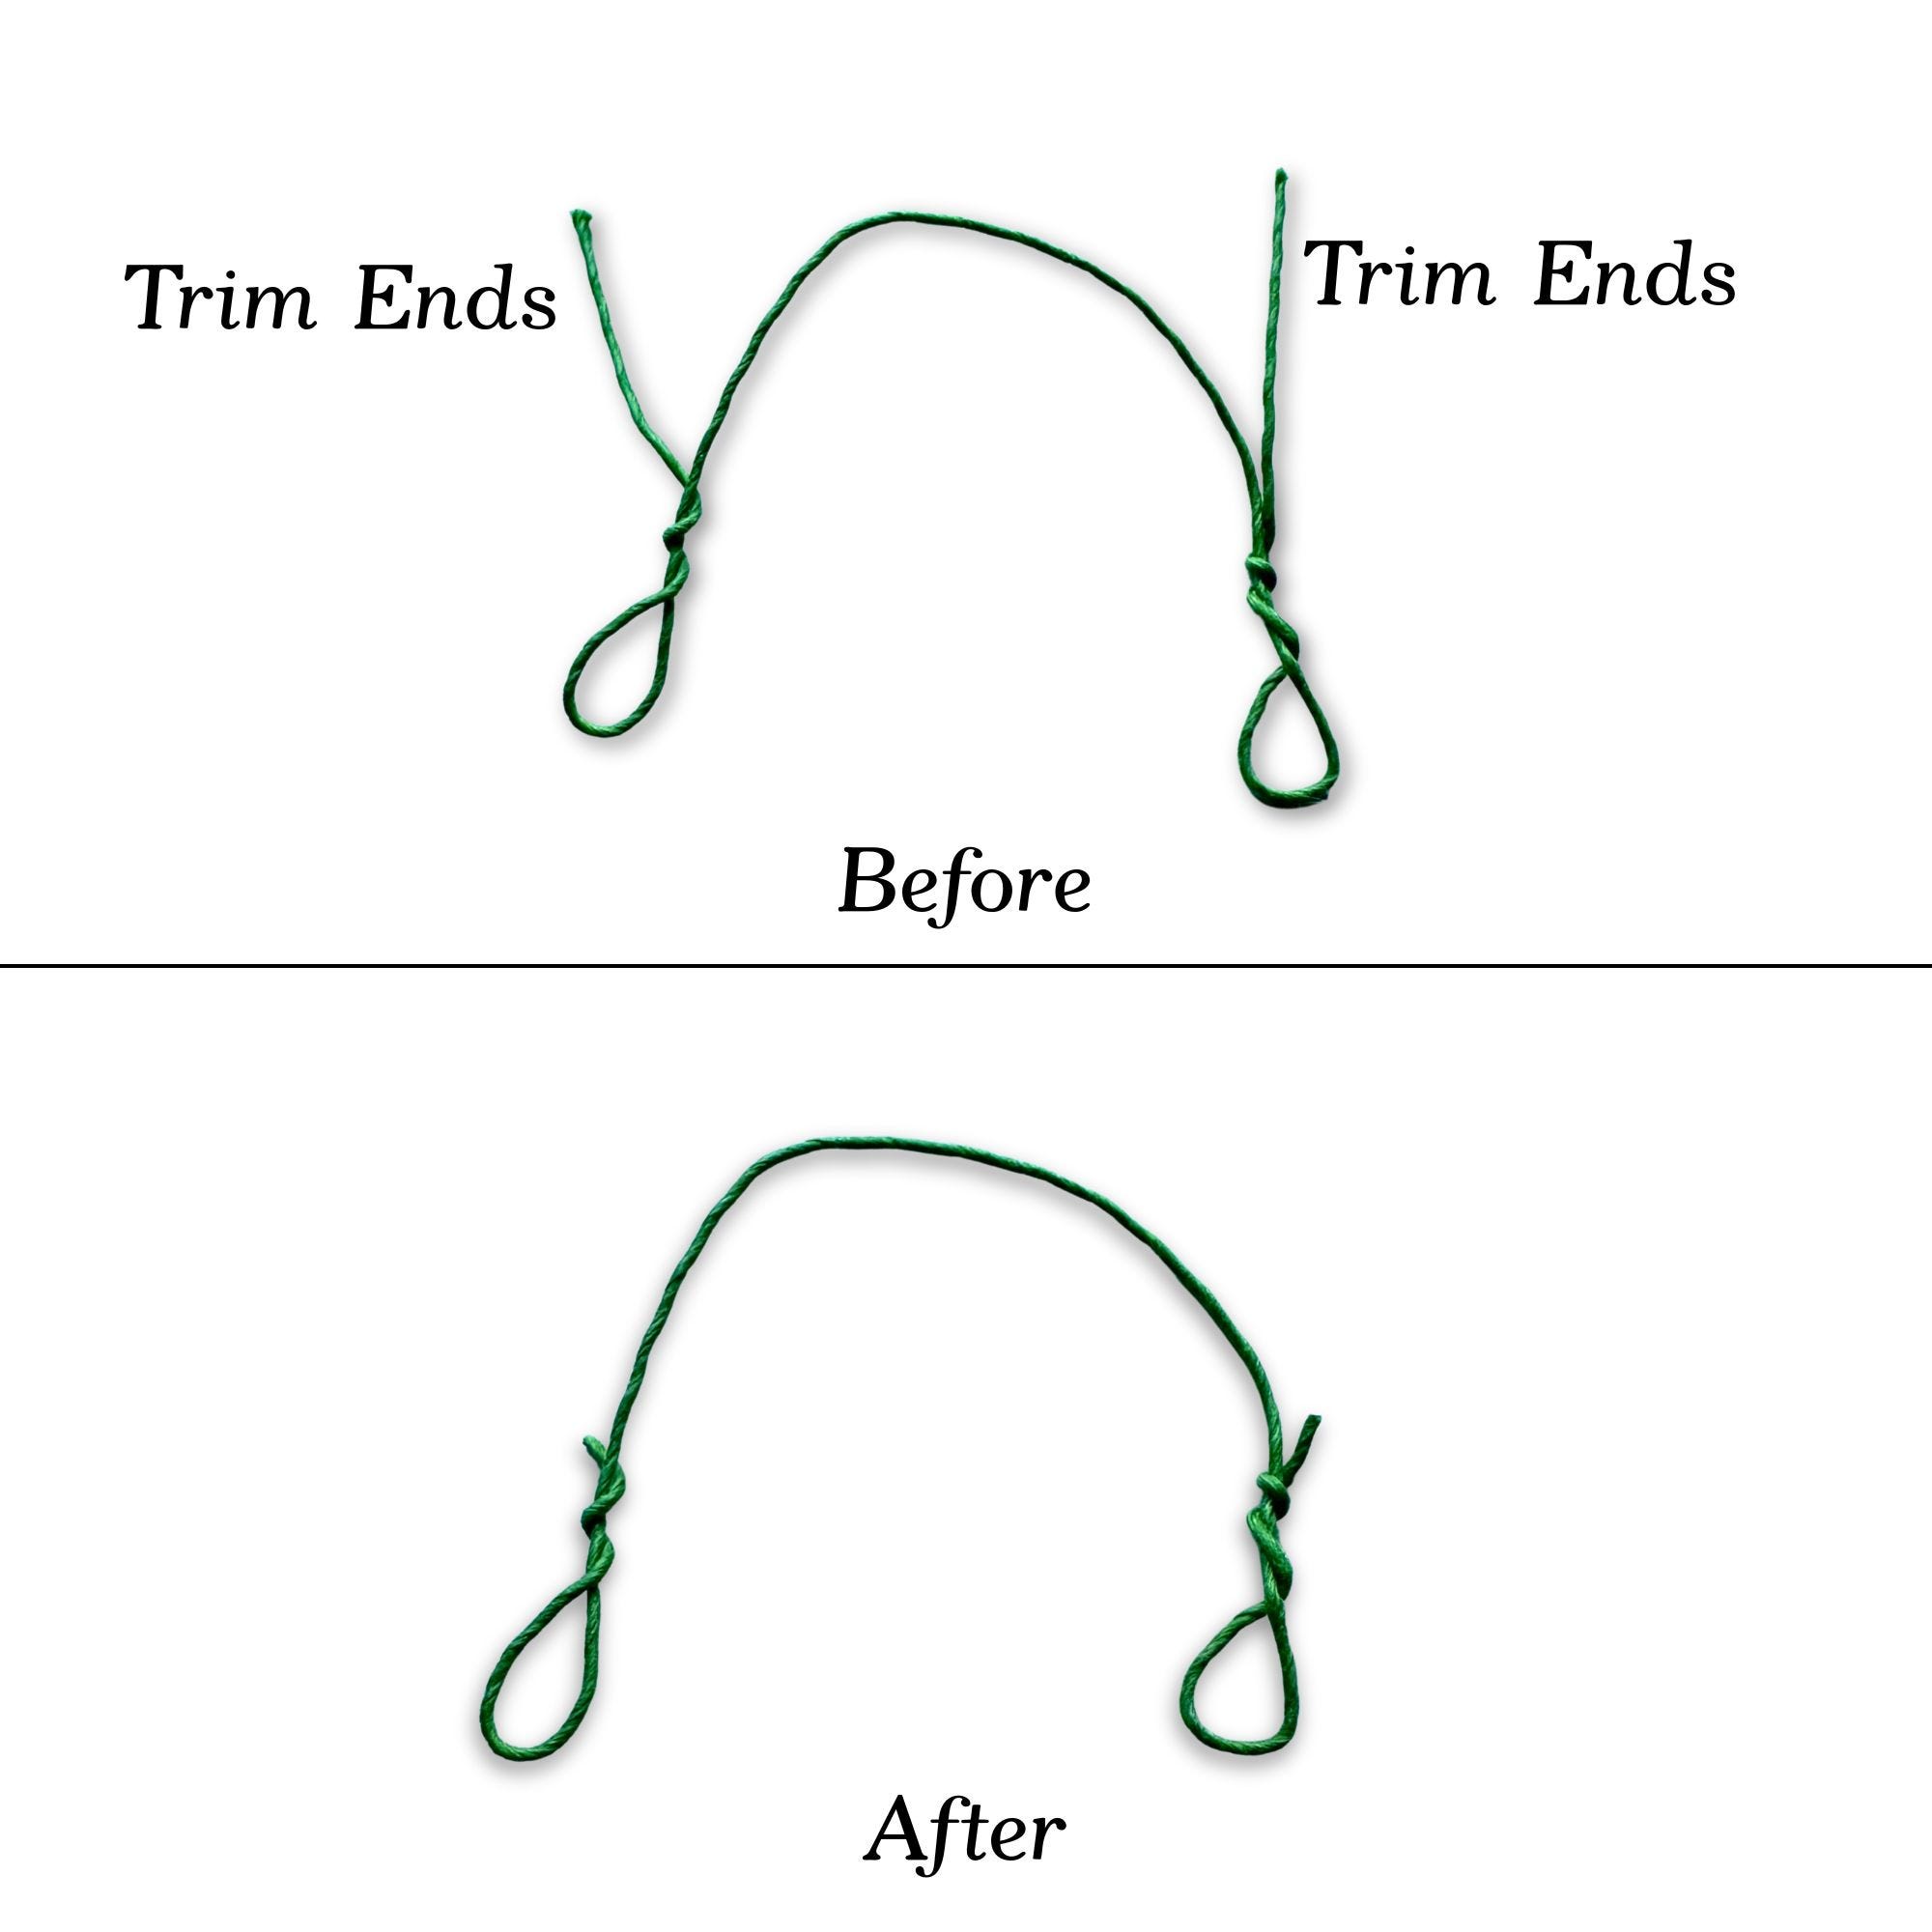
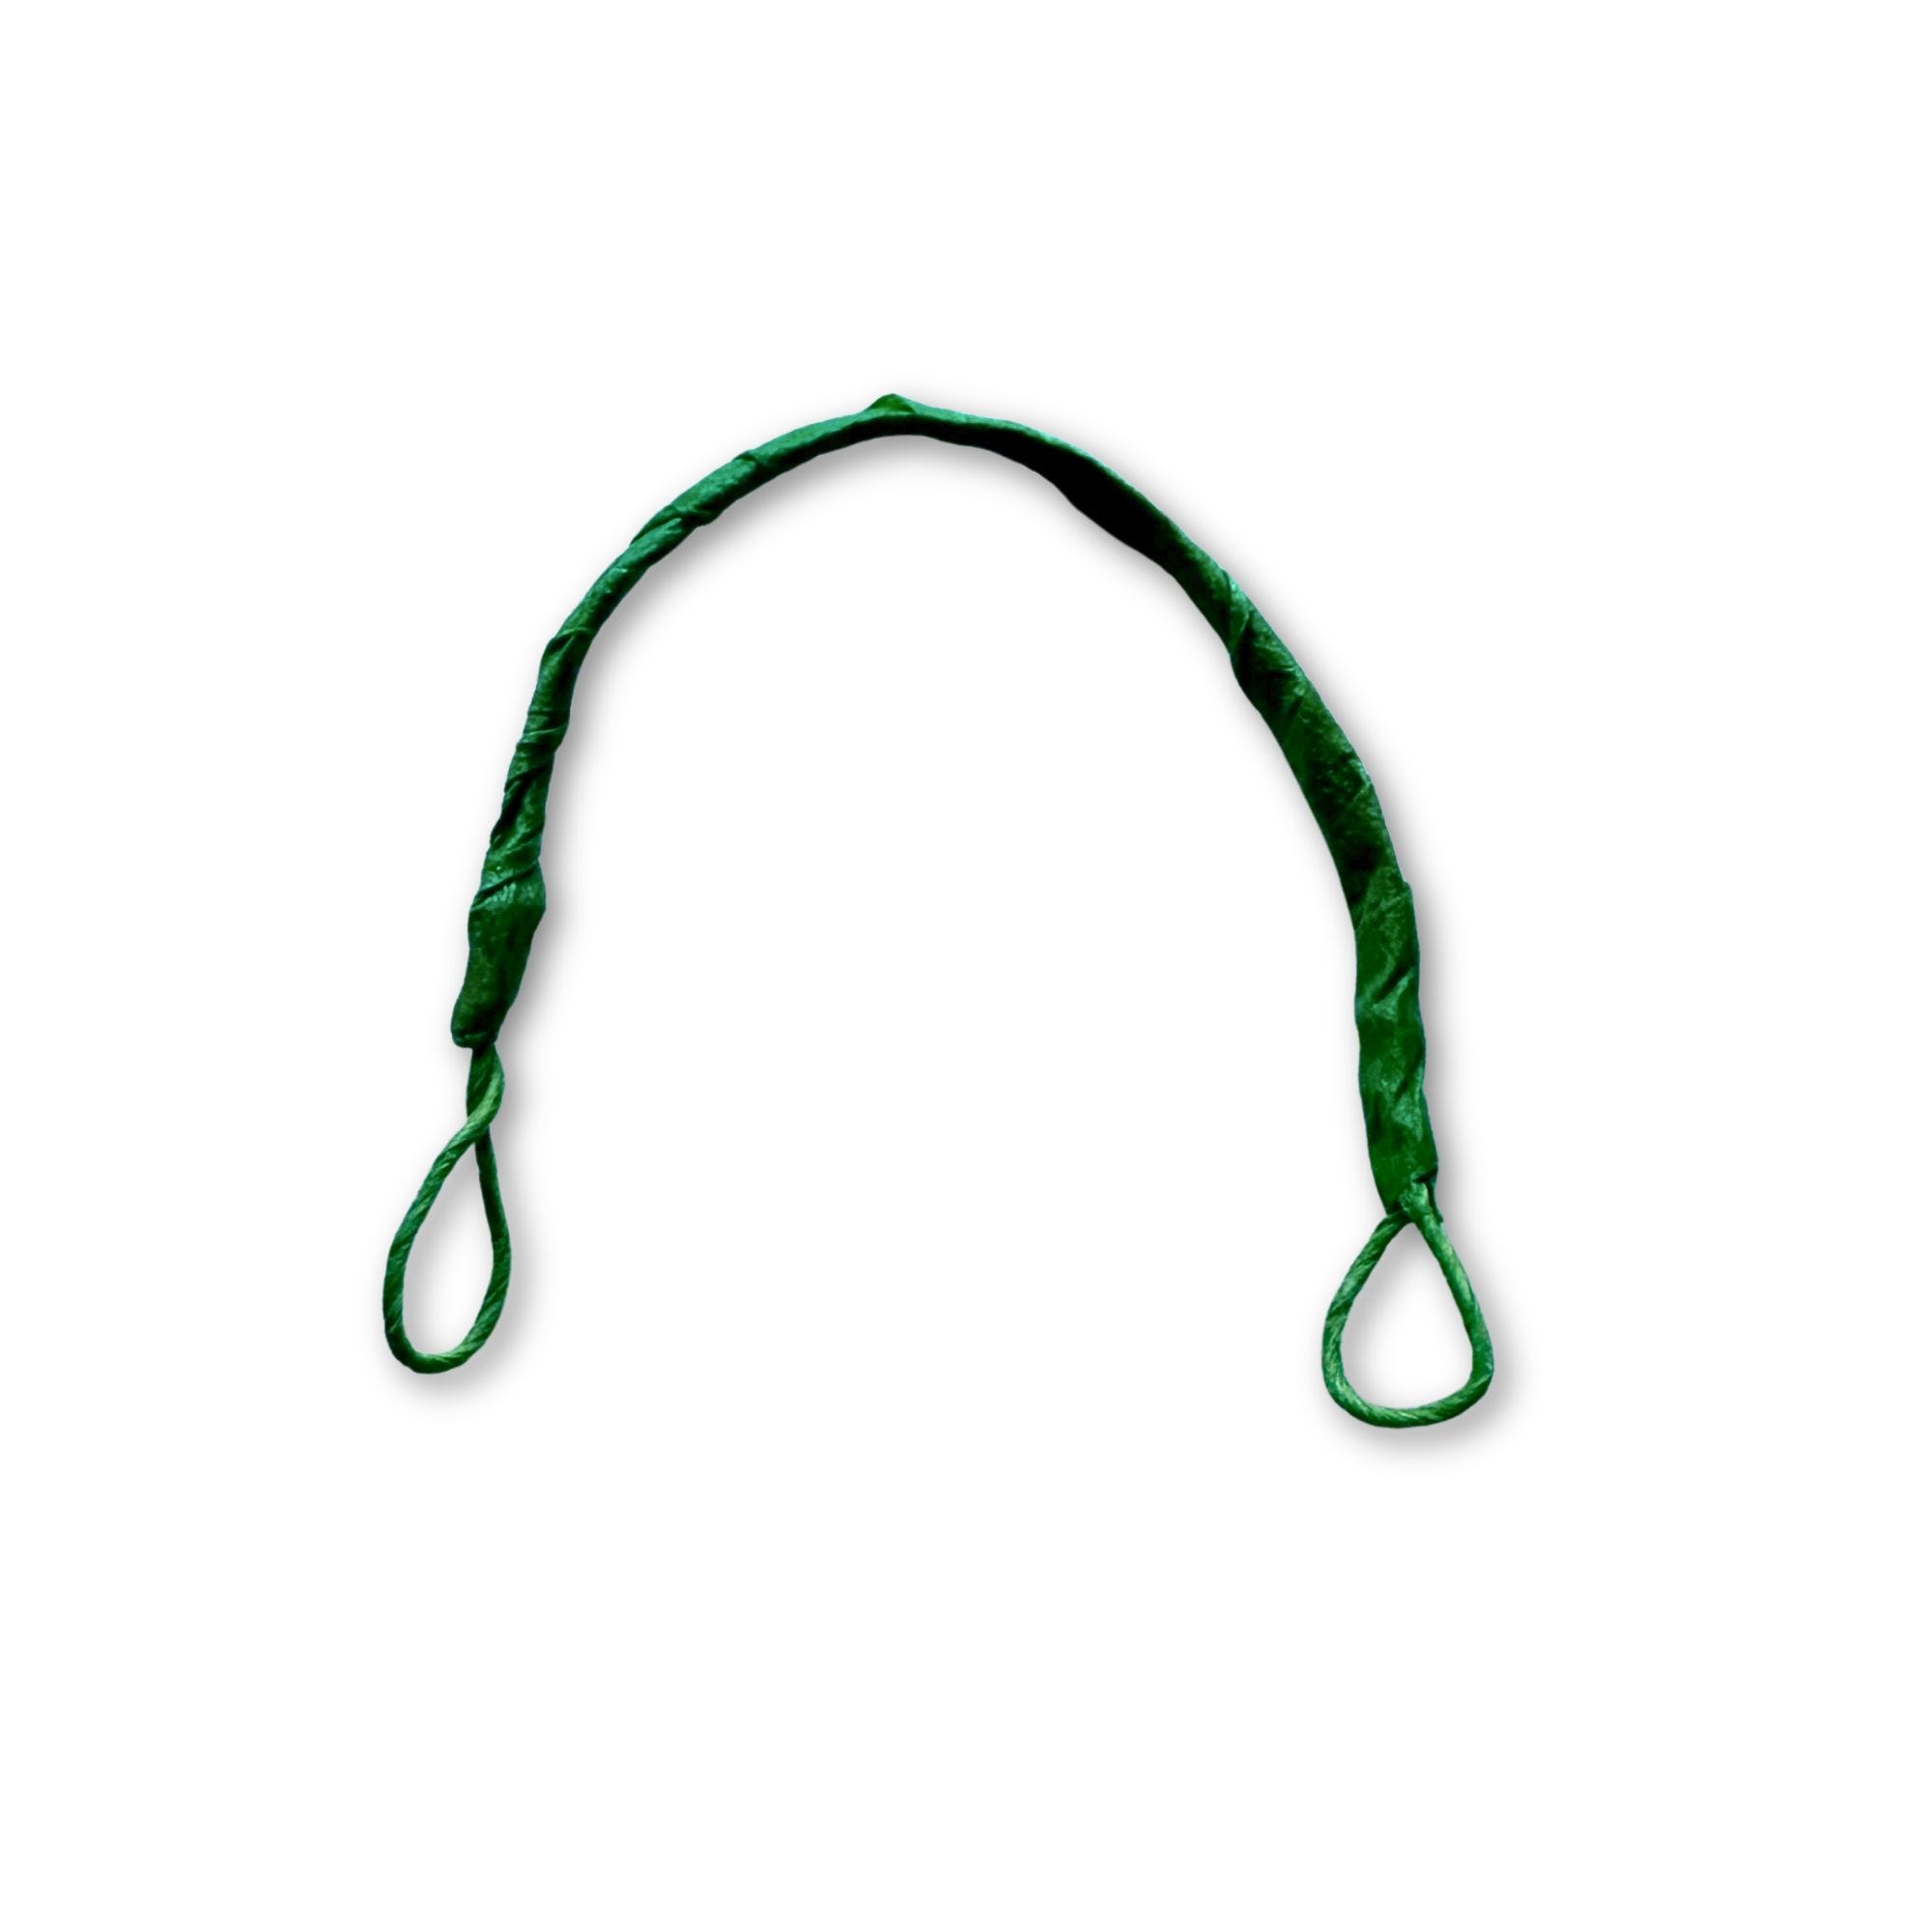
Trim the ends. Wrap floral tape tightly around the wire, keeping the loops exposed. The floral tape secures the ends and creates a larger surface area to glue the flowers to.
Prepare the flowers. Using snips, clip off any stems so that you can hot glue the base of the flower flat onto the wire.
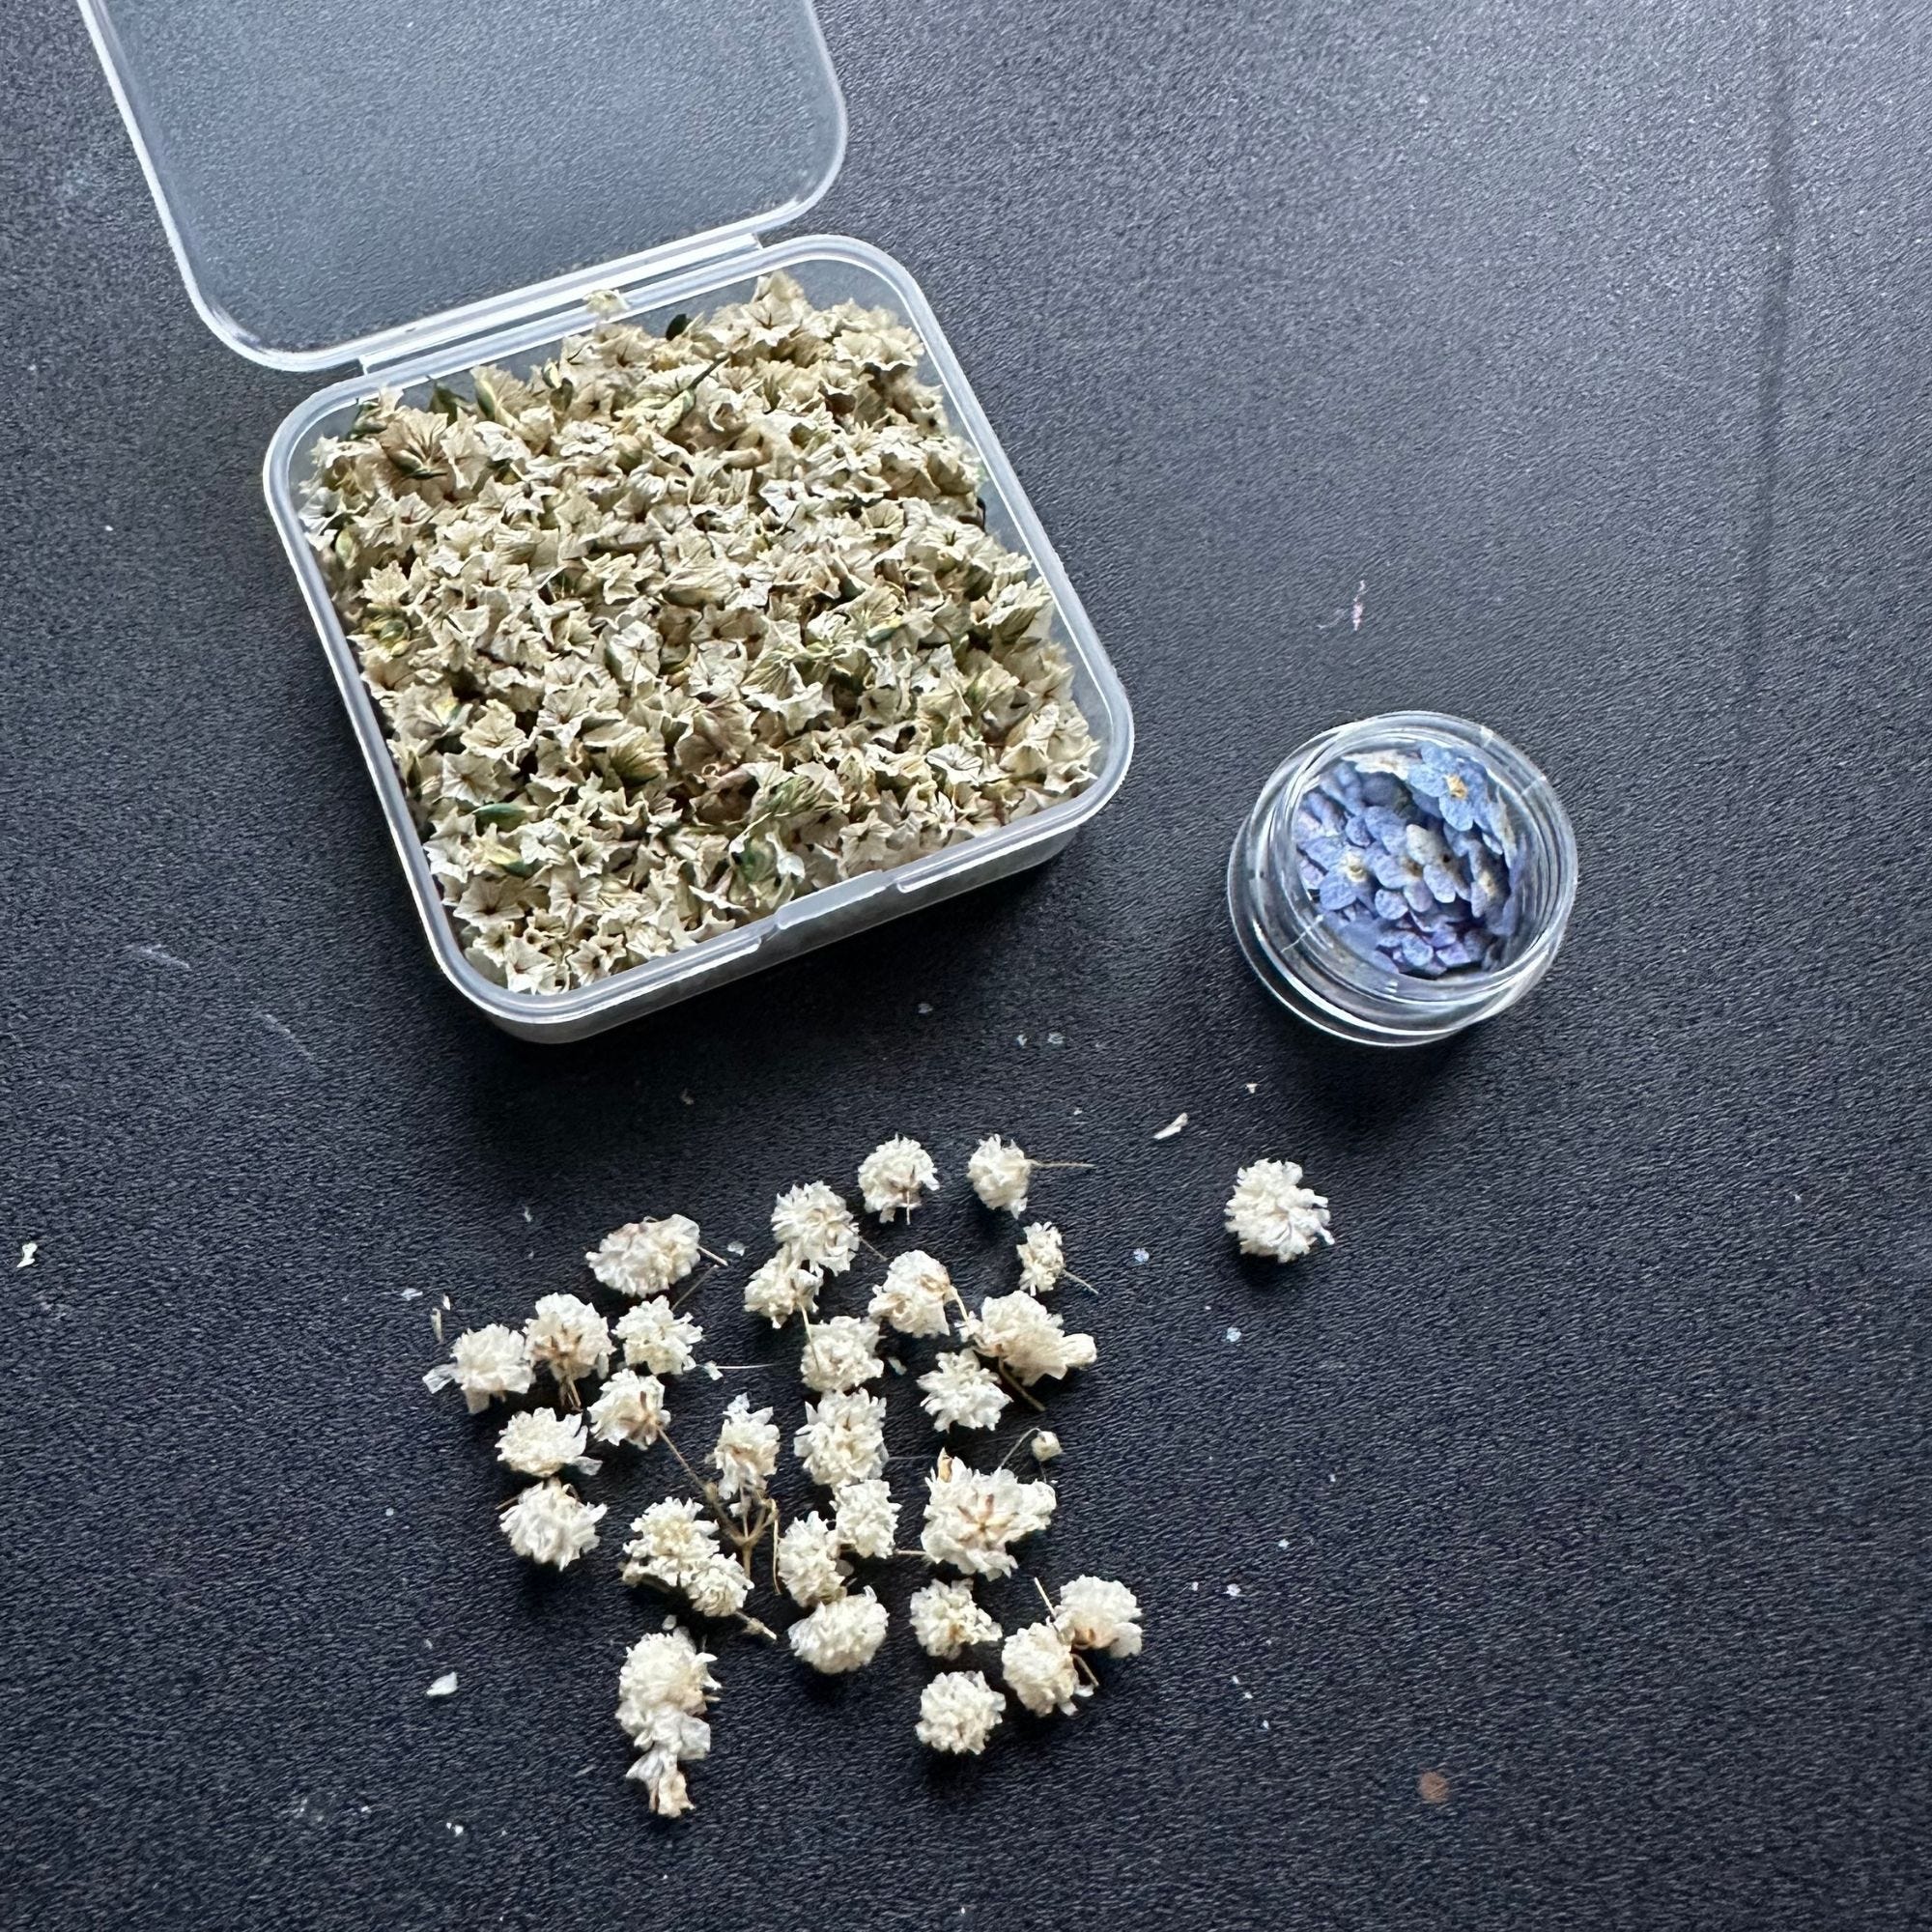
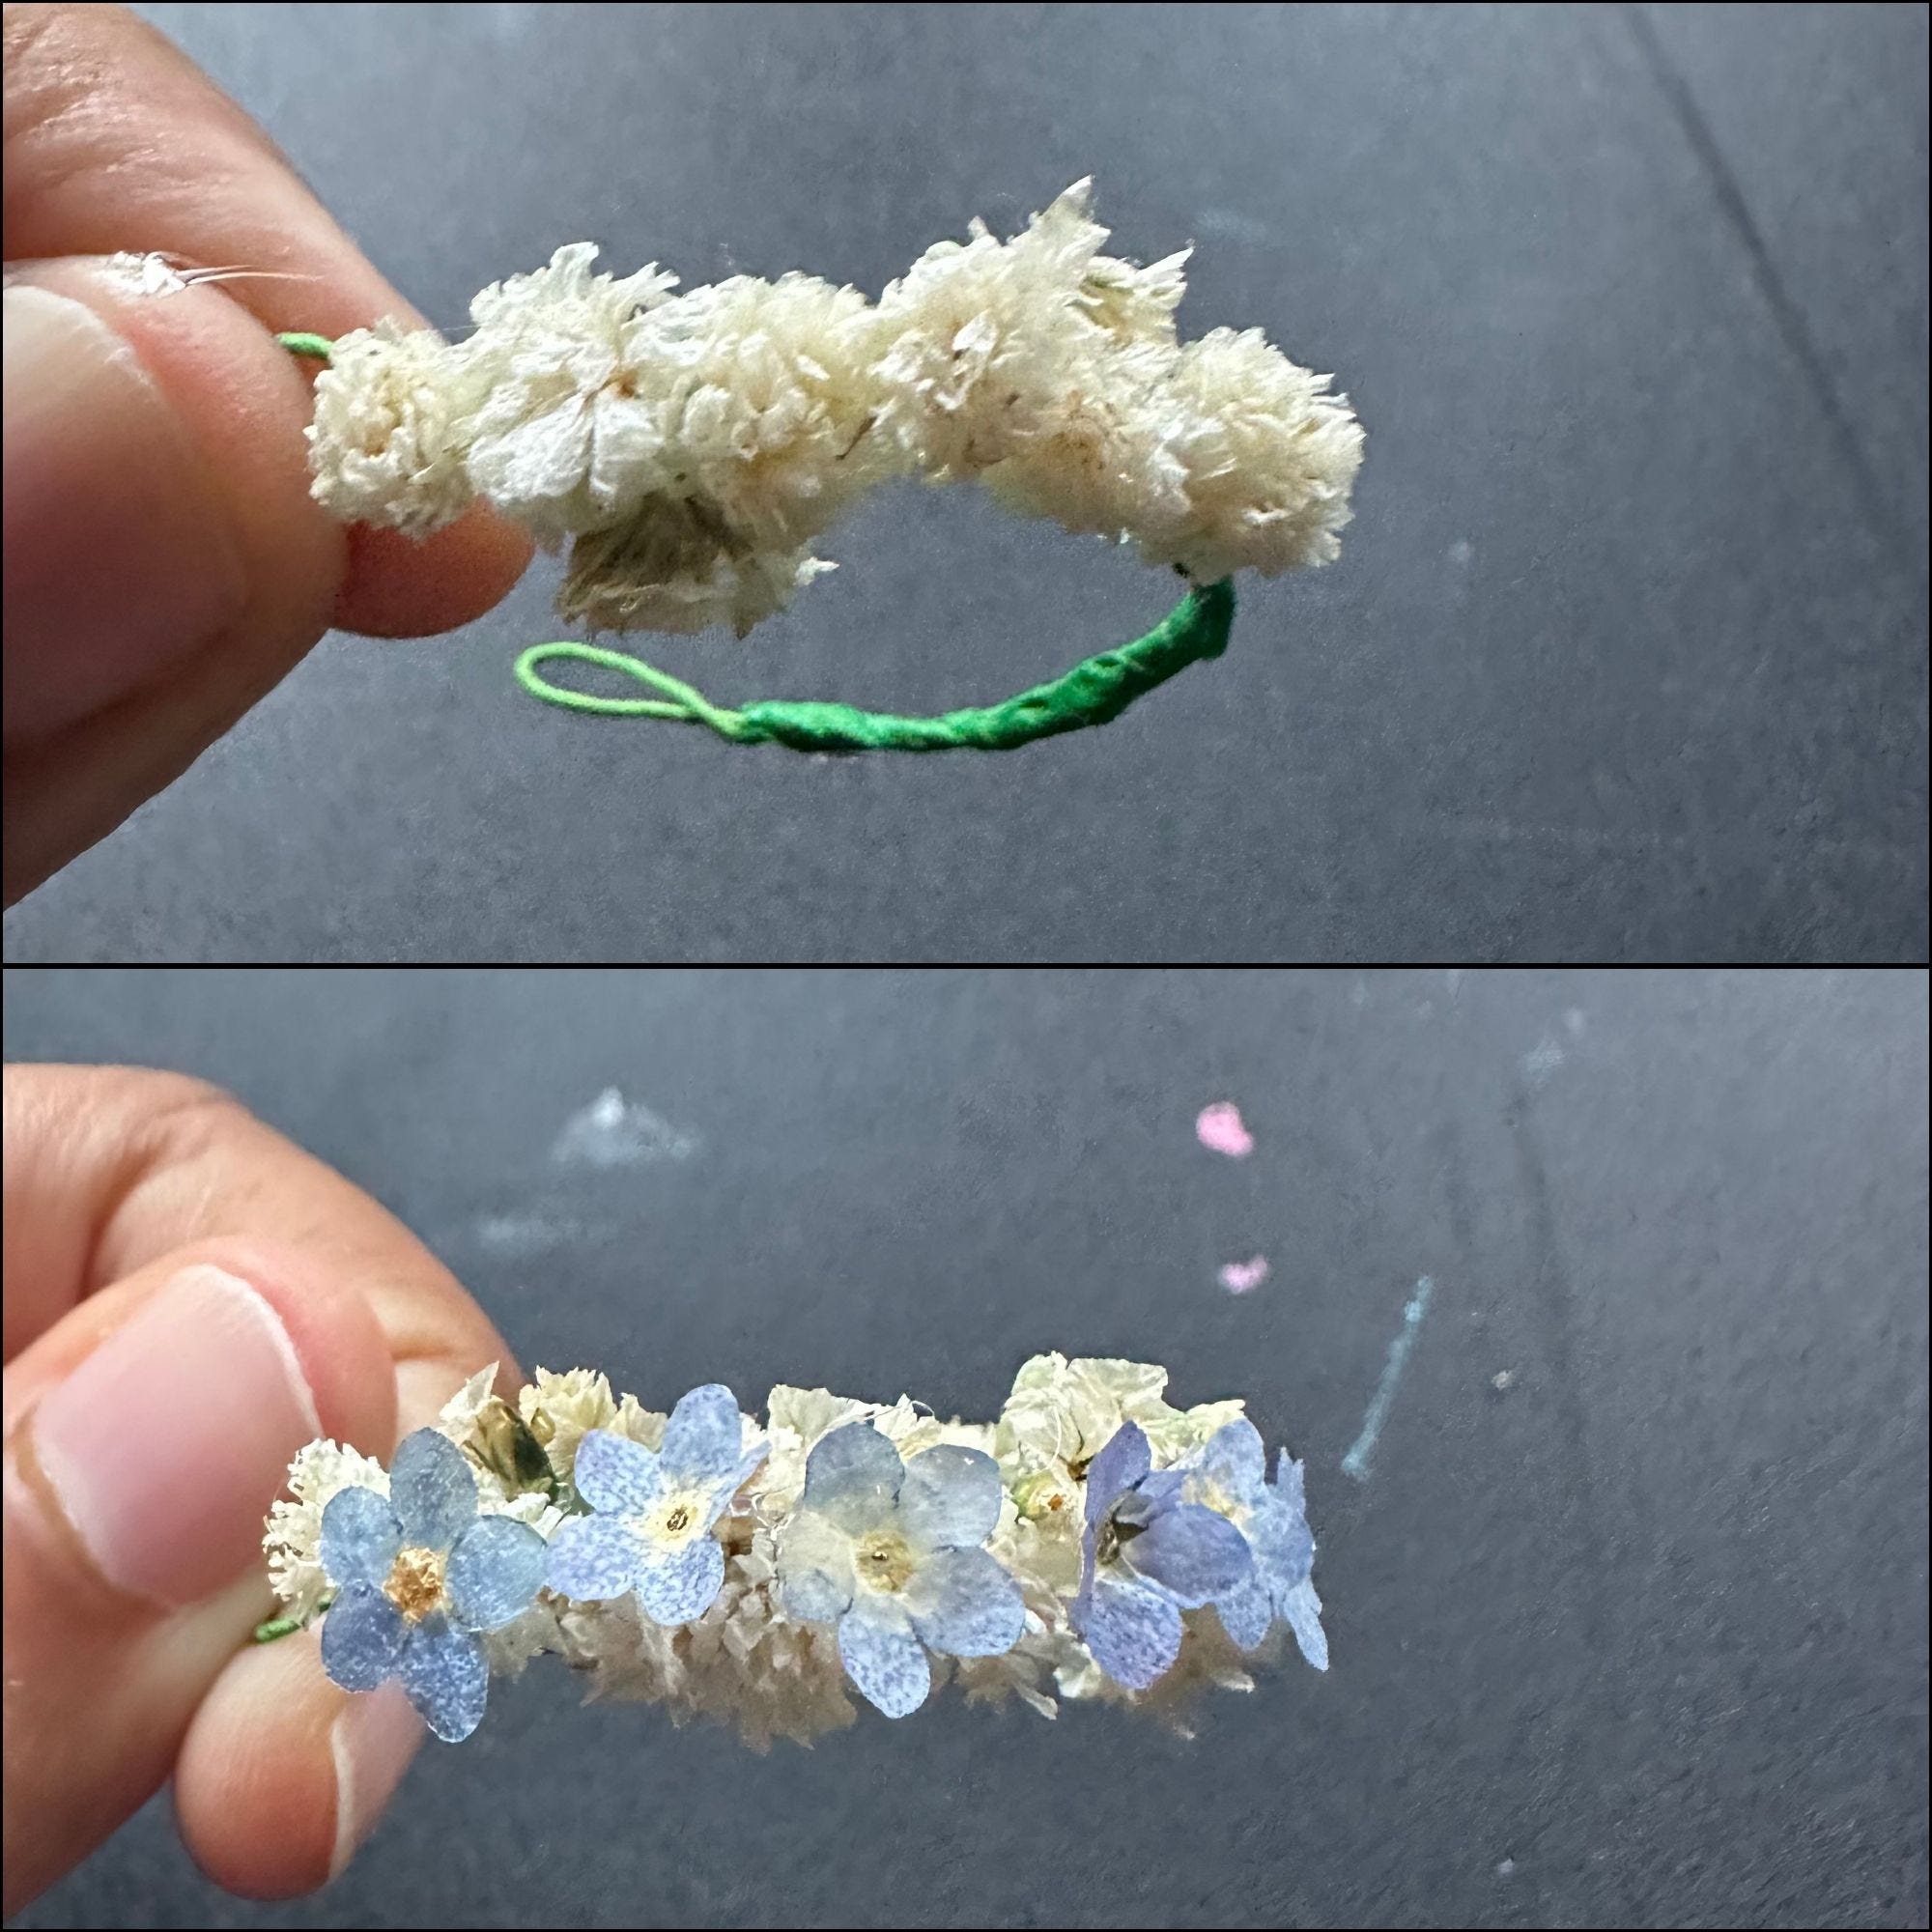
Working in one direction, use tweezers to pick up and hot glue flowers one-by-one to the wire from one end to the other. At this small size, it is best to work in layers. For example, I glued one layer of fluffy flowers to the base of the wire. Then I glued another layer of a differently-textured white flower to cover up the green and fill in spaces. Lastly, I glued the blue flowers on top to create a striking accent color.
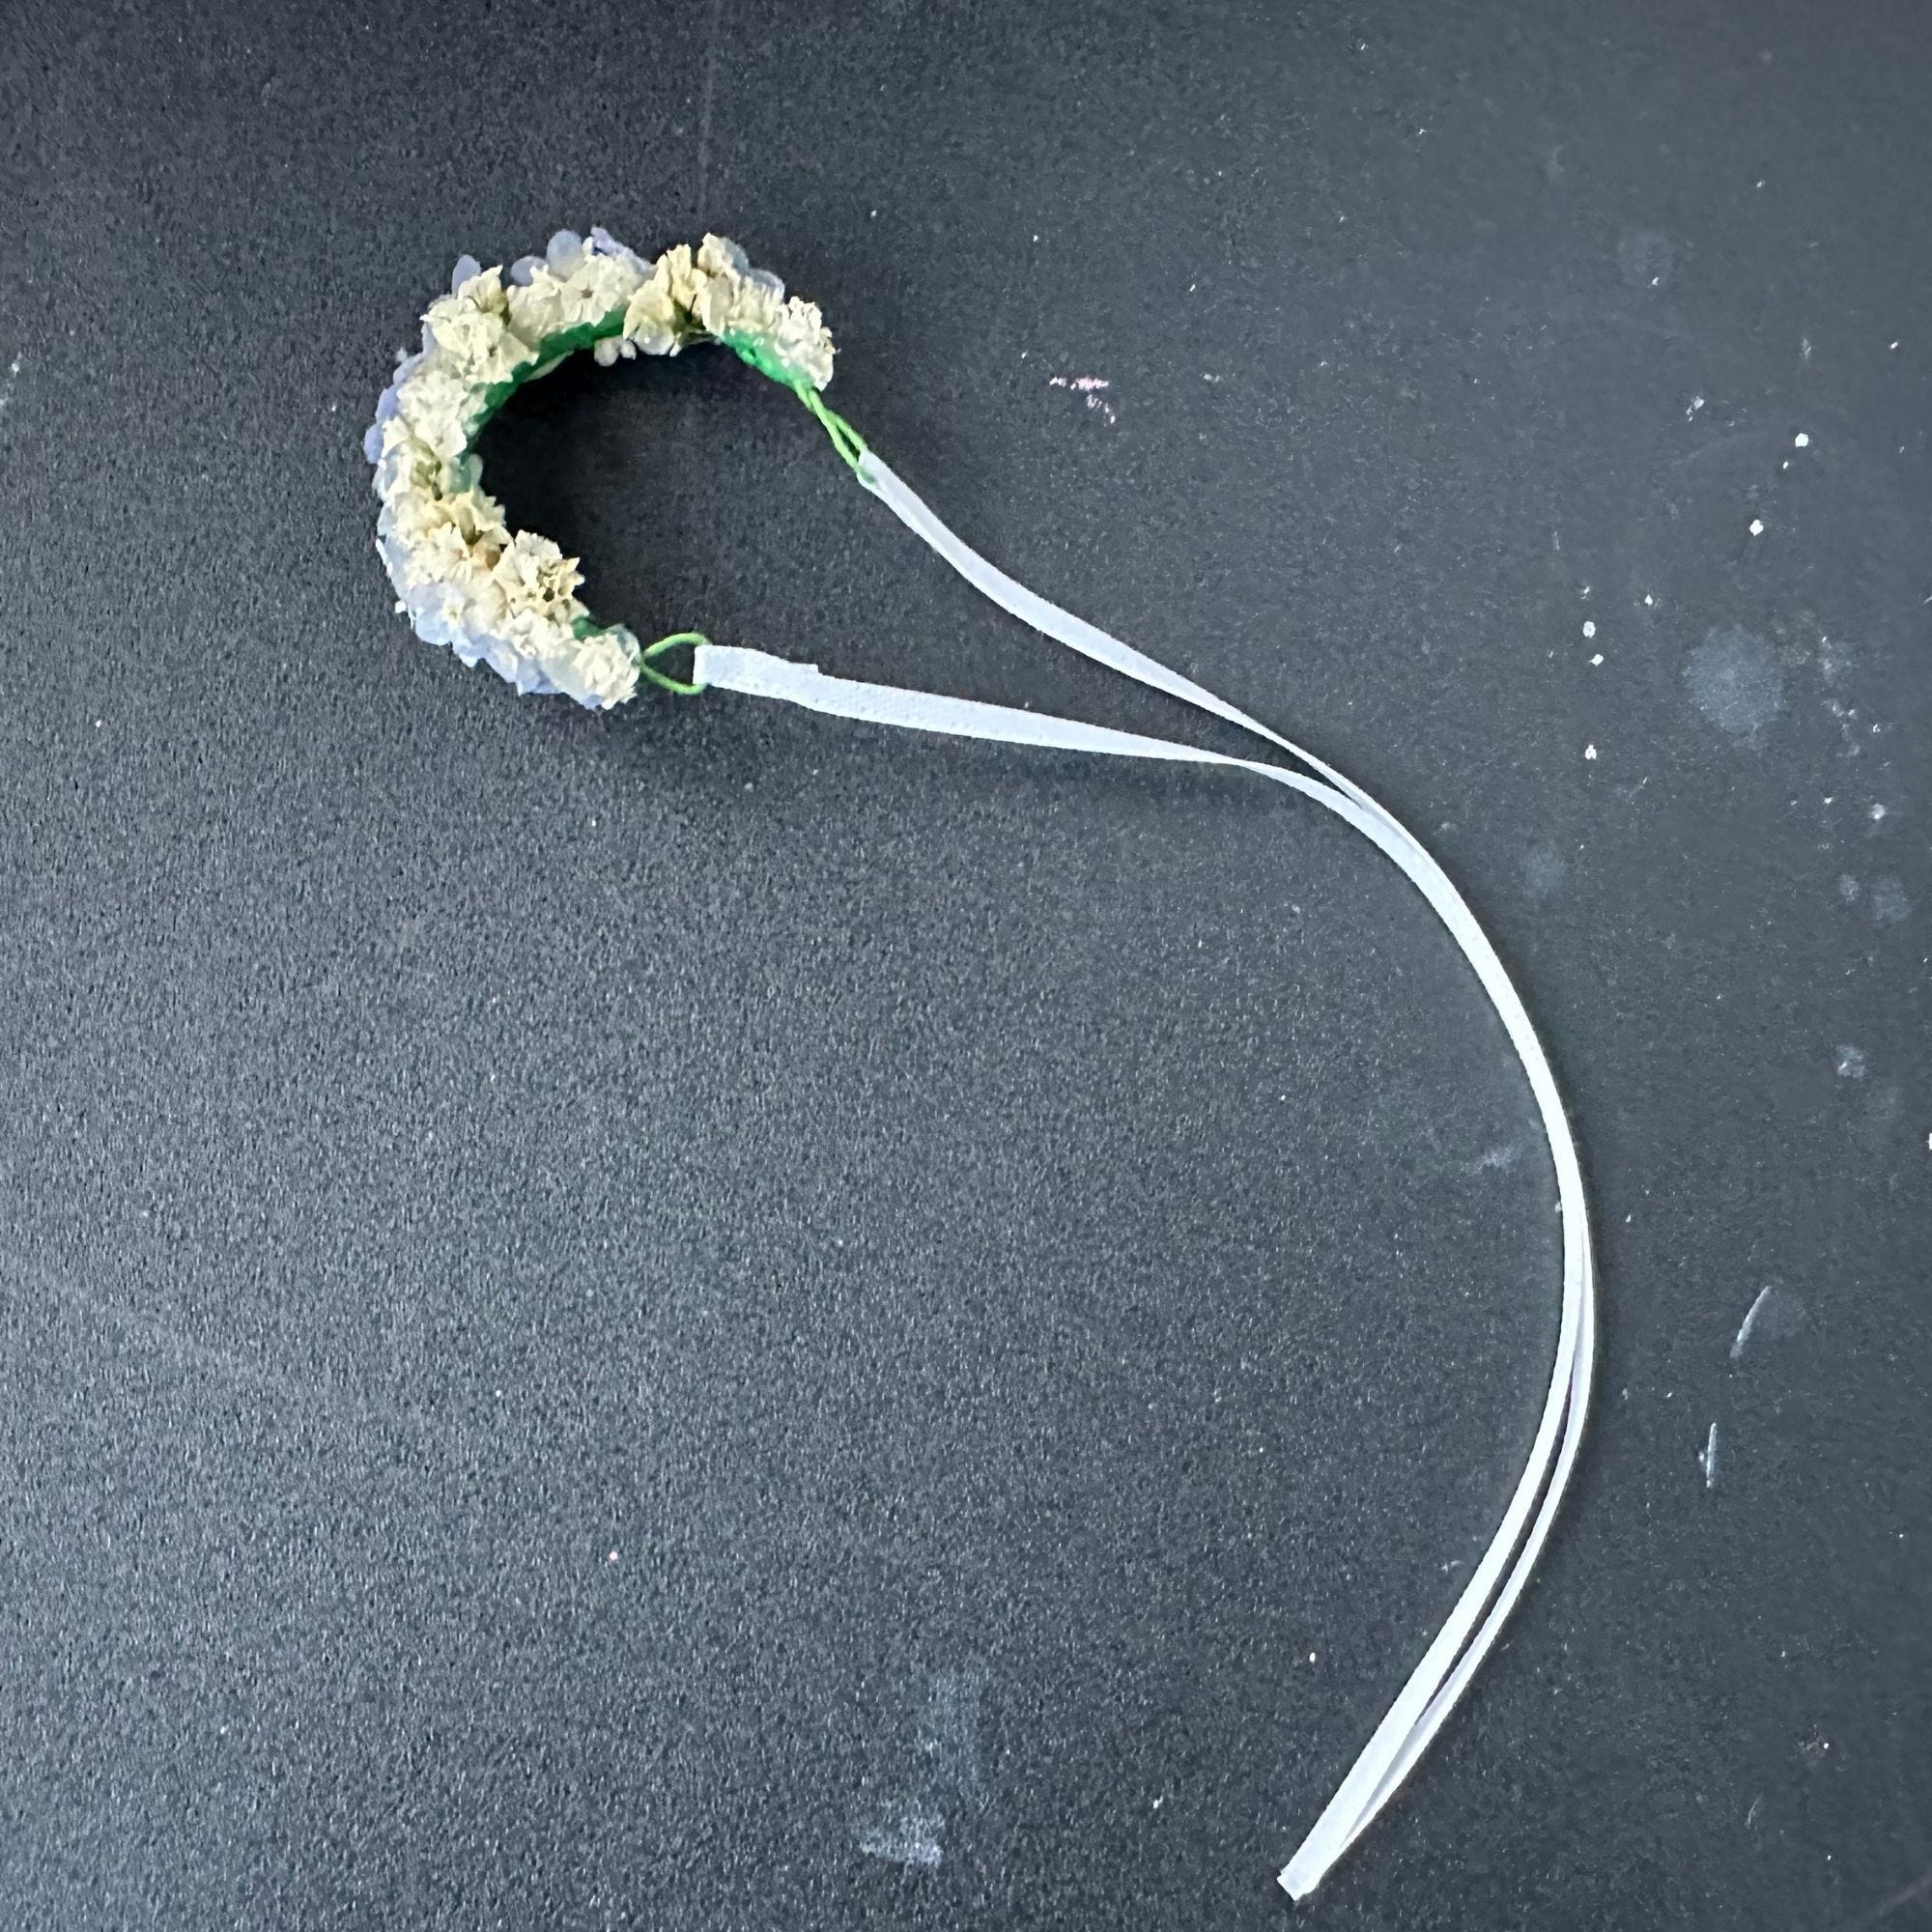
The last step is to connect the ribbon to the crown. I cut two ribbon strips long enough so that I could comfortably tie a bow. Thread the ribbon through the loop, fold over a small portion and hot glue closed. Repeat for the other side.
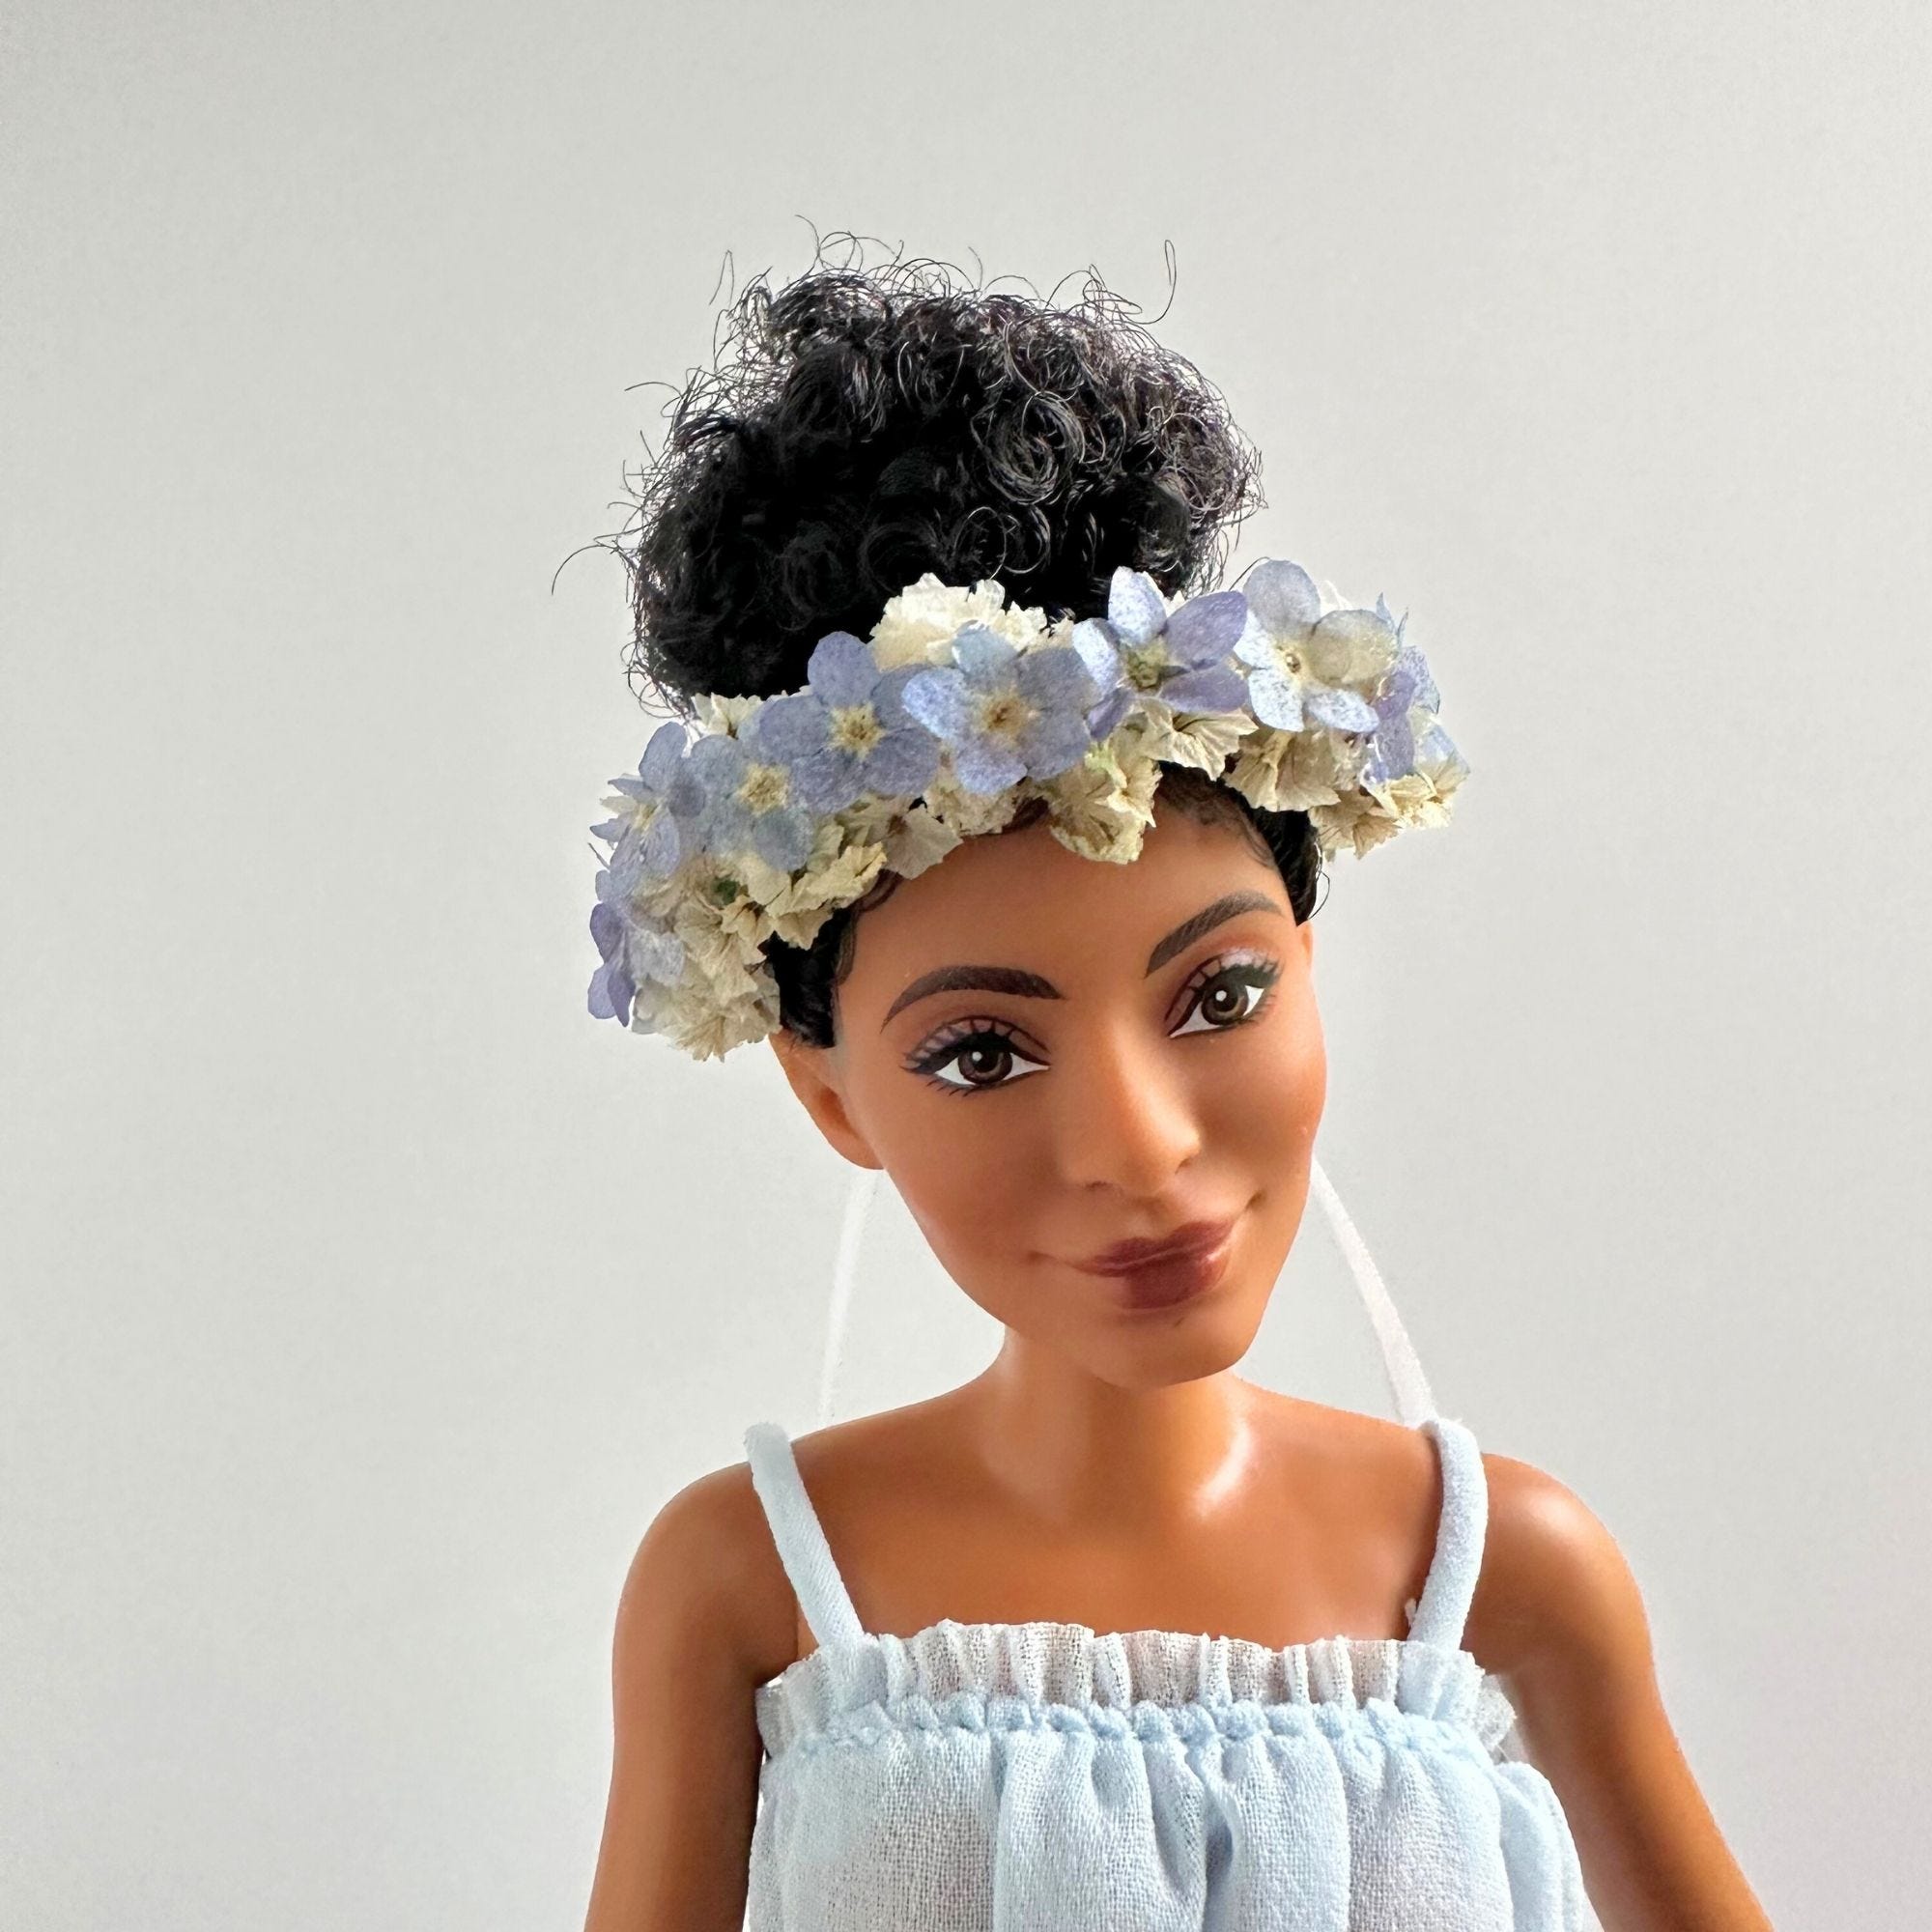
Place on doll’s head.
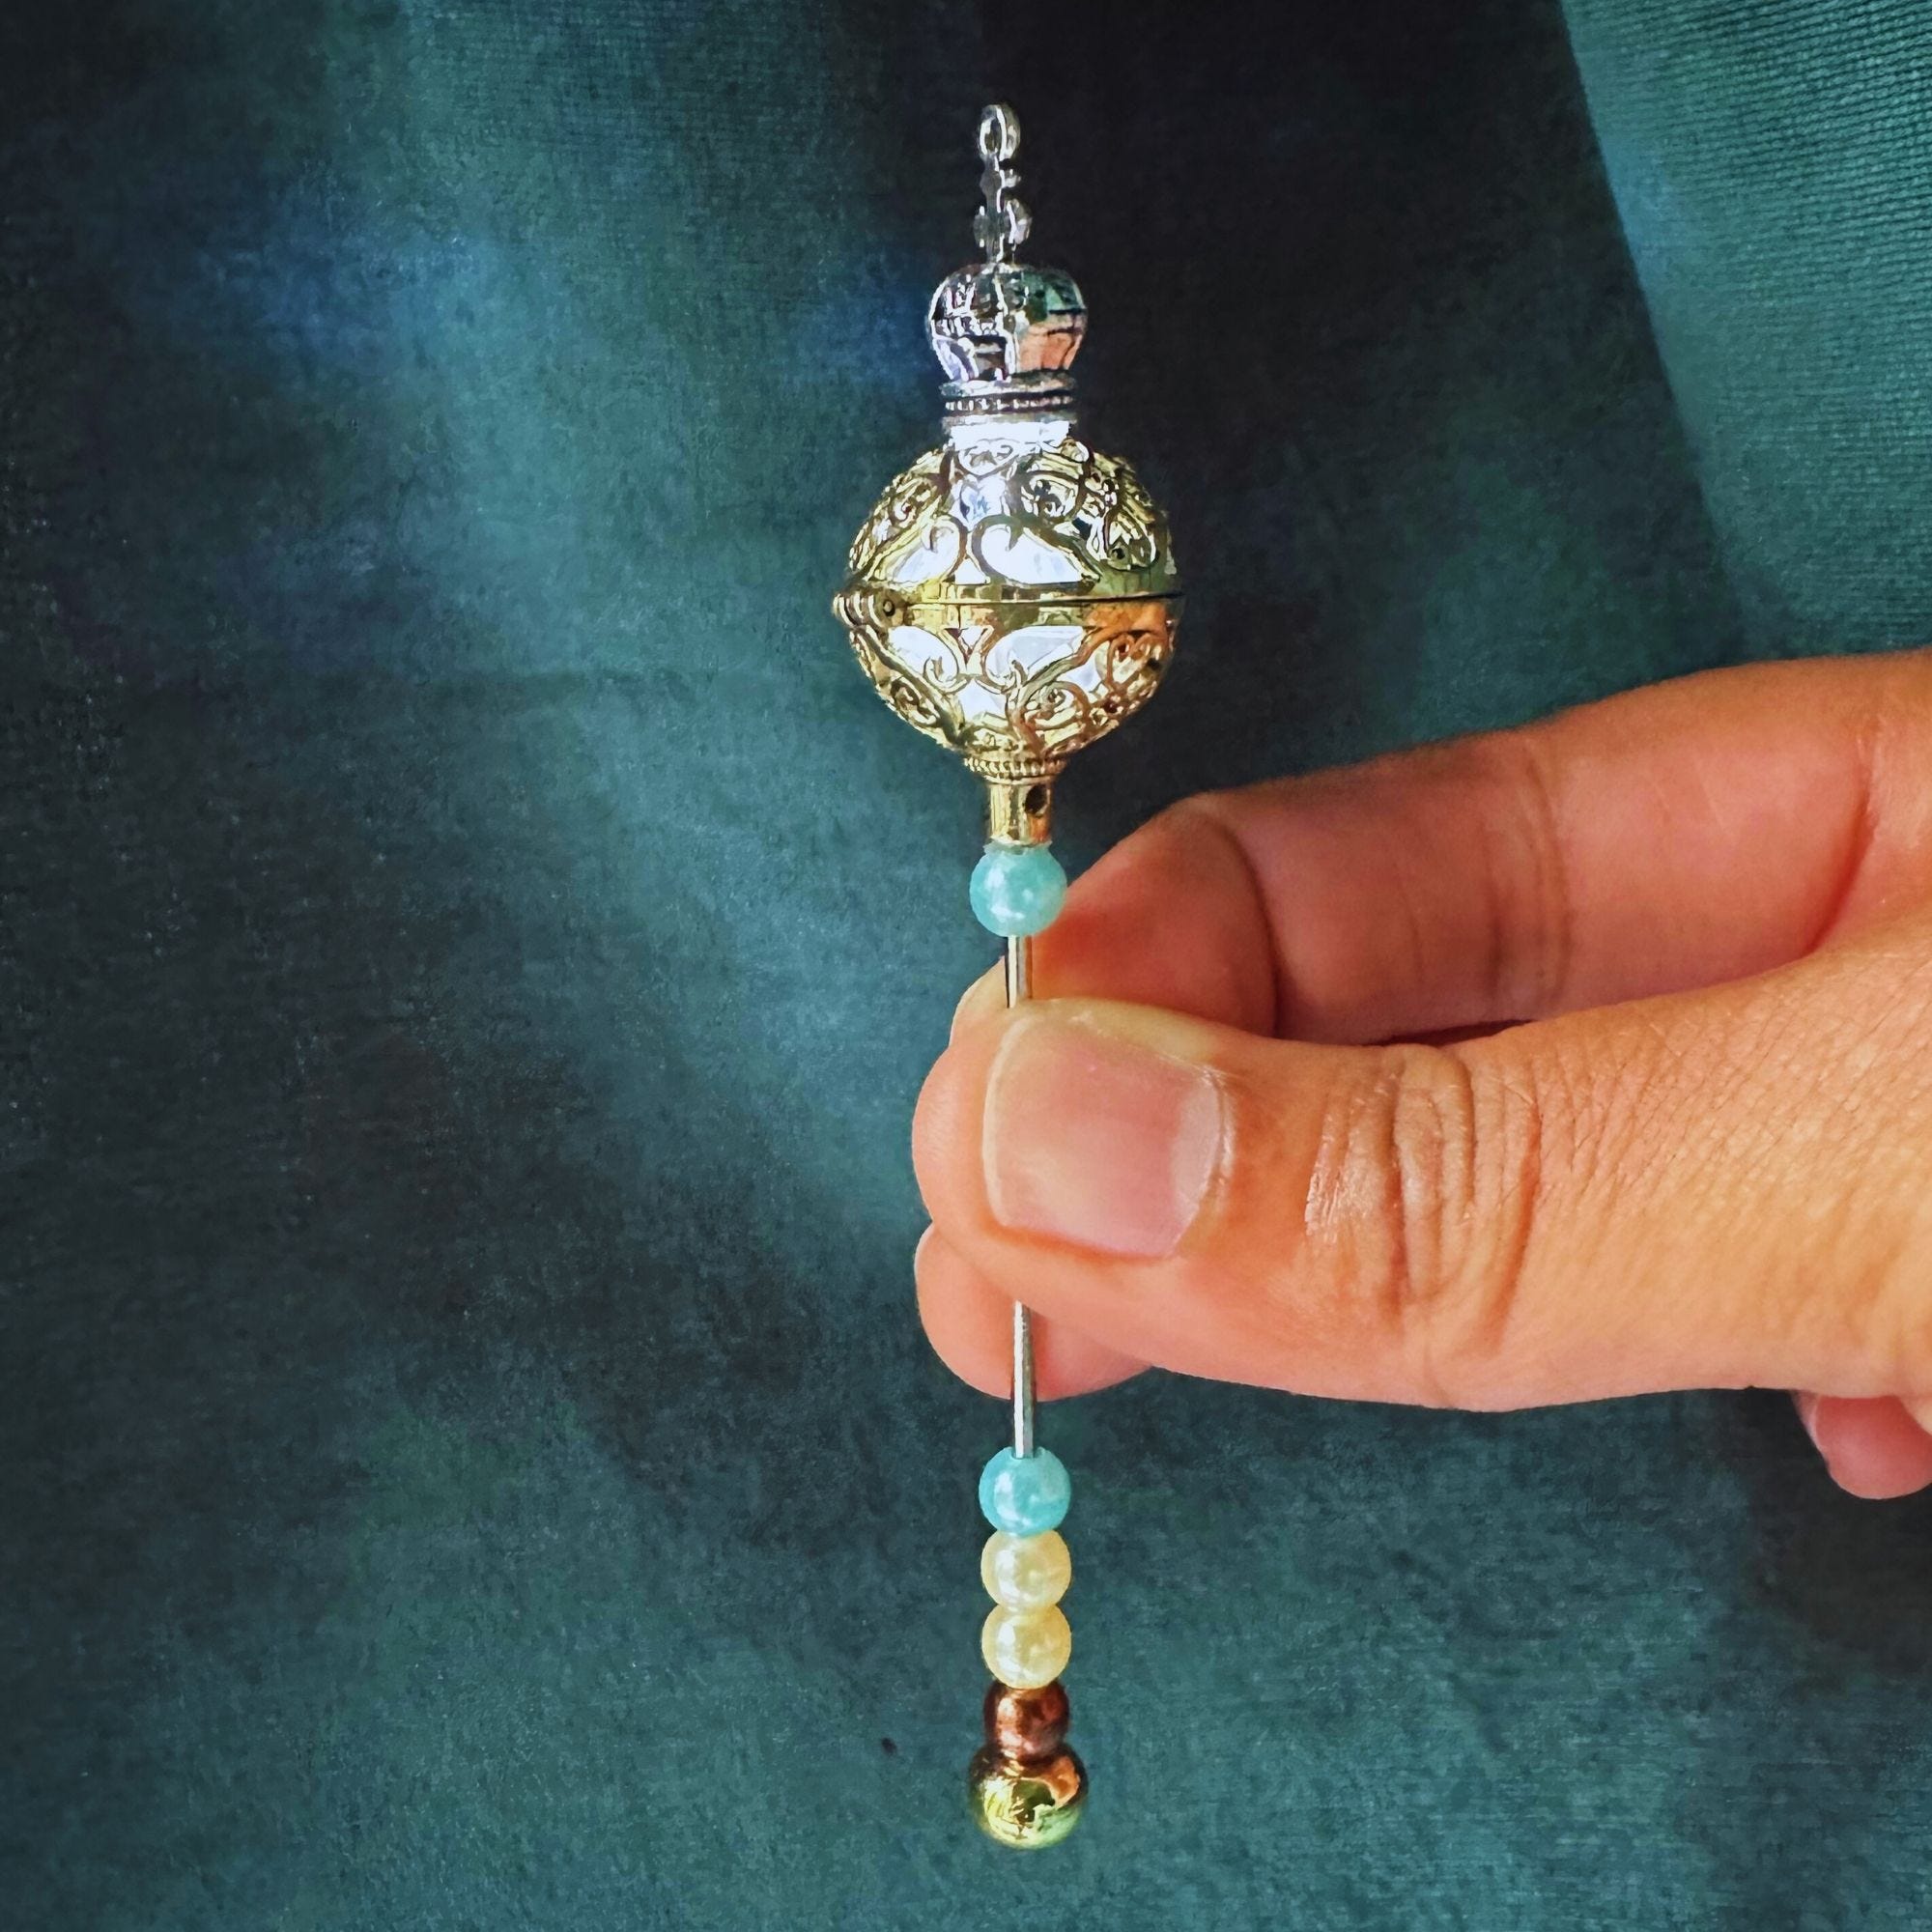
#3 - Scepter:
SUPPLIES
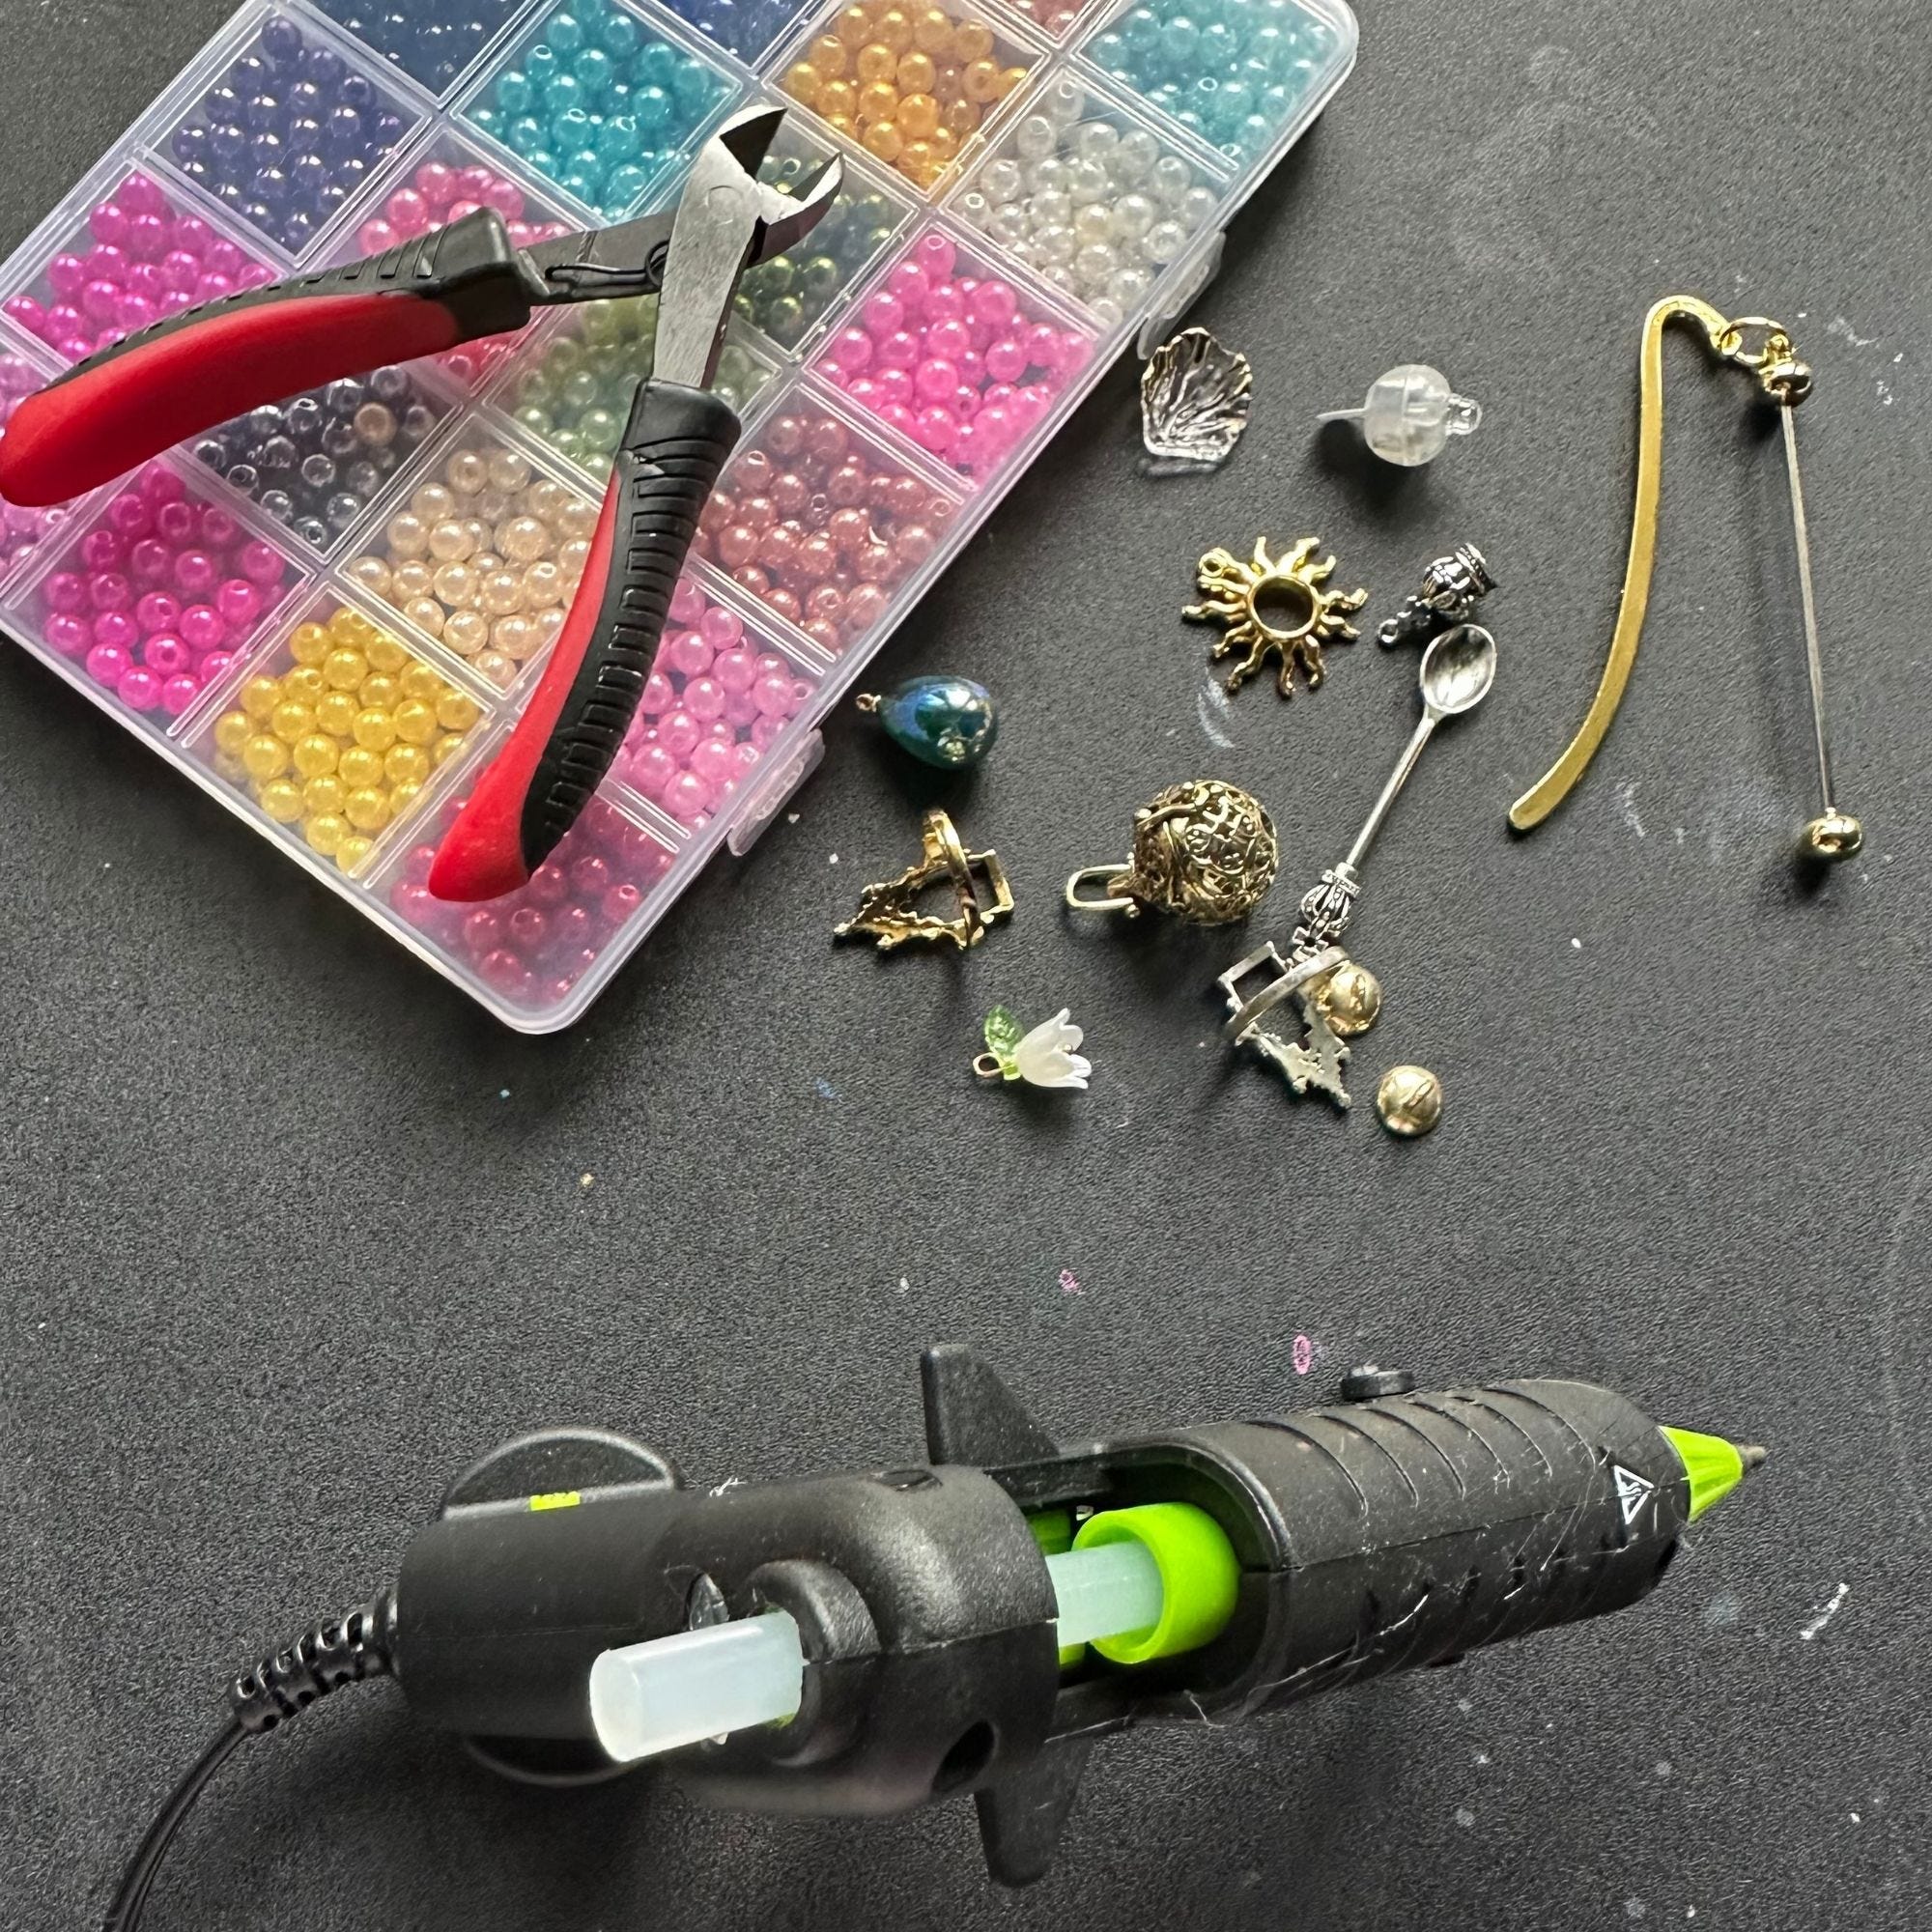
Beads
Charms
Findings
Balloon Light
Bookmark Blank
Wire Cutter
Hot Glue Gun & Glue Sticks


Recently, I watched a YouTube video entitled, “30 Miniatures Made From Mystery Jewellery Bag! A Must Have For Crafting!”. I found it insanely inspiring because it made me want to challenge myself to rethink ordinary objects and transform them into something else. Consequently, this scepter project became a “found object” craft. I basically looked through my stash of charms and findings and pulled aside objects that I thought could work together. The result is a magnificent scepter made of beads and mixed metals that can also light up!
STYLING
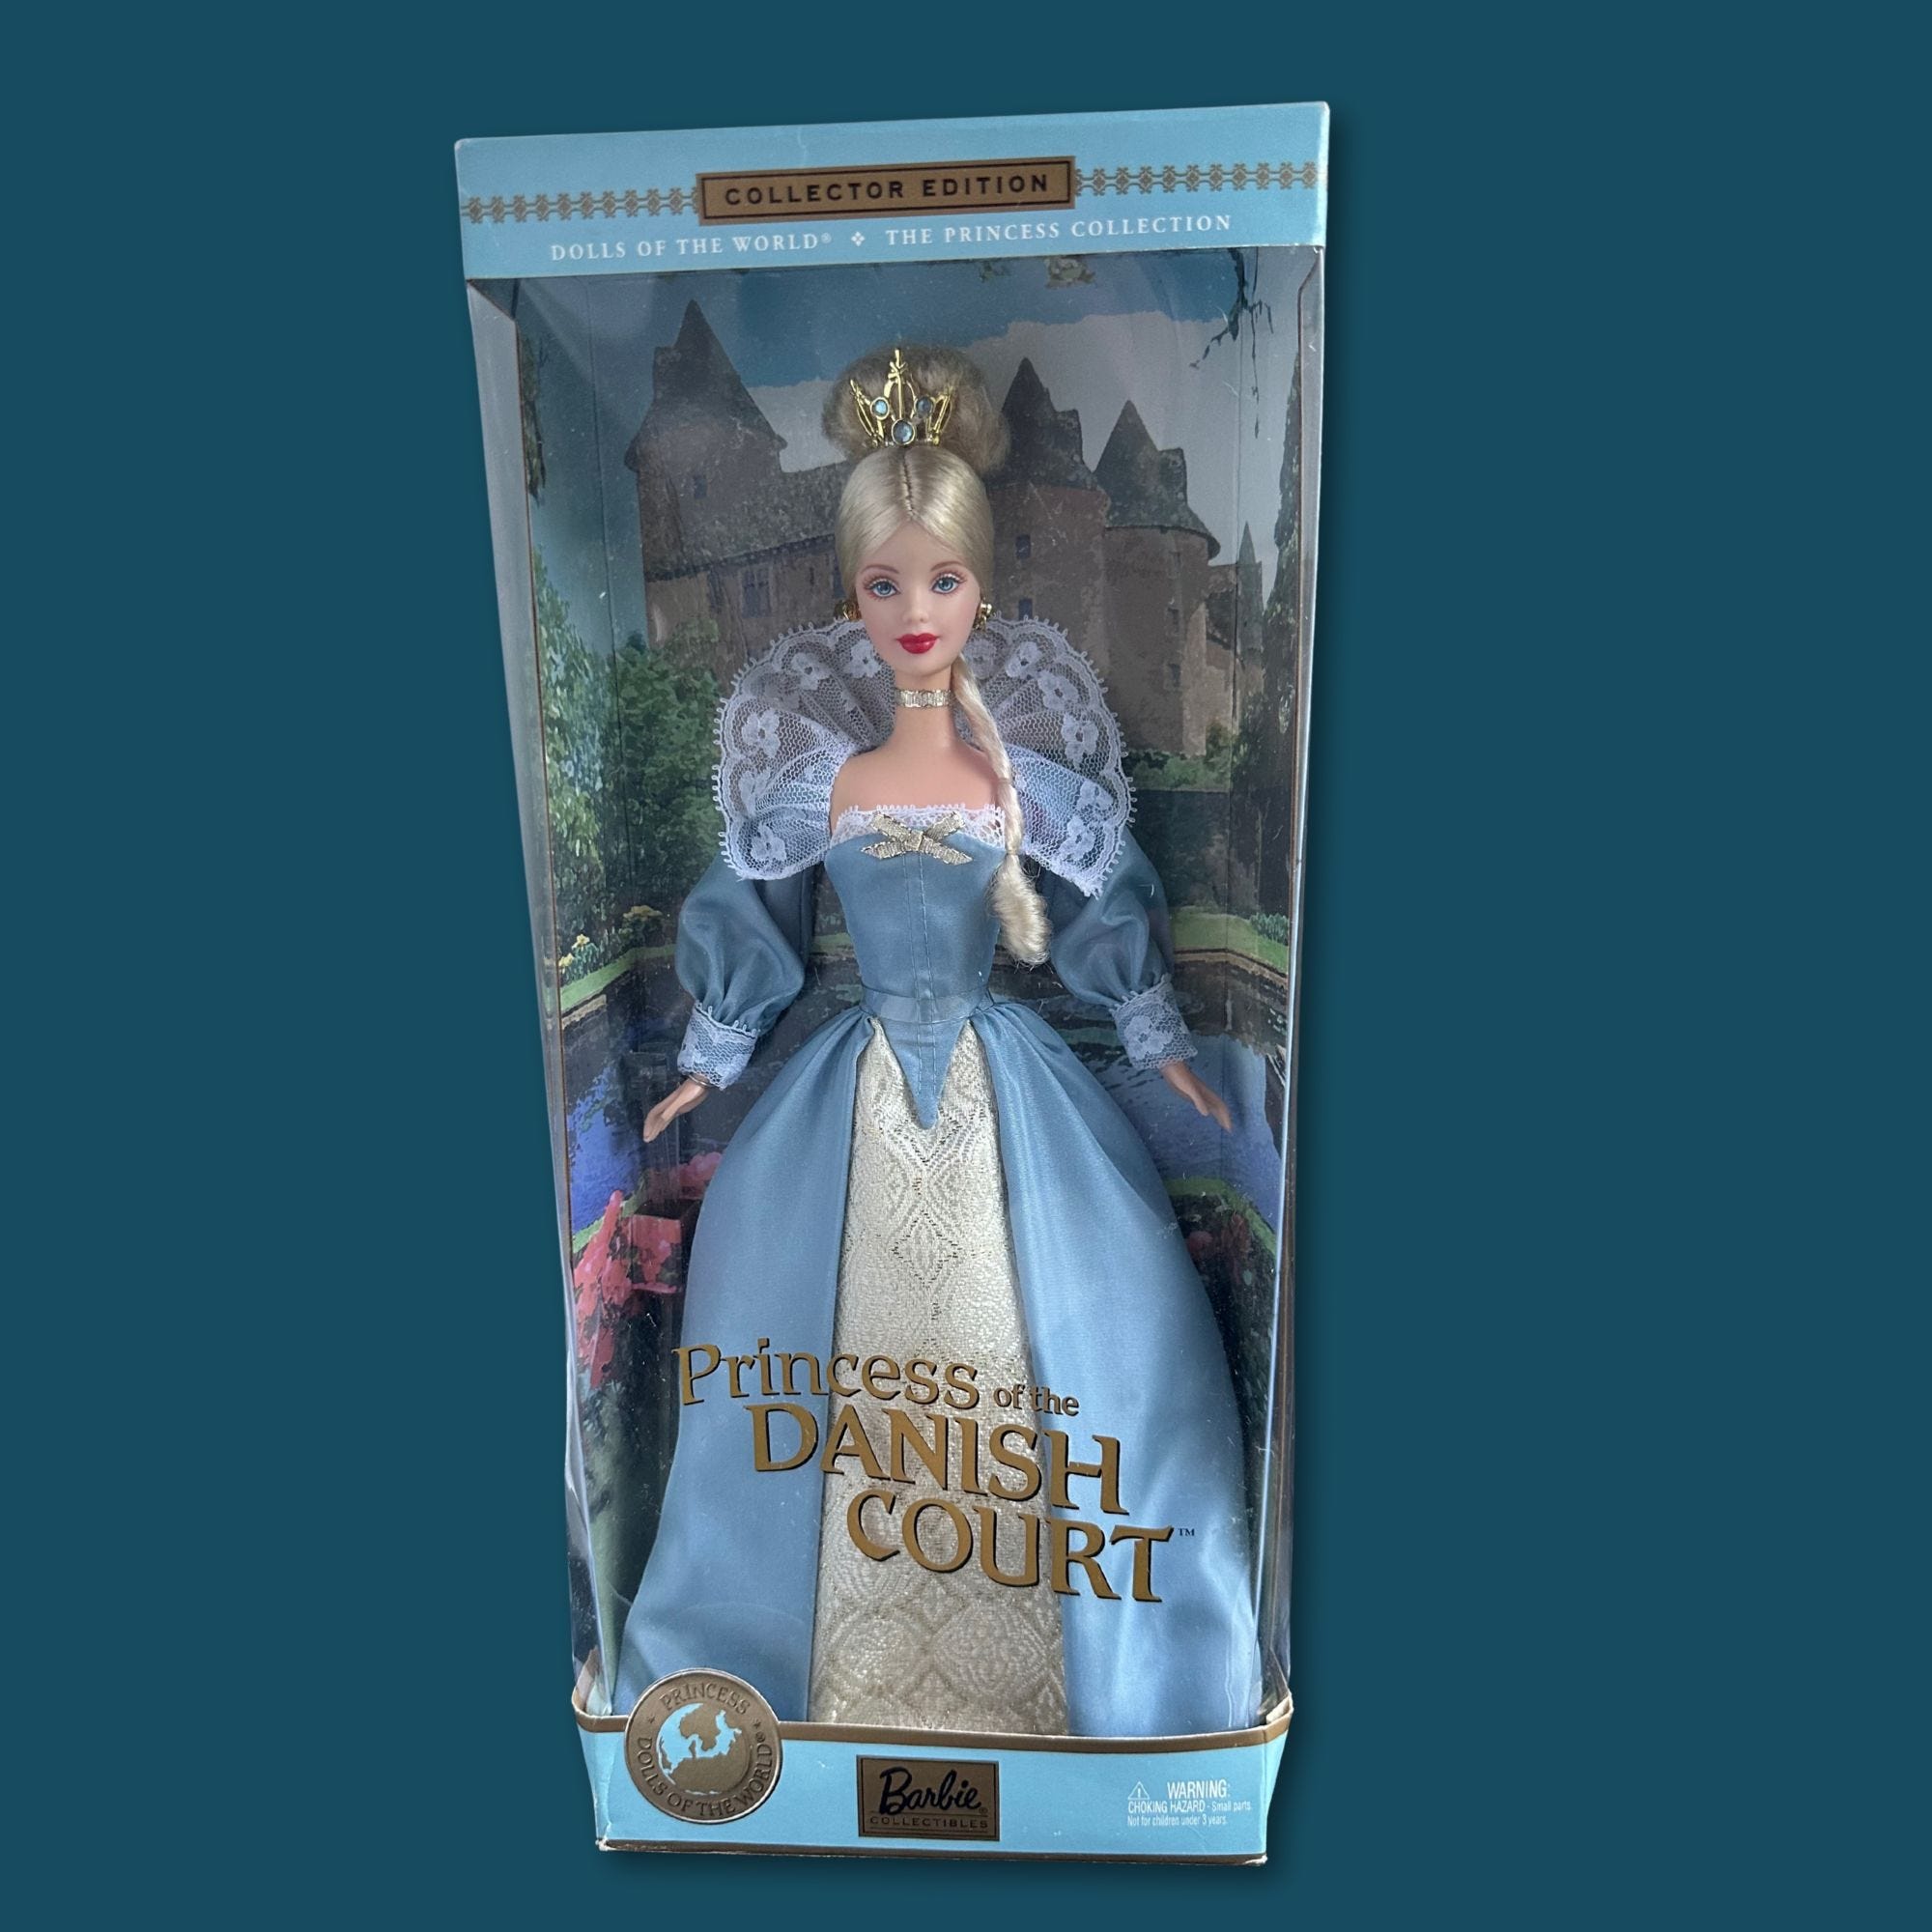
Now that all of the accessories are finished, it is time to pull it all together! I sourced the dress from the Princess of the Danish Court Barbie doll. I absolutely love this doll and was very sad to take her out of the box but I did not want to make a dress and her dress was just too perfect.
I took inspiration from the Danish Princess and made Titania’s floral crown more fitting of a Monarch. I used my wire cutters to cut off the ring portion of a cheap Temu ring and hot-glued it to the inside of the floral crown. Much better!
Titania is now dressed in a royal frock wearing a floral crown and holding a splendid scepter that contains the power of the moonlight. She was also blessed with a pearl necklace to complement her pearlescent wings. She is a complete package and now I feel like I have a collector doll that I created myself!
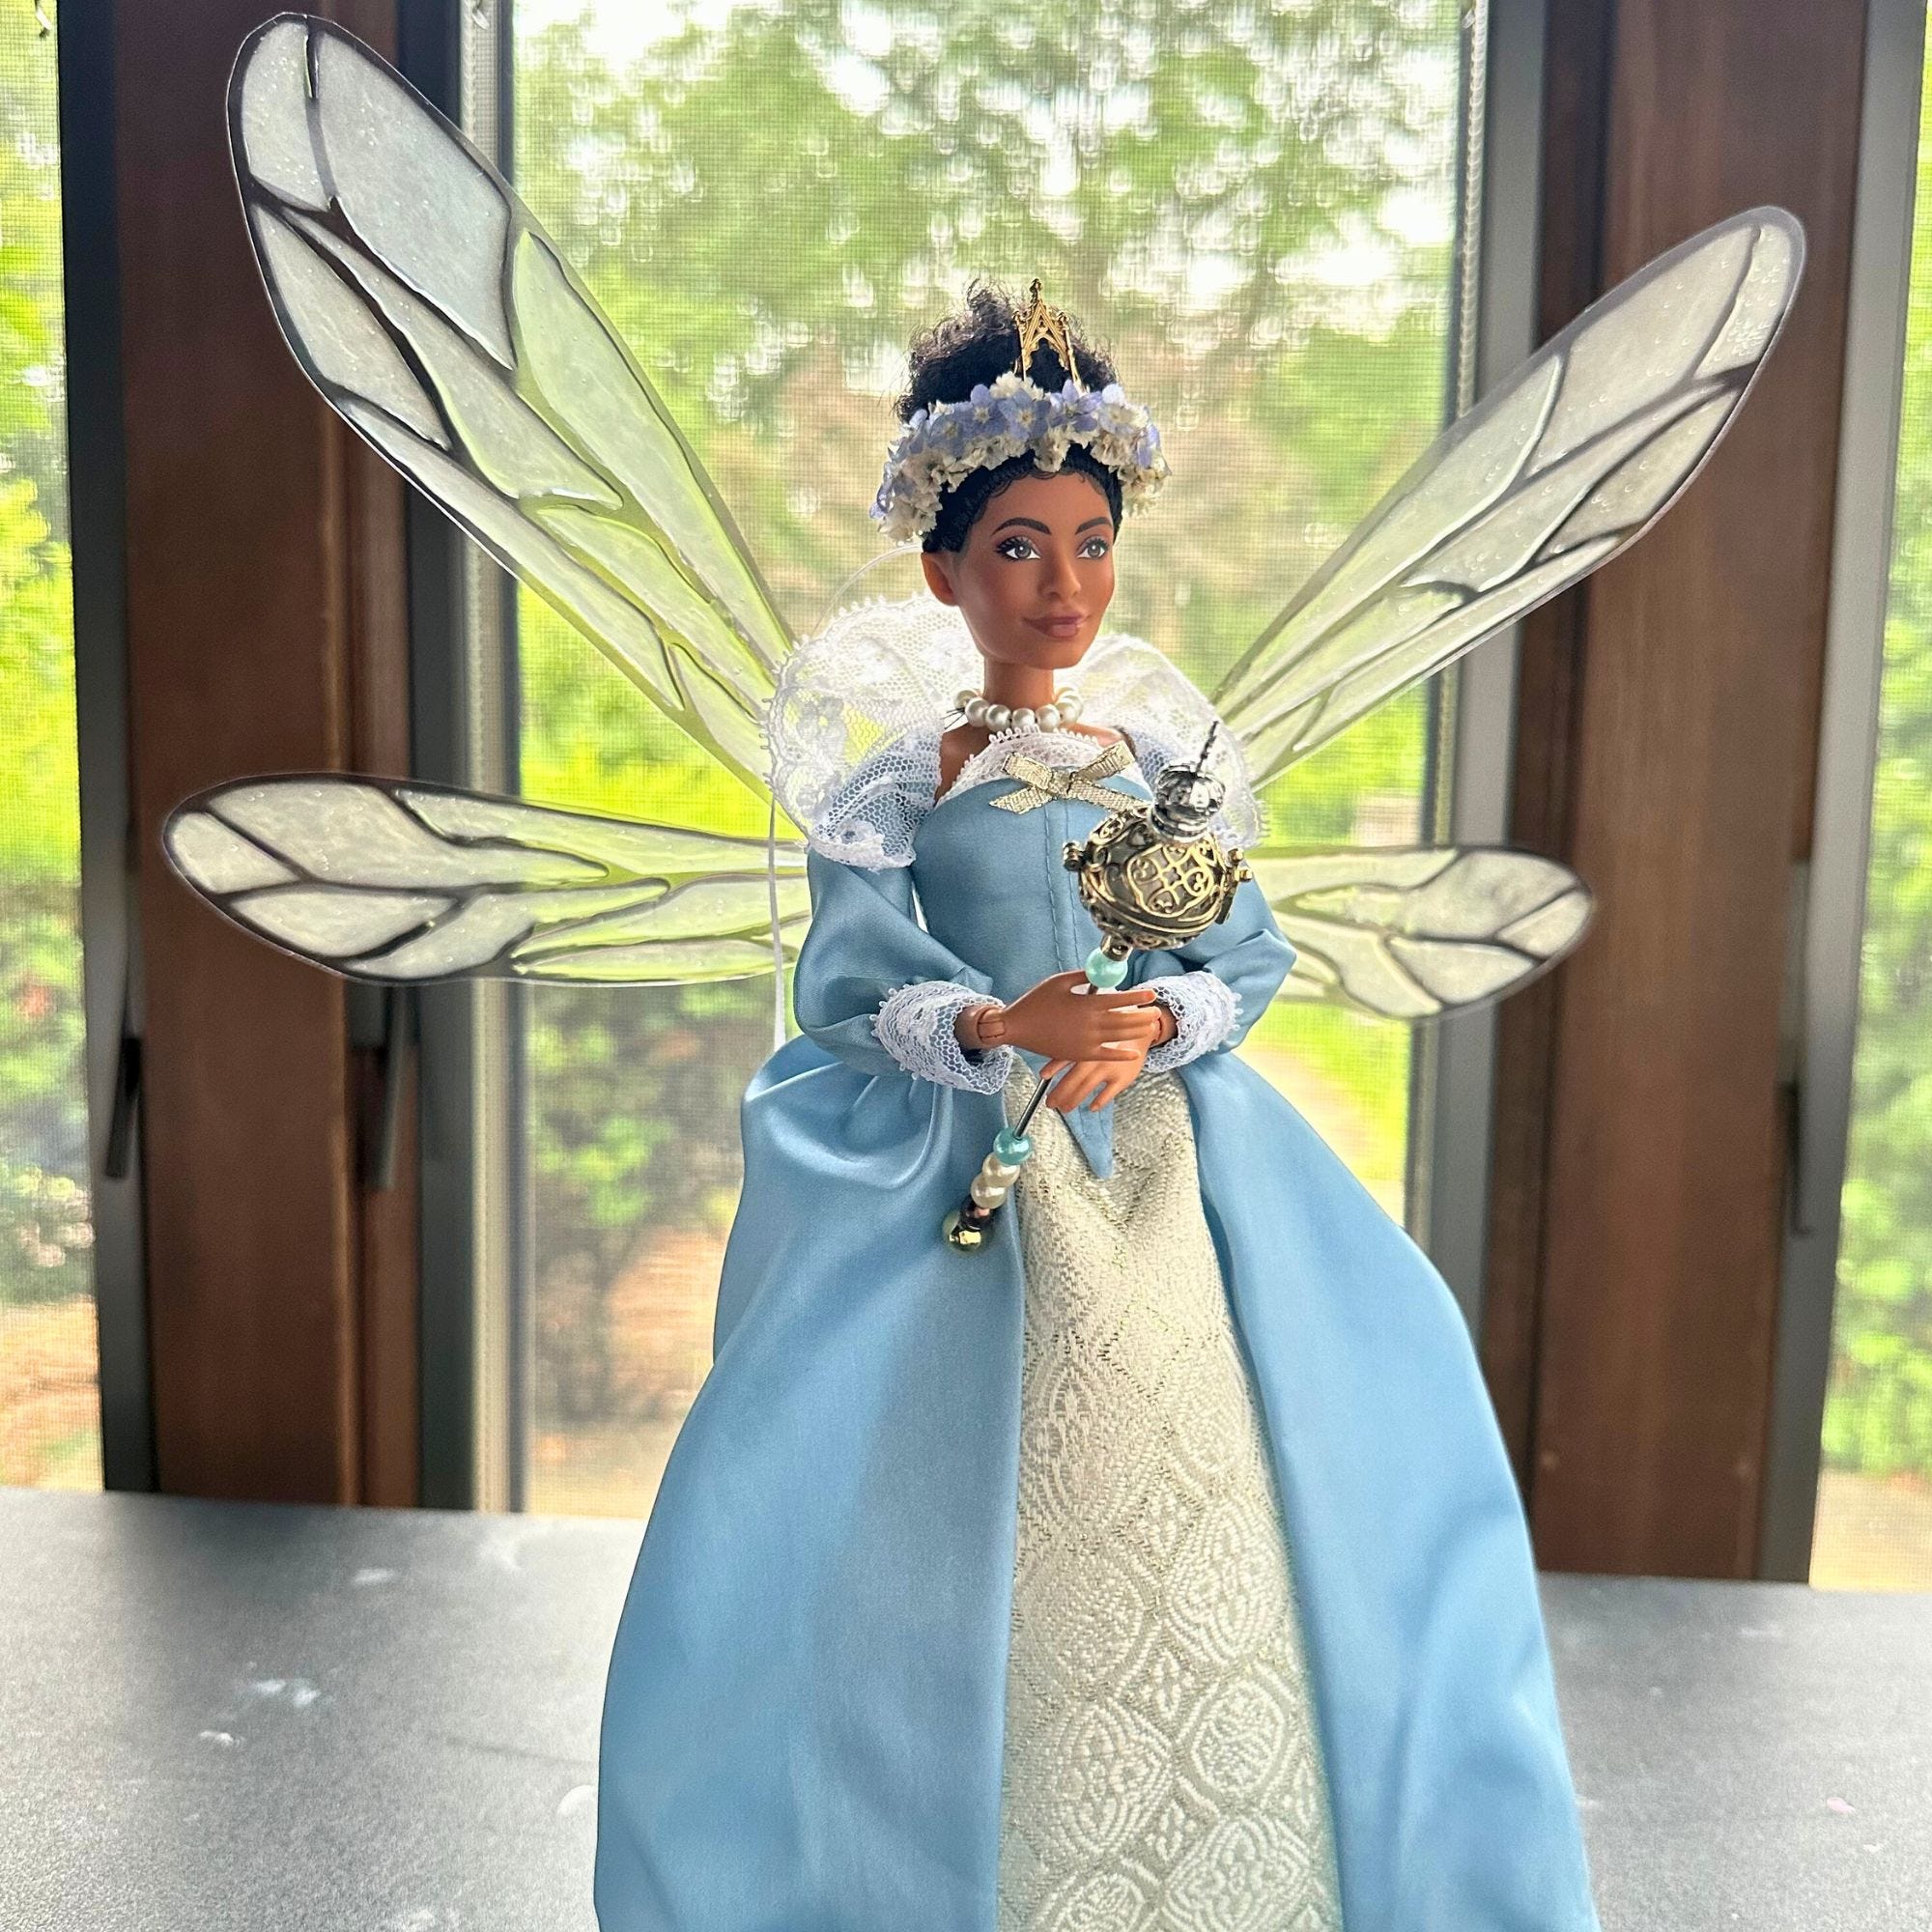
So this is Round 1 of the fairy theme which should last through July. There are two different versions of my fairy queen because I thought that Example #1 was too simple for a queen. She got a last minute wardrobe change and turned into Example #2. I love both fairies and I love the idea of a simple queen with a quiet strength. Which do you like better? Vote in the poll below!


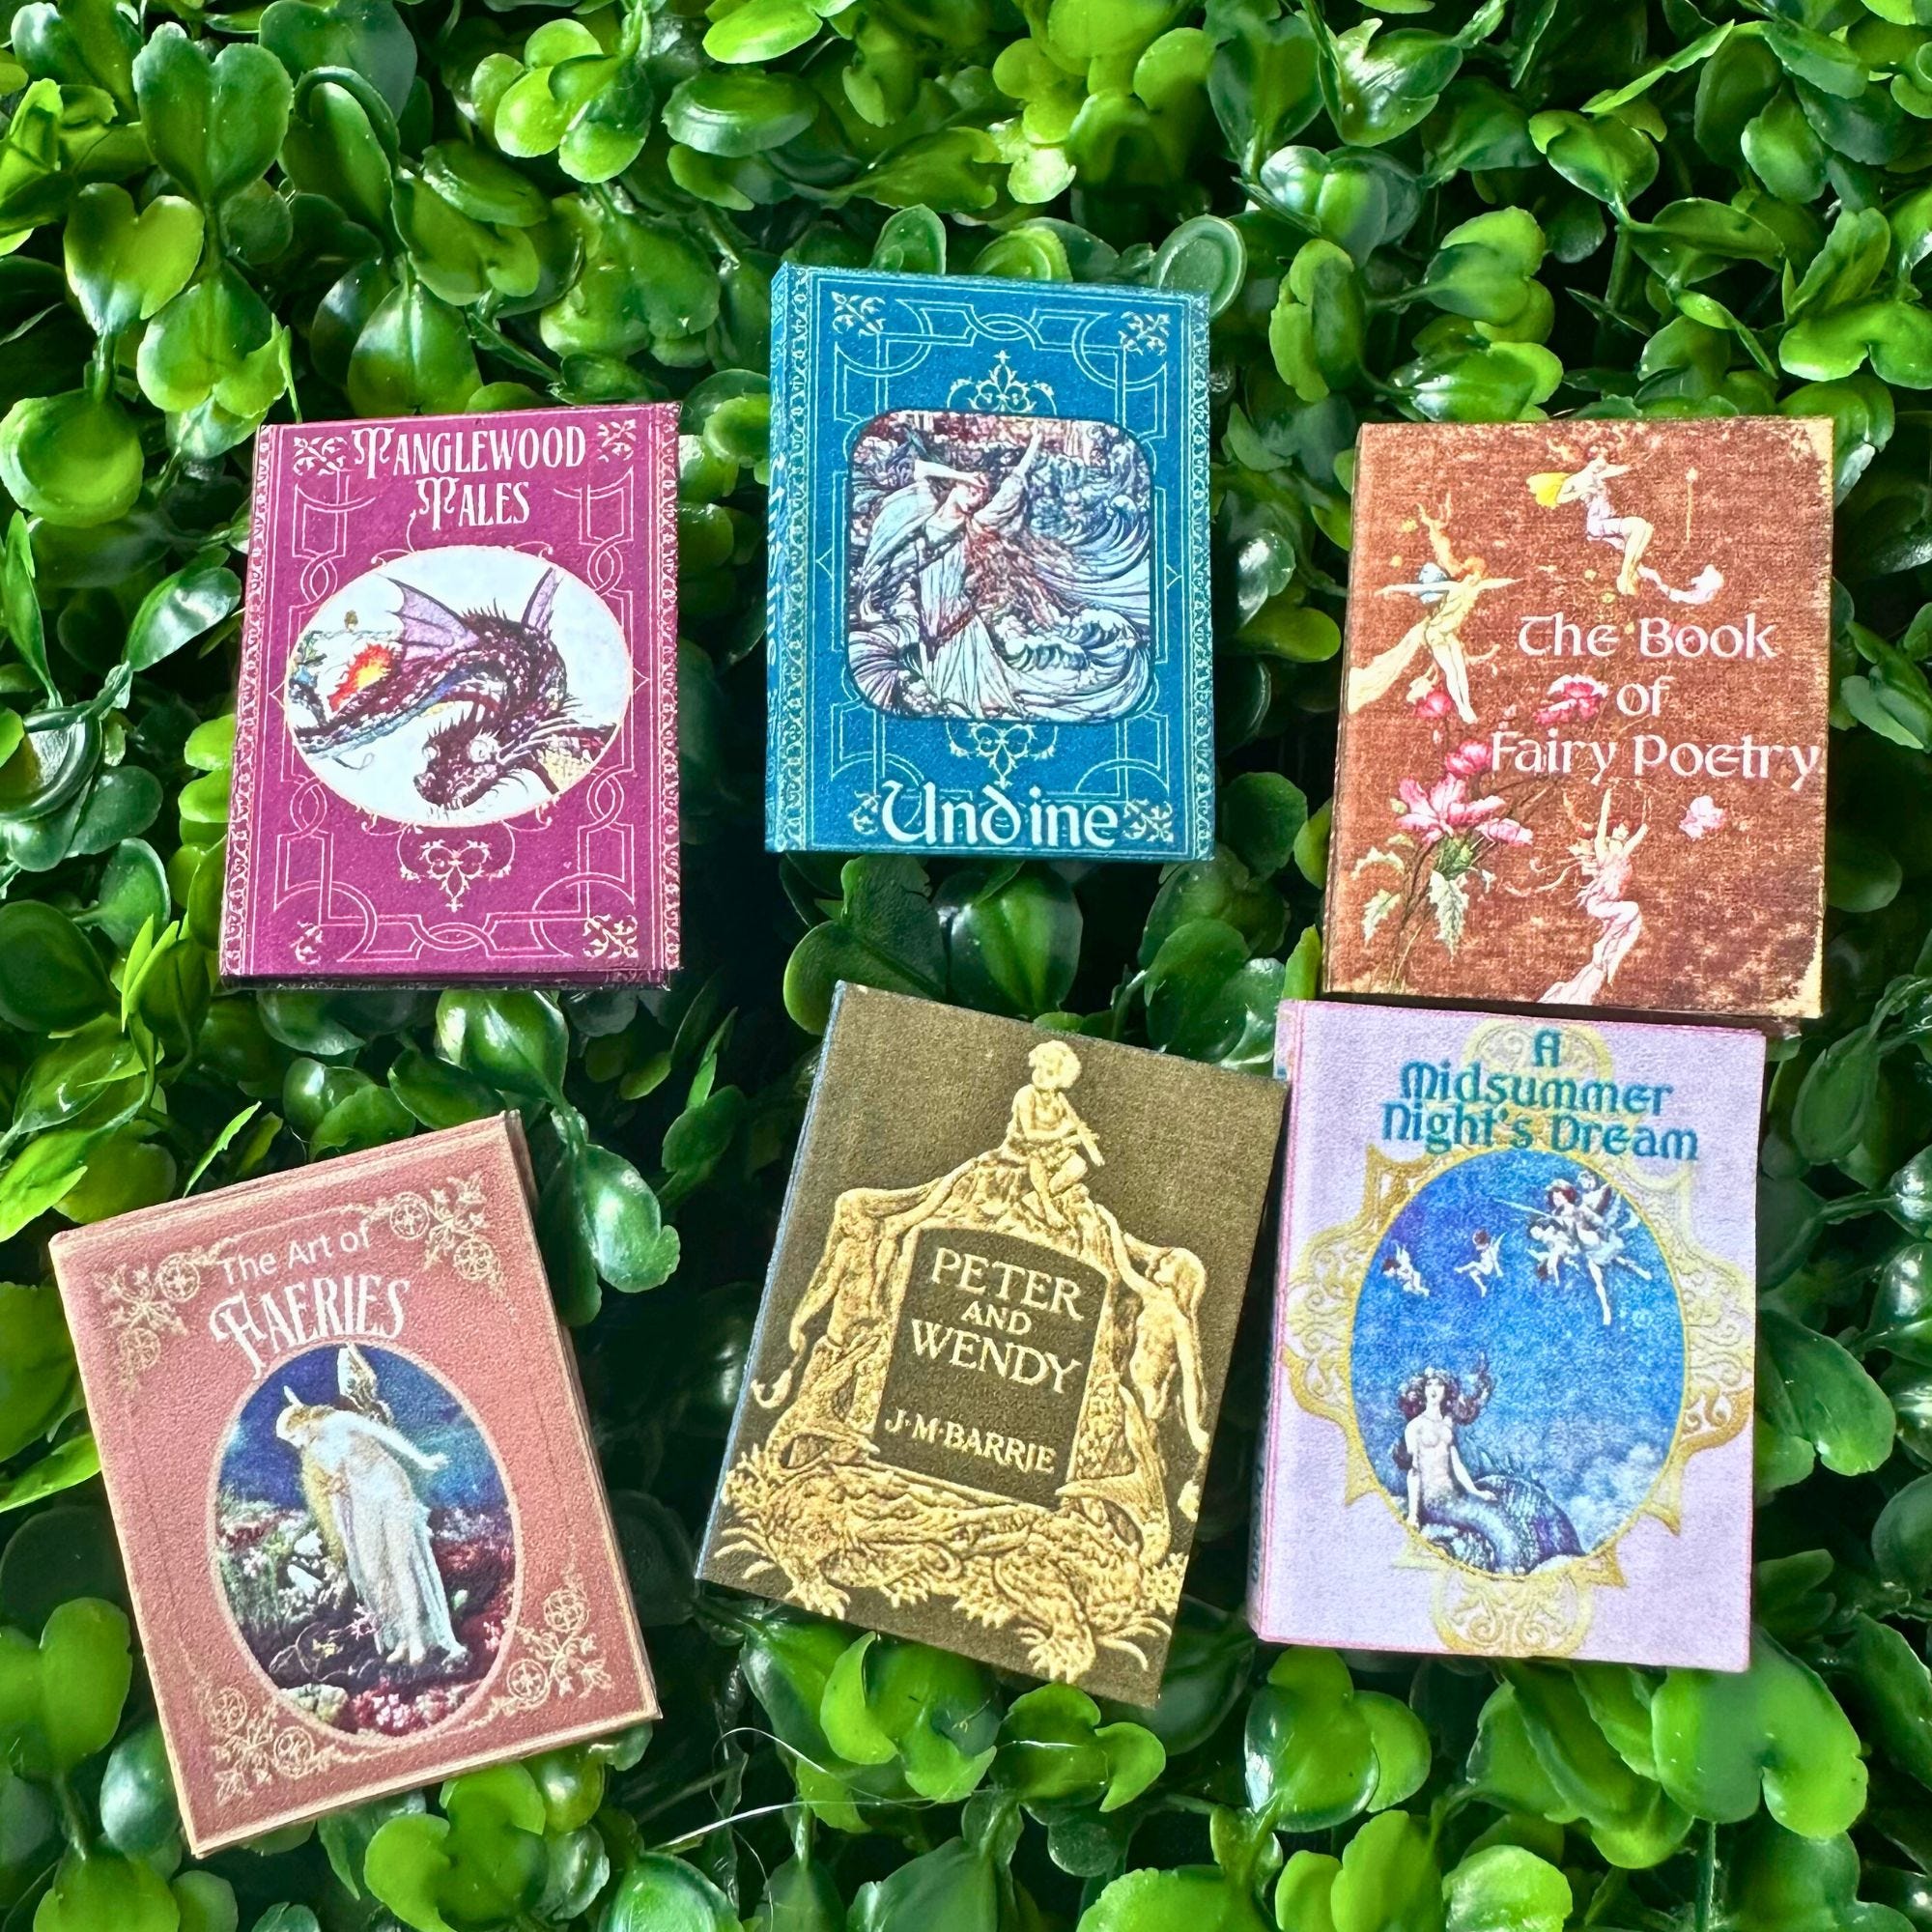
Check out the “A Midsummer Night’s Dream” Printable DIY Mini Book Collection - An assortment of miniature vintage fairy-themed books with beautiful classic illustrations for display or as mementos.
Comment and share below if you try any of the projects!
Thimble & Page is a reader-supported publication. To receive the next post in this series, consider becoming a free or paid subscriber.